Maintaining a Clean Home Oasis: Tips for Growing Indoor Plants Dirt-Free!

Introduction:

Bringing the beauty of nature indoors with houseplants adds a touch of greenery and tranquility to any living space. However, keeping your home clean while nurturing indoor plants can sometimes pose a challenge. With the right strategies, it’s possible to enjoy the benefits of indoor gardening without sacrificing cleanliness. In this article, we’ll explore practical tips for maintaining a dirt-free home while growing indoor plants.

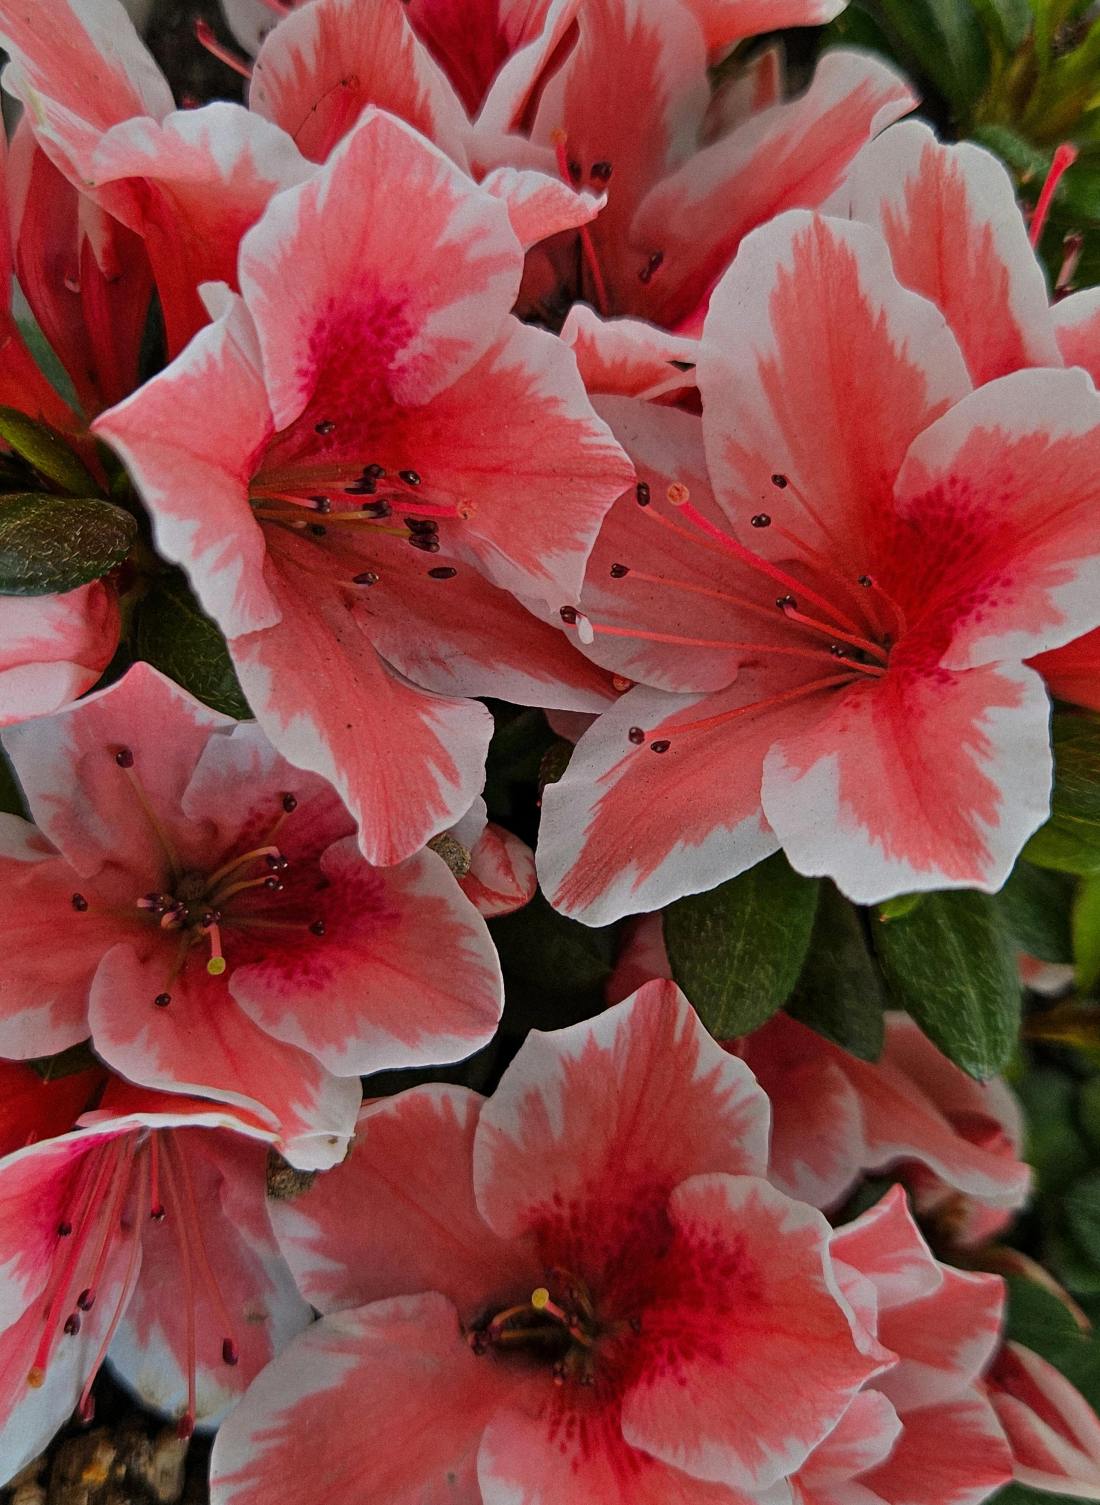
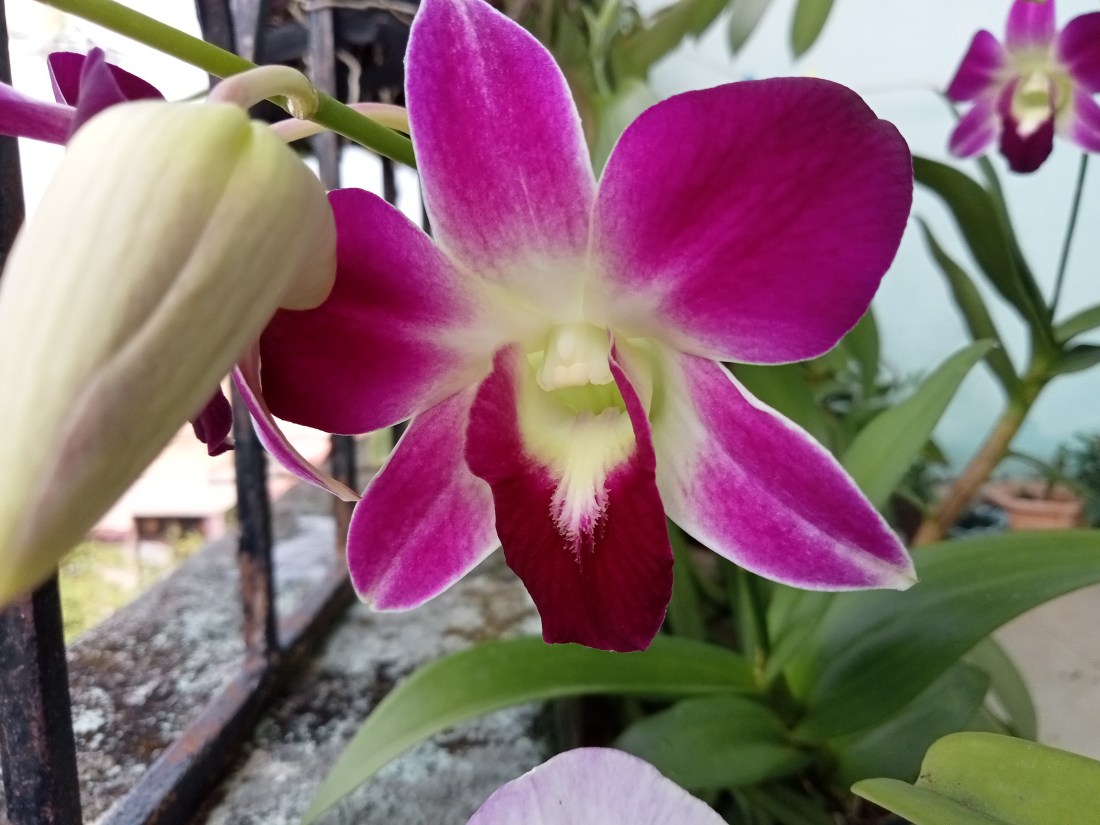
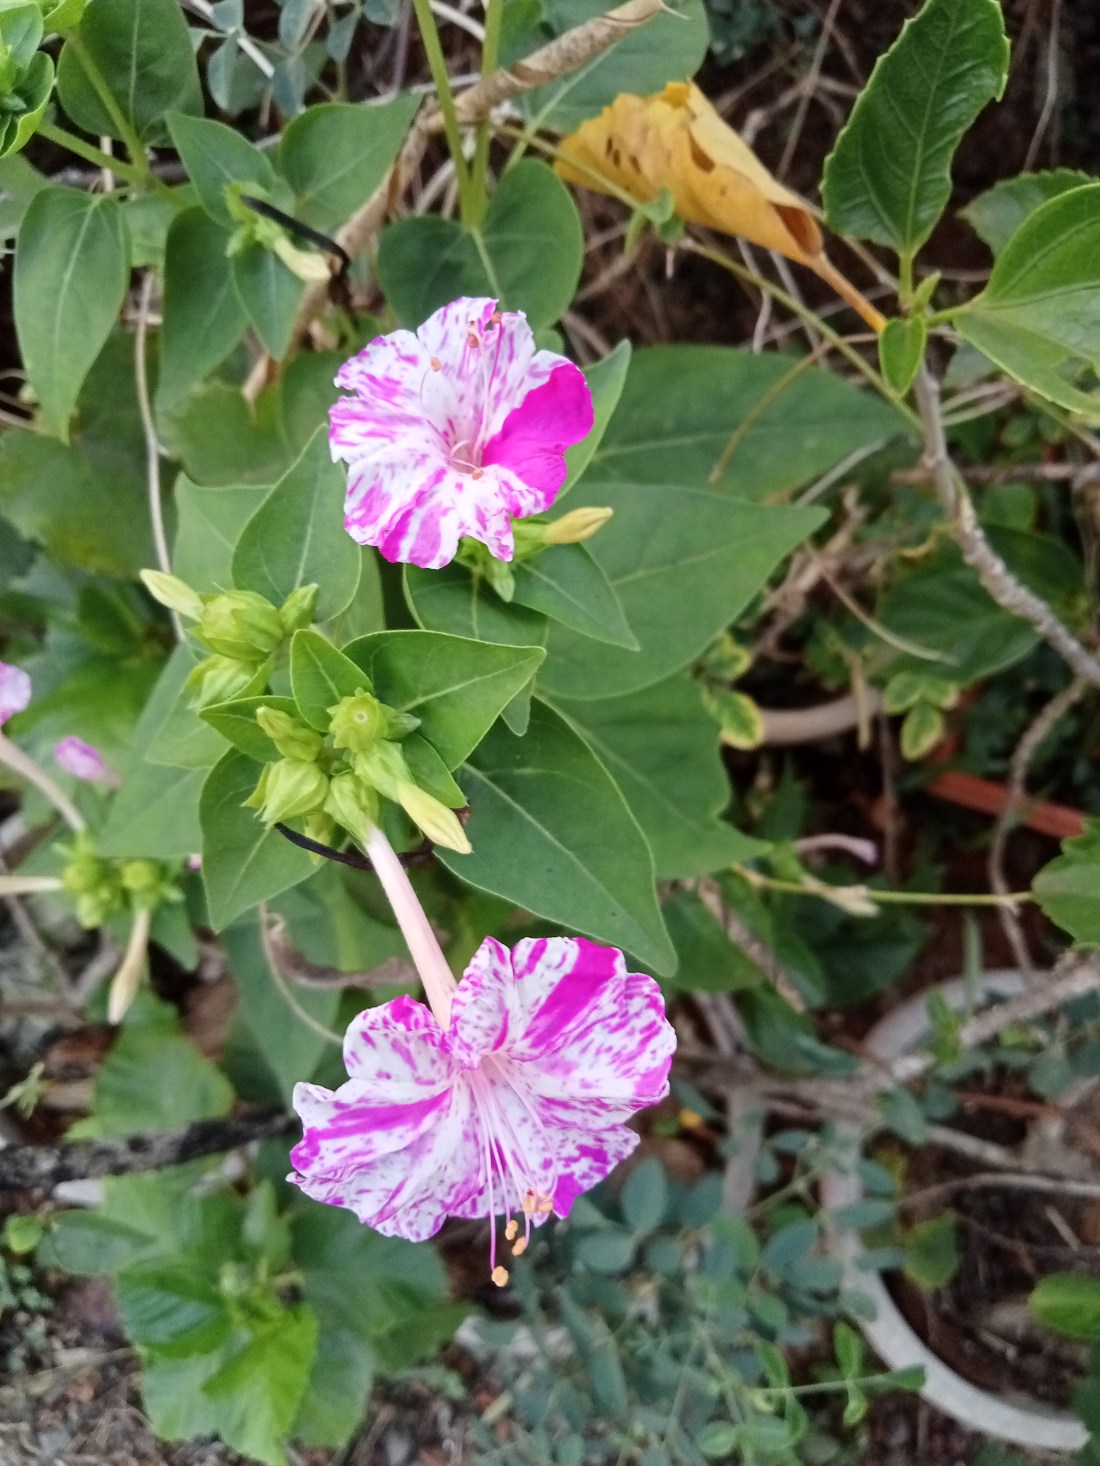
Choose Clean Indoor Plants:

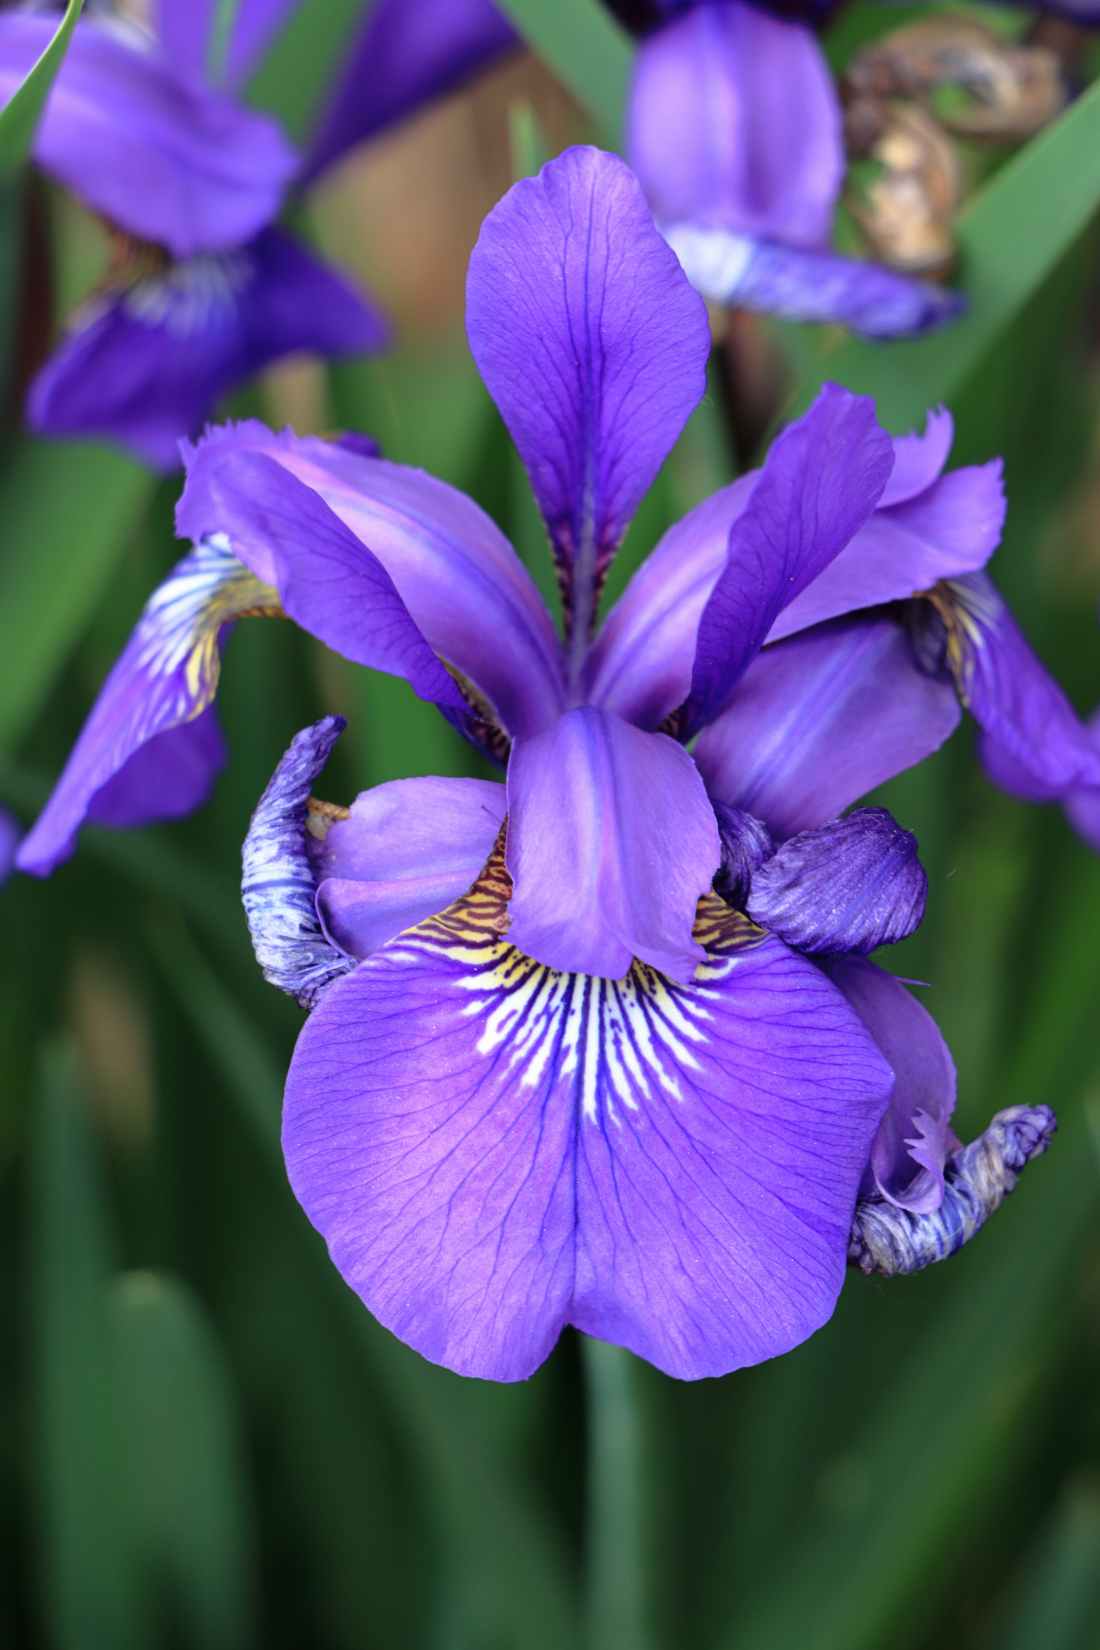
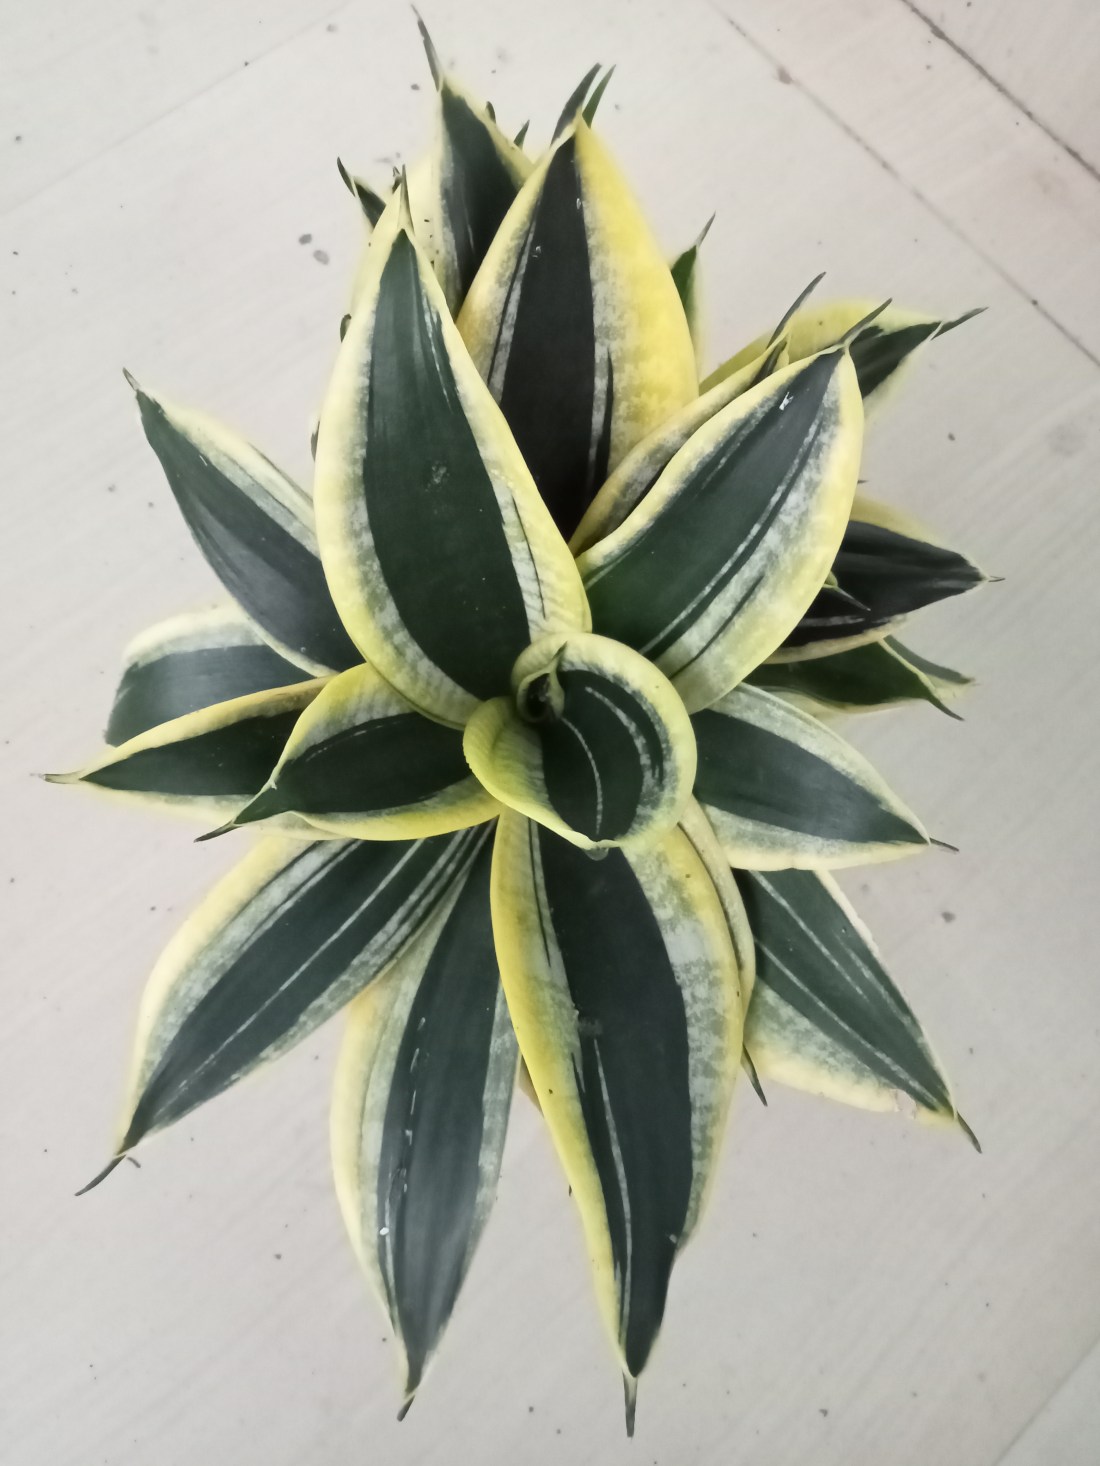
When selecting indoor plants for your home, opt for varieties that are less likely to shed soil or create messes. Look for plants with compact root systems or those that come in clean, soil-free growing mediums like hydroponic setups or air plants. Succulents, snake plants, pothos, and peace lilies are excellent choices known for their low-maintenance nature and minimal mess.

Use Containment Solutions:

To prevent soil spills and water leakage, consider using containment solutions such as decorative pots with built-in saucers or trays. These containers not only catch excess water but also help contain any soil that may escape during watering or transplanting. Additionally, placing plants on trays or trays lined with decorative rocks can further minimize messes and make cleanup easier.

Implement Drip Trays and Watering Techniques:

Drip trays placed underneath pots are essential for catching water runoff during watering sessions. Opt for trays that match the size and aesthetic of your plant containers to maintain a cohesive look. When watering your plants, do so carefully and avoid over-watering to minimize the risk of spills and soil displacement. Using a watering can with a narrow spout or a watering globe can help control water distribution and reduce splashing.

Practice Regular Maintenance:

Routine maintenance tasks such as dusting, pruning, and repotting can help keep indoor plants healthy and minimize messes. Dusting plant leaves with a soft cloth or gentle spray of water removes accumulated dirt and enhances photosynthesis. Pruning dead or yellowing leaves not only improves plant appearance but also prevents soil contamination. Additionally, repotting plants as needed allows for root inspection and prevents overcrowding, which can lead to soil spillage.


Similar Posts


Employ Protective Coverings:

For extra protection against soil spills and water damage, consider using protective coverings such as plastic or silicone mats placed underneath plant containers. These mats provide an additional barrier between the plant and the surface below, preventing water stains and soil residue. Alternatively, decorative waterproof trays or trays lined with waterproof liners can serve as stylish and functional solutions for containing messes.

Opt for Soilless Growing Mediums:

Soilless growing mediums such as coco coir, perlite, or peat moss offer an alternative to traditional potting soil and can help minimize dirt-related messes. These lightweight and sterile mediums provide excellent aeration and drainage for plant roots while reducing the risk of soil-borne pests and diseases. Hydroponic systems, aeroponic towers, and moss poles are innovative soil-free growing methods that eliminate the need for messy soil altogether.

Establish Cleaning Routines:

Regular cleaning routines are essential for maintaining a dirt-free home environment while growing indoor plants. Vacuuming or sweeping floors, wiping down surfaces, and dusting furniture help remove accumulated dirt and debris. Pay special attention to areas around plant containers and windowsills, where soil and dust tend to accumulate. Consider using a handheld vacuum or dusting brush to clean hard-to-reach spaces and tight corners.

Conclusion:

With proper planning and maintenance, it’s possible to enjoy the beauty of indoor plants without compromising cleanliness in your home. By selecting clean plant varieties, using containment solutions, practicing regular maintenance, and implementing protective measures, you can create a dirt-free oasis that enhances both your living space and your well-being. With these tips in mind, you can cultivate a harmonious balance between nature and cleanliness indoors.

Happy Gardening!

Flourishing Beauty: A Guide to Growing and Caring for Azalea Plants!

Introduction

Azaleas, with their vibrant blooms and lush foliage, are beloved ornamental shrubs that can add a touch of elegance to any garden landscape. Known for their stunning flowers and relatively low maintenance, azaleas are a popular choice among gardeners looking to enhance their outdoor spaces. In this comprehensive guide, we’ll explore everything you need to know about growing and caring for azalea plants, from selecting the right variety to providing the optimal conditions for their flourishing growth.

Understanding Azalea Plants

Azaleas belong to the genus Rhododendron and are part of the Ericaceae family. These deciduous or evergreen shrubs are native to Asia, Europe, and North America, with hundreds of species and cultivars available to choose from. Azaleas are prized for their showy, funnel-shaped flowers that bloom in a wide range of colors, including shades of pink, purple, red, white, and orange. Depending on the variety, azaleas can bloom in early spring, late spring, or even summer, providing a spectacular display of color in the garden.

Selecting the Right Variety

When choosing azaleas for your garden, it’s essential to select the right variety based on your climate, soil type, and desired bloom time. Some popular types of azaleas include:

Southern Indica Azaleas: These evergreen azaleas are well-suited to warm climates and bloom profusely in the spring.

Encore Azaleas: Known for their ability to bloom multiple times throughout the year, Encore azaleas offer an extended flowering season.

Native Azaleas: Indigenous to North America, native azaleas are prized for their fragrant flowers and vibrant fall foliage.

Hybrid Azaleas: Hybrid varieties combine the best traits of different azalea species, offering a wide range of colors, sizes, and bloom times.

Before purchasing azaleas, research the specific requirements of each variety to ensure they are suitable for your garden conditions.


Similar Posts


Planting Azaleas

Azaleas thrive in well-drained, acidic soil with a pH between 4.5 and 6.0. Choose a planting location with partial shade or filtered sunlight, as azaleas prefer dappled sunlight rather than full sun exposure. When planting azaleas, follow these steps for success:

Prepare the Soil: Amend the soil with organic matter such as compost or peat moss to improve drainage and acidity.

Dig the Hole: Dig a hole twice as wide as the azalea’s root ball and slightly shallower than its depth.

Plant the Azalea: Gently remove the azalea from its container and place it in the center of the hole. After planting, add soil to fill the hole and make sure to water it sufficiently to help the roots settle in.

Mulch and Water: Apply a layer of mulch around the base of the plant to retain moisture and suppress weeds. Water the newly planted azalea regularly to keep the soil consistently moist but not waterlogged.

Caring for Azaleas

Once established, azaleas require minimal maintenance to thrive. Here are some essential care tips to ensure your azaleas remain healthy and vibrant:

Watering: Azaleas have shallow roots and are sensitive to drought, so it’s crucial to water them regularly, especially during dry periods. It’s recommended to avoid overhead watering since it can cause the foliage to become wet, which increases the risk of fungal diseases.

Fertilizing: Feed azaleas with a balanced, slow-release fertilizer formulated for acid-loving plants in early spring, just before new growth begins. Avoid using high-nitrogen fertilizers as they promote excessive foliage growth, which can negatively impact flower growth..

Pruning: Prune azaleas after they finish blooming to shape the shrub and remove dead or diseased branches. Avoid heavy pruning, as it can reduce the following year’s flower production.

Disease and Pest Control: Keep an eye out for common azalea pests and diseases, such as lace bugs, spider mites, powdery mildew, and root rot. Treat any issues promptly with organic or chemical control methods as needed.

Overwintering Azaleas

In colder climates, protecting azaleas from winter weather is essential to ensure their survival. Here are some tips for overwintering azaleas:

Mulch: Apply a thick layer of mulch around the base of the plant to insulate the roots and retain soil moisture.

Wind Protection: Shield azaleas from harsh winds by planting them in a sheltered location or using windbreaks such as fences or evergreen shrubs.

Anti-Desiccant Spray: Apply an anti-desiccant spray to azalea foliage in late fall to reduce moisture loss through transpiration.

Wrapping: For added protection, consider wrapping azaleas with burlap or frost cloth during periods of extreme cold.

Conclusion

With their stunning blooms and relatively low maintenance requirements, azaleas are a fantastic addition to any garden landscape. By selecting the right variety, providing the optimal growing conditions, and following proper care techniques, you can enjoy the beauty of azaleas in your garden for years to come.

Happy Gardening!

Cultivating Connections: Exploring Online Gardening Communities and Social Media!

Introduction:

In today’s digital age, gardening enthusiasts no longer need to rely solely on local gardening clubs or neighborhood exchanges to connect with fellow plant lovers. The rise of online gardening communities and social media platforms has transformed the way people engage with their passion for plants. From sharing gardening tips to swapping seeds and plants, these virtual spaces offer a wealth of resources and opportunities for gardeners of all levels. Let’s delve into the vibrant world of online gardening communities and explore how they foster connections, knowledge sharing, and inspiration.

The Growth of Online Gardening Communities:

Online gardening communities have flourished in recent years, catering to the diverse interests and needs of plant enthusiasts worldwide. These communities can be found on various platforms, including social media networks, forums, blogs, and dedicated gardening websites. They bring together individuals with a shared love for gardening, providing a platform to exchange ideas, seek advice, and showcase their gardening endeavors.

Benefits of Online Gardening Communities:

Knowledge Sharing: One of the most significant advantages of online gardening communities is the opportunity to learn from experienced gardeners and experts. Members can access a vast pool of gardening knowledge, tips, and techniques shared through forums, discussion groups, and educational resources.

Inspiration and Creativity: Online gardening communities serve as a source of inspiration for gardeners looking to explore new plants, designs, and techniques. Members share photos of their gardens, DIY projects, and creative ideas, sparking inspiration and igniting creativity among fellow enthusiasts.

Plant Swapping and Trading: Many online gardening communities facilitate plant swapping and trading among members. Gardeners can exchange seeds, cuttings, and plants, expanding their collections and diversifying their gardens without breaking the bank.

Support and Encouragement: Gardening can be a rewarding yet challenging endeavor, especially for beginners. Online gardening communities offer a supportive environment where members can seek advice, share their successes and setbacks, and receive encouragement from fellow gardeners.

Global Connection: Unlike traditional gardening clubs limited to local communities, online gardening communities transcend geographical boundaries, allowing members to connect with like-minded individuals from around the world. This global connection enriches the gardening experience by exposing members to diverse perspectives, plant species, and gardening practices.


Similar Posts


Types of Online Gardening Communities:

Social Media Groups and Pages: Platforms like Facebook, Instagram, and Pinterest host numerous gardening groups and pages where members share photos, tips, and stories about their gardening experiences.

Gardening Forums and Discussion Boards: Dedicated gardening forums like Quora and discussion boards provide a space for in-depth conversations, Q&A sessions, and knowledge exchange on various gardening topics.

Gardening Blogs and Websites: Gardeners can access a wealth of gardening resources, articles, and tutorials through gardening blogs and websites run by enthusiasts, horticulturists, and gardening organizations.

Online Plant Swapping Platforms: Websites and apps dedicated to plant swapping and trading enable gardeners to connect with others interested in exchanging seeds, cuttings, and plants.

YouTube Channels and Podcasts: Gardening enthusiasts share their expertise through YouTube channels and podcasts, offering tutorials, garden tours, and insightful discussions on gardening-related subjects.

Tips for Engaging in Online Gardening Communities:

Be Respectful and Courteous: Treat fellow members with respect, kindness, and courtesy, even if you disagree with their opinions or practices.

Contribute Meaningfully: Share your gardening experiences, tips, and insights to enrich the community and foster constructive discussions.

Ask Questions and Seek Advice: Don’t hesitate to ask questions or seek advice from more experienced gardeners. Most members are happy to offer guidance and support to fellow enthusiasts.

Follow Community Guidelines: Adhere to the rules and guidelines set forth by the online gardening community to ensure a positive and harmonious environment for all members.

Share Your Garden: Share photos, videos, and stories about your garden to inspire and connect with fellow gardeners. Don’t be afraid to showcase both your successes and failures—it’s all part of the gardening journey!

Conclusion

In conclusion, online gardening communities and social media platforms have revolutionized the way gardeners connect, learn, and share their passion for plants. Whether you’re a novice gardener seeking advice or a seasoned enthusiast looking to connect with like-minded individuals, these virtual spaces offer a wealth of opportunities for growth, inspiration, and camaraderie. So, why not join an online gardening community today and cultivate connections that will enrich your gardening journey?

Happy gardening!

Top 10 YouTube Channels for Gardening Enthusiasts: Your Green Thumb Guide!

Introduction:

In recent years, YouTube has blossomed into a hub of gardening expertise, offering a plethora of channels dedicated to nurturing greenery, cultivating thriving gardens, and sharing gardening wisdom. Whether you’re a seasoned horticulturist or just dipping your toes into the soil for the first time, these YouTube channels serve as invaluable resources, providing inspiration, guidance, and practical tips to help you grow your gardening skills. Let’s explore the top 10 YouTube channels in the gardening niche that are blooming with knowledge and inspiration.

1. Garden Answer:

With over 1.5 million subscribers, Garden Answer, hosted by Laura LeBoutillier, is a must-watch channel for gardening enthusiasts. Laura’s vibrant personality shines through as she shares expert advice on plant care, garden design ideas, and DIY projects. From stunning floral arrangements to creative container gardening ideas, Garden Answer offers endless inspiration for both indoor and outdoor gardeners.

2. Epic Gardening:

Kevin Espiritu’s Epic Gardening channel is a treasure trove of practical gardening tips, covering everything from urban gardening to hydroponics. With a focus on organic gardening methods and sustainable practices, Kevin shares insightful tutorials, product reviews, and gardening experiments to help viewers grow their own food and create thriving green spaces.

3. Gardening Is My Passion:

Gardening Is My Passion channel is hosted by Dr. Suraj Prakash Agarwal who is not only a dedicated college professor but also an avid gardening enthusiast. With his wealth of knowledge and passion for cultivating greenery, he provides expert guidance on nurturing various plants, including flowering plants, vegetables, and fruits. Additionally, Dr. Agarwal shares valuable insights on selecting the right planters, choosing suitable fertilizers, and implementing effective maintenance techniques to ensure thriving gardens.

4. MIgardener:

Luke Marion’s MIgardener channel is dedicated to empowering gardeners of all skill levels to grow their own food and live a healthier lifestyle. With an emphasis on organic gardening techniques and budget-friendly solutions, Luke shares practical advice on seed starting, soil building, and pest management, making gardening accessible to everyone.

5. California Gardening:

If you’re gardening in California or a similar climate, California Gardening is the channel for you. Hosted by the knowledgeable and affable Shiv, this channel offers expert advice on growing fruits, vegetables, and ornamental plants in the California climate. From citrus trees to succulents, Shiv covers a wide range of topics to help Californian gardeners thrive.


Similar Posts


6. The Rusted Garden:

Gary Pilarchik’s The Rusted Garden channel is a go-to resource for vegetable gardeners seeking practical advice and helpful tips. Gary’s down-to-earth approach and extensive gardening knowledge shine through as he covers topics such as seed starting, companion planting, and organic pest control, helping viewers grow bountiful harvests year-round.

7. HuwRichards:

Huw Richards channel is dedicated to teaching viewers how to grow their own food using organic and no-dig gardening methods. With a focus on sustainability and self-sufficiency, Huw shares valuable insights on composting, mulching, and crop rotation, making gardening both rewarding and environmentally friendly.

8. Growing Your Greens:

John Kohler’s Growing Your Greens channel is all about growing nutrient-dense fruits and vegetables using organic gardening practices. With a focus on urban gardening and small-space gardening solutions, John shares tips on vertical gardening, container gardening, and maximizing garden yields, helping viewers grow food even in limited spaces.

9. James Prigioni:

James Prigioni’s gardening channel offers a wealth of practical advice on topics such as composting, raised bed gardening, and plant propagation. With a laid-back and approachable style, James shares his passion for gardening and encourages viewers to get their hands dirty and connect with nature.

10. BBC Gardeners’ World Magazine:

The official YouTube channel of the popular BBC gardening show, Gardeners’ World offers expert advice, garden tours, and practical tips for gardeners of all skill levels. Hosted by renowned horticulturist Monty Don, this channel covers a wide range of topics, from planting techniques to seasonal garden maintenance, providing valuable insights for gardeners around the world.

Conclusion:

Whether you’re looking to grow your own food, create a vibrant flower garden, or transform your outdoor space, these top 10 YouTube channels in the gardening niche offer a wealth of knowledge, inspiration, and practical tips to help you to achieve your goal. From expert advice on plant care to creative garden design ideas, these channels cater to gardeners of all skill levels and interests, making them essential resources for anyone with a green thumb. So, roll up your sleeves, grab your gardening tools, and let these YouTube channels guide you on your gardening journey to green-thumb greatness!

Happy Gardening!

Effective Strategies for Eliminating Whiteflies from Your Garden!

Introduction

Whiteflies, those tiny, pesky insects, can wreak havoc on the health and vibrancy of your garden. These minuscule pests feed on plant juices, causing yellowing, wilting, and stunted growth in various garden plants. However, fret not! Here’s a comprehensive guide on how to banish whiteflies from your garden using both natural and effective methods.

Identifying Whiteflies

Before diving into eradication methods, recognizing these pests is crucial. Whiteflies are tiny, moth-like insects, often found in clusters on the underside of leaves. They leave behind a sticky residue called honeydew, promoting the growth of sooty mold.

Detrimental Effects on Plant Health

Whiteflies might seem innocuous due to their small size, but their impact on garden plants can be quite devastating. Here’s how these tiny insects cause damage:

Feeding Habits: Whiteflies feed on plant sap by piercing the phloem vessels, depriving plants of essential nutrients. This continuous feeding weakens plants, leading to yellowing, wilting, and stunted growth.

Toxin Secretion: As whiteflies feed, they excrete a sticky substance called honeydew. This honeydew serves as a breeding ground for sooty mold, a dark fungus that covers leaves, hindering photosynthesis and further weakening plants.

Transmission of Diseases: Whiteflies act as vectors for various plant viruses. When they feed on infected plants, they pick up the virus and transmit it to healthy plants, causing diseases that can lead to severe damage or death of the plant.

Mass Infestation: These pests reproduce rapidly, forming dense colonies on the underside of leaves. Their sheer numbers can overwhelm plants, causing stress and ultimately impacting their ability to thrive.

Reduction in Crop Yield: In agricultural settings, whiteflies can significantly reduce crop yields. Infestations can lead to economic losses due to diminished productivity and compromised plant health.


Similar Posts


Natural Remedies to Combat Whiteflies

Spraying with Neem Oil: Neem oil, a natural insecticide, disrupts the life cycle of whiteflies. Dilute it with water and apply it to the affected plants, focusing on the undersides of leaves.

Introduce Beneficial Insects: Predatory insects like ladybugs, lacewings, and certain species of parasitic wasps feed on whiteflies, helping to control their population naturally.

Homemade Insecticidal Soap: Mix liquid soap with water and spray it on the infested plants. This solution suffocates whiteflies, effectively reducing their numbers.

Cultural Practices for Prevention

Pruning Infested Leaves: Regularly inspect your plants and remove heavily infested leaves to prevent the spread of whiteflies.

Hosing Down Plants: Use a strong jet of water to dislodge whiteflies from plants. To interrupt their lifecycle, it is recommended to repeat this process every few days. Please make sure to follow this procedure regularly.

Yellow Sticky Traps: Hang yellow sticky traps around affected plants. Whiteflies are attracted to the color yellow and get trapped on these sticky surfaces.

Chemical Control Methods

When natural remedies prove insufficient, resort to chemical solutions:

Insecticidal Sprays: Chemical insecticides, labeled specifically for whiteflies, can be used as a last resort. Follow instructions meticulously and avoid harming beneficial insects.

Systemic Insecticides: These are absorbed by the plant, making it toxic to whiteflies. Exercise caution and follow directions closely when using systemic treatments.

Preventive Measures for Long-Term Control

Regular Monitoring: Maintain vigilance over your garden to catch whitefly infestations early, preventing widespread damage.

Diverse Plantings: Promote biodiversity in your garden to minimize the risk of severe infestations. Companion planting can deter whiteflies from targeting specific plants.

Conclusion

In conclusion, battling whiteflies demands a multi-faceted approach. Combining natural remedies, cultural practices, and, if necessary, targeted chemical control methods, can effectively rid your garden of these persistent pests. Remember, consistency and early intervention are key to maintaining a healthy and thriving garden ecosystem.

Whether it’s organic solutions, cultural practices, or targeted interventions, reclaiming your garden from whiteflies is achievable with persistence and the right strategies in place.

Happy Gardening!

Banishing Mealy Bugs: A Comprehensive Guide to Eliminating the Garden Pest!

Introduction:

Mealy bugs, those tiny, soft-bodied insects that cluster on your beloved plants, can quickly become a gardener’s nightmare. Their voracious appetite for sap weakens plants and leads to unsightly damage. However, with the right strategies, you can effectively get rid of mealy bugs and protect your garden. In this comprehensive guide, we’ll explore various methods to banish mealy bugs, ensuring a thriving and healthy garden.

Identification and Early Detection:

Before launching into eradication efforts, it’s crucial to correctly identify mealy bugs. These pests are small, cottony, and often found in clusters on the undersides of leaves, stems, or in leaf joints. Early detection is vital for effective control. Regularly inspect your plants, especially the new growth, for any signs of these pests.

Isolation of Infected Plants:

Upon detecting mealy bugs, isolate the affected plants immediately. This prevents the pests from spreading to nearby healthy plants. Place the infested plant away from the rest of your garden until the mealy bug infestation is under control.

Manual Removal:

For a small infestation, manually removing mealy bugs can be surprisingly effective. Use a cotton swab or a soft brush dipped in a mixture of water and mild soap to gently wipe away the bugs. Focus on the undersides of leaves and the joints where they tend to congregate.

Stop Proliferators:

Ants, seemingly innocuous garden visitors, can play a significant role in the spread of mealy bugs, notorious pests that can wreak havoc on your plants. Mealy bugs, known for their sap-sucking tendencies, often find a willing accomplice in ants. These industrious insects act as vectors, transporting mealy bugs from plant to plant, facilitating their infestation. To safeguard your green companions, it’s crucial to be vigilant about the presence of ants in your pots. Regularly inspect and ensure that your plants’ containers are ant-free, creating a first line of defense against the unwelcome collaboration between ants and mealy bugs. By breaking this cycle, you take a proactive step in maintaining a thriving and pest-free garden environment.

Natural Predators:

Introducing natural predators into your garden is an eco-friendly and effective way to control mealy bug populations. Ladybugs, lacewings, and predatory beetles are known to feed on mealy bugs. Create a welcoming environment for these beneficial insects by planting nectar-rich flowers or installing insect houses.

Neem Oil:

Neem oil, derived from the neem tree, is a potent natural insecticide that disrupts the life cycle of mealy bugs. Dilute neem oil according to the instructions and spray it directly on the affected plants. This not only kills existing mealy bugs but also acts as a deterrent for future infestations.


Similar Posts


Insecticidal Soap:

Insecticidal soaps are another effective and safe option for controlling mealy bugs. These soaps work by suffocating the pests without harming the plants. Apply the soap directly to the affected areas, making sure to cover the mealy bugs thoroughly. Repeat the application as needed.

Alcohol Spray:

A simple and readily available solution is a mixture of rubbing alcohol and water. Mix equal parts of rubbing alcohol and water in a spray bottle and apply it directly to the mealy bugs. The alcohol dissolves the waxy coating on their bodies, dehydrating and ultimately killing them.

Organic Pesticides:

Several organic pesticides, such as insecticidal oils and diatomaceous earth, can be effective against mealy bugs. These products are plant-friendly and can be applied according to the package instructions. Always opt for organic solutions to minimize harm to beneficial insects and the environment.

Pruning Infested Parts:

If mealy bugs have infested specific parts of a plant, consider pruning those areas. Remove heavily infested leaves or stems, ensuring that you dispose of them away from the garden. Pruning helps reduce the overall mealy bug population and encourages new, healthy growth.

Maintaining Garden Hygiene:

Preventing mealy bug infestations requires maintaining good garden hygiene. Regularly clean your garden tools, pots, and surrounding areas to eliminate potential hiding spots for mealy bugs. Properly dispose of any debris or dead plant material to deter these pests from taking residence.

Conclusion:

Dealing with mealy bugs in your garden may seem daunting, but with a strategic and proactive approach, you can successfully banish these pests. Whether you opt for natural predators, organic solutions, or manual removal, consistent monitoring and early intervention are key. Remember to stay vigilant, practice good garden hygiene, and create an environment that fosters the well-being of your plants while deterring mealy bugs. By implementing these methods, you’ll reclaim your garden and enjoy a flourishing, pest-free oasis.

 Happy gardening!

Aeroponics Unveiled: Cultivating a Sustainable Future Without Soil!

Introduction

Aeroponics, a revolutionary approach to gardening, redefines how plants thrive without soil. This innovative method involves suspending plant roots in a nutrient-rich mist, fostering rapid growth and robust yields. Let’s delve into the world of aeroponics gardening, exploring its principles, benefits, setup, and its promising role in shaping the future of agriculture.

Understanding Aeroponics Gardening

Aeroponics stands out as a soilless cultivation technique, where plant roots receive a continuous, oxygenated mist rich in nutrients and water. Unlike traditional hydroponics, which submerges roots in water, aeroponics suspends them in the air, allowing maximum exposure to oxygen and nutrients. This method offers an optimal growing environment, promoting faster growth rates, increased nutrient absorption, and minimal resource consumption.

Advantages and Benefits

The benefits of aeroponics gardening are manifold. Firstly, it maximizes space utilization, allowing vertical stacking of plants, making it an ideal choice for urban or indoor gardening setups. Secondly, it significantly conserves water, using up to 90% less water than traditional soil farming methods. Furthermore, this approach minimizes the risk of diseases caused by soil-borne pathogens, ensuring healthier plants. Lastly, aeroponics facilitates year-round cultivation, enabling consistent harvests regardless of seasonal changes.

Setting Up an Aeroponics System

Creating an aeroponics system involves a few key components. A reservoir holds the nutrient solution, which is then pumped through fine misting nozzles or sprayers. These nozzles disperse the nutrient solution directly onto the exposed roots of the suspended plants. An enclosed space or a specialized aeroponics chamber provides a controlled environment for optimal growth. While commercial systems are available, DIY setups using readily available materials are also popular among enthusiasts.

Key Considerations for Success

Maintaining an aeroponics system requires attention to key factors. Ensuring a balanced nutrient solution is crucial, as it directly influences plant health and growth. Regular monitoring of pH levels, nutrient concentrations, and water quality is essential for optimal plant development. Additionally, proper ventilation and lighting play pivotal roles in providing an ideal environment for plant growth, facilitating photosynthesis and overall health.

Plant Selection and Growth

A wide array of plants thrives in aeroponic systems, ranging from leafy greens and herbs to flowering plants and vegetables. Leafy greens like lettuce, spinach, and kale, alongside herbs such as basil and cilantro, exhibit remarkable growth in aeroponic setups. Additionally, tomatoes, cucumbers, peppers, and strawberries also flourish, showcasing the versatility of this cultivation method across various plant types.


Similar Posts


Setting up an aeroponics system

Setting up an aeroponics system involves a few key steps:

Selecting a System: Choose between DIY setups or commercial kits. DIY options might involve creating a reservoir, a spray manifold, and a support structure for the plants. Commercial kits often come pre-designed and are easier to set up.

Choose a Location: Find a suitable location with access to power, water, and enough space for your system. It’s important to take into account various factors such as temperature, humidity, and lighting.

Assemble Components: Gather the necessary components like a reservoir, pump, tubing, spray nozzles, growing chambers (where plants will be suspended), and a timer (for the pump).

Install the Reservoir: Set up the reservoir at a height to allow for gravity-fed watering. Connect the pump to the reservoir.

Setup Growing Chambers: Mount the plants or plant holders in the growing chamber. Ensure that the roots will be suspended and exposed to the mist generated by the system.

Connect Tubing and Nozzles: Connect the tubing to the pump and position the spray nozzles within the growing chamber. Ensure they’re evenly spaced and angled to cover the root area.

Test the System: Fill the reservoir with water and nutrient solution. Turn on the pump and verify that the misting system is working correctly.

Observation and Maintenance: It is important to regularly monitor and maintain the water level, pH, and nutrient concentration in the reservoir. Clean the nozzles periodically to prevent clogging. Additionally, monitor plant health and adjust the system as needed.

Harvest and Enjoy: Once your plants start growing, monitor their progress and harvest when ready!

Remember, aeroponics systems can vary based on scale and complexity. Always follow manufacturer instructions and consider seeking advice from experienced aeroponics growers for specific guidance.

The Future of Agriculture

Aeroponics gardening represents a glimpse into the future of agriculture, offering sustainable solutions to food production challenges. Its ability to maximize resources, reduce water usage, and cultivate plants in diverse environments positions it as a viable option for addressing global food security concerns. With ongoing advancements in technology and increased adoption, aeroponics has the potential to revolutionize farming practices worldwide.

Conclusion: Embracing a Sustainable Future

In conclusion, aeroponics gardening represents a transformative shift in how we cultivate plants, promising efficient resource utilization and sustainable yields. Its ability to overcome space limitations, conserve water, and foster healthier plant growth signifies a promising future for agriculture. As technology evolves and awareness grows, aeroponics stands as a beacon of hope, offering a path towards a greener, more resilient agricultural landscape.

From urban gardening enthusiasts to commercial growers, embracing aeroponics signifies a step towards sustainable, innovative farming practices that redefine our relationship with food production and the environment.

Happy Gardening!

Growing Green: New Year’s Resolutions for Your Flourishing Garden!

Introduction:

A new year brings opportunities for growth and renewal, not just for us but also for our gardens. As you step into the fresh canvas of a brand-new year, consider setting gardening resolutions that will nurture and elevate your green spaces. Here are some resolutions to inspire a thriving garden in the coming year.

Plan with Purpose:

Begin the year by mapping out a gardening plan. Assess your garden’s strengths and weaknesses, identify spaces for improvement, and set clear goals. Whether it’s expanding the variety of plants, creating dedicated zones, or enhancing sustainability, a well-thought-out plan sets the stage for a successful garden.

Embrace Sustainability:

Pledge to adopt eco-friendly practices in your garden. Explore composting, rainwater harvesting, and organic pest control methods. Incorporate native plants that thrive in your climate, reducing the need for excessive water and chemical interventions. Commit to reducing waste and recycling materials within your garden projects.

Learn and Experiment:

Cultivate a thirst for knowledge and experimentation. Dedicate time to learn about new plants, gardening techniques, or landscaping methods. Experiment with companion planting, vertical gardening, or different soil compositions. Expand your gardening horizons by trying new varieties or introducing a different style of gardening.

Prioritize Soil Health:

Make a resolution to care for your soil. To have a healthy garden, it is crucial to have good quality soil as it serves as the foundation. Commit to enriching the soil with organic matter, regularly testing its pH levels, and ensuring proper drainage. Focus on soil amendments and mulching to improve fertility and structure, fostering a nurturing environment for plant growth.

Create Biodiversity:

Aim to foster biodiversity within your garden. Encourage a variety of flora to attract pollinators, beneficial insects, and birds. Designate spaces for native plants, herb gardens, or wildlife habitats. Create a harmonious balance that supports the ecosystem and increases resilience against pests and diseases.


Similar Posts


Regular Maintenance:

Dedicate time for consistent garden care. Develop a routine for watering, weeding, pruning, and pest control. Regular maintenance not only keeps your garden aesthetically pleasing but also promotes plant health and productivity.

Grow Your Own Food:

Resolve to cultivate a more sustainable lifestyle by growing your own produce. Set a goal to grow a specific percentage of your food supply. Start small if you’re a beginner, with easy-to-grow herbs or salad greens in containers. Gradually expand to include vegetables and fruits that suit your climate and gardening space.

Share the Bounty:

Share the joy of gardening by involving friends, family, or the community. Consider starting a community garden project or sharing your surplus produce with neighbors. Engage in gardening forums or social media groups to exchange ideas, tips, and seeds.

Embrace Garden Therapy:

Recognize the mental and physical benefits of spending time in the garden. Make a resolution to dedicate moments in the garden for mindfulness, relaxation, and rejuvenation. Incorporate garden elements that foster a peaceful ambiance, such as a meditation corner or a tranquil water feature.

Celebrate Progress:

Lastly, celebrate every success and learn from setbacks. Keep a garden journal to document milestones, observations, and ideas. Embrace the journey of nurturing your garden, knowing that each season offers new lessons and growth opportunities.

As you step into the New Year, let your garden be a canvas for growth, learning, and joy. With these resolutions, embark on a gardening journey that nurtures not just your plants but also your soul.

Happy Gardening!

The Art of Planting and Growing Irises: A Seasonal Guide!

Introduction

In the realm of blossoming beauty and effortless elegance, few flowers rival the captivating allure of irises. Their vivid hues and minimal care requirements make them a cherished addition to any garden landscape. Yet, the journey of cultivating these floral gems requires more than just planting—they demand a delicate understanding of timing, soil, and care.

This comprehensive guide unveils the artistry behind growing irises, guiding both novice and seasoned gardeners through the seasonal nuances and essential practices of nurturing these exquisite blooms. From the pivotal timing of planting iris rhizomes to the strategic intricacies of dividing and replanting, each phase contributes to an enchanting narrative of patience, nurturing, and rewarding results.

Timing Is Key: Best Time to Plant Iris Rhizomes

Irises are a garden delight with their vibrant blooms and easy maintenance. Timing is crucial when it comes to planting these beauties. In the United States, August and September mark the shipment period for iris rhizomes from growers—a strategic choice for the optimal planting season.

Dividing Iris: A Simple Maintenance Task

Late summer through early fall is the prime window for planting iris rhizomes, allowing them to settle and establish their root systems before the arrival of harsh freezes. This period isn’t just for new plantings; it’s also ideal for dividing existing irises. Dividing iris is a straightforward task that ensures the health and happiness of your plants.

Optimal Growing Conditions for Irises

Understanding where irises flourish best is essential. They thrive in full sun, relishing at least 6 to 8 hours of sunlight daily. While they can tolerate less light, robust blooming depends on sufficient sunshine. Ideally, irises should be planted in well-draining soil, as they despise soggy conditions.

Soil Preparation: Setting the Stage for Healthy Growth

Preparing the soil for iris planting involves weeding, clearing debris, and ensuring proper drainage. While irises appreciate moist soil, they fare poorly in soggy conditions. Amending heavy clay soils for improved drainage is recommended, though bearded irises can tolerate various soil pH levels.

Fertilization Debate: To Fertilize or Not?

The debate on fertilization during planting persists among gardeners. While some opt for adding fertilizer to the soil, others rely on well-amended compost. Stirring fertilizer into the soil lightly can be beneficial, ensuring it reaches the roots effectively.


Similar Posta


Planting Iris Rhizomes: The Art of Surface Planting

Planting iris rhizomes is an art form in itself. Ensuring they remain close to the soil surface is crucial, as burying them too deep hampers their growth. The tops of the rhizomes should be visible after planting, allowing them to bask in sunlight.

Strategic Spacing for Successful Growth

Spacing is another vital consideration. Planting irises 6 to 12 inches apart facilitates better air circulation, reducing the risk of fungal issues. Adequate spacing also promotes their expansion, enabling the growth of new rhizomes for future divisions.

Replanting After Division: Creating Spectacular Displays

When it’s time to replant after dividing, strategic planting in clusters of three rhizomes can result in a spectacular display of blooms. Arranging them with their pointy tips facing each other in a circle fosters healthy growth.

Watering and Care: Nurturing New Plantings

Watering new plantings during dry spells is crucial to establish their roots and ensure their vitality. Come spring, the reward for your efforts materializes in the form of stunning iris blooms.

Spring Blooms: Patience and Reward

Remember, if your irises don’t bloom in the first season post-division, be patient—the smaller rhizomes often need an additional season to flourish.

Pest Vigilance: Guarding Against Iris Borers

Amidst the joys of growing irises, vigilance against pests like the iris borer is necessary. This pest can lead to bacterial soft rot, impacting the health of your plants. Vigilance and preventive measures go a long way in maintaining the vigor of your iris bed.

Conclusion: The Simple Pleasures of Growing Irises

In conclusion, growing irises isn’t just about planting—it’s a journey of nurturing and patience. The rewards, showcased in vibrant blooms and healthy rhizomes, make the process immensely gratifying. So, whether you’re a novice or a seasoned gardener, embracing the art of growing irises brings forth simplicity and unparalleled rewards to your garden.

Happy Gardening!

Blooming Splendor: Mastering the Art of Growing and Caring Freesia Flowers!

Freesia is a beautiful flower native to South Africa, which blooms in bright colors and releases a delightful citrusy fragrance in late spring and early summer. Its upward-facing blossoms have a tubular shape, and each stem produces 5 to 10 flowers that grow on one side only. The double-flowered hybrids offer an even more stunning display. It’s worth mentioning that the stems turn at right angles just below the lowest flower, which causes the blossoms to face upwards and attract pollinators. This feature makes freesia an excellent choice for floral arrangements.

Table Of Contents

How to Select Freesia Bulbs

When selecting freesia bulbs, opt for firm, plump corms devoid of any soft spots or signs of mold. Look for larger corms as they tend to produce more robust blooms. Ensure they are free from blemishes or cuts, indicating potential damage or disease. Additionally, choose bulbs that feel heavy for their size, indicating good moisture content and vitality, ensuring a promising start to their growth journey.

Where to Plant Freesia

Freesia is a plant native to the hot and dry regions of South Africa and it thrives in similar environments when planted in the garden. It is best grown in hot and dry planting sites such as south-facing foundation gardens, curbside, and sidewalk gardens. Freesia needs cool nights to flower well, so it is important to ensure that it gets the required temperature.

To achieve the best visual effect, plant freesia in clusters of 6 to 10. You can plant them as groups of single colors or mix the colors to create a confetti effect.

How and When to Plant Freesia

If you live in zones 9 or 10, you can plant freesia corms in the fall and enjoy their colorful racemes of flowers in spring. Planting them after the last frost in spring will ensure they bloom in late summer or early fall in cooler zones. Make sure to plant the corms with their pointed ends up, 1 to 2 inches deep, and no more than 2 inches apart.

However, in zones 3 to 8, the tender corms won’t survive the winter. You’ll have to dig them up after they have bloomed and the foliage has shriveled up, but before the first frost. Store them in sand or coconut coir in a cool, dry place at around 55 degrees F until you’re ready to replant them in the spring.

Freesia Care Tips

Light

Freesia thrives in full sun, but can also tolerate light morning shade.

Soil and Water

Freesia thrives in soil that is well-drained, fertile and enriched with organic matter. When planting, avoid overwatering as it can cause the bulbs to rot. Once the bulbs start sprouting, water them regularly but moderately, especially in the absence of rainfall. During the hot summer months, freesia will go dormant and should not be watered until the next growing season.

Temperature and Humidity

Freesia plants are typically hardy in zones 9 and 10. However, if you are in zone 8 and below, their corms will not survive the winter chill, so they need to be grown as an annual. The best time to grow freesia is during cool springtime temperatures between 55 and 60 degrees. These plants can tolerate humid conditions, but they will stop blooming and go dormant if the temperatures rise above 70 degrees F.

Fertilizer

Once the young plants reach a height of 6 inches, start fertilizing them every two weeks with a liquid fertilizer as per the manufacturer’s instructions.

Pruning

Freesias do not require pruning. After blooming, it’s crucial to wait for the narrow, blade-like leaves to turn yellow, wilt, and shrivel completely before removing them. This is when the plant forms new bulblets.


Similar Posts


Potting and Repotting Freesia

Freesia is a beautiful flower that can be grown in containers or planted alongside other annuals and perennials that don’t need too much watering. To grow freesia in containers, start in early spring by filling a 5-inch-tall planting pot with a mixture of lightweight potting soil and compost that drains well. Plant 6 to 8 corms, with their pointed ends up, about 1 inch deep. This will give you a cluster of lush freesias in late summer or early fall. Another option for growing spring-blooming freesia in containers is to plant them in pots during the fall and keep them in a frost-free area where the temperature remains between 55 and 60 degrees Fahrenheit.

Pests and Problems

Insects such as aphids and thrips are attracted to freesia plants. Additionally, snails and slugs may also feed on them. Freesia plants are susceptible to various diseases, including root and stem rot, which develops in wet conditions, dry rot, and fusarium wilt, a type of fungus.

How to Propagate Freesia

Freesias can be best propagated from corms, which are bulb-tuberous underground stems. The size of the corms determines the energy they contain, and subsequently, the size of the flowers they produce. Therefore, when propagating freesias, it is recommended to choose only large and healthy corms.

To propagate the plant, gently remove the corm offsets from the parent plant, making sure that they are not damaged. When planting, keep the corms 2 inches apart or denser, following the instructions for planting freesias.

Note that when propagating freesia from corms, they may not bloom in the first season, unlike newly purchased corms.

Freesia Companion Plants

Freesia is a unique cutting flower that is not commonly grown in home gardens. It is quite expensive at florists, but planting your own freesia can be a great way to enjoy the beauty of a florist shop bouquet from your backyard. You can create a charming garden bouquet by pairing freesia with dahlias, gladiolus, lady’s mantle (Alchemilla mollis), larkspur, cosmos (Cosmos bipinnatus), amaranth, and pincushion flower (scabiosa). When creating a cutting garden, it is recommended to plant in rows for easy care and harvesting all season long. You can also add structure to the planting bed by surrounding it with a low fence.

Cutting and Arrangements of Freesia Flowers

Freesias are known for their elegant blooms and citrusy fragrance, making them a perfect choice for cut flowers that can enhance any floral arrangements with their charm. When harvesting, it is best to wait until the first few buds begin to open but are not fully bloomed yet. Cut the stems at an angle and preferably in the morning or late afternoon. After cutting, immediately place them in lukewarm water to prolong their vase life. To keep them fresh longer, trim the stems every few days under running water, and change the water regularly. Freesias blend beautifully with other garden favorites such as dahlias, gladiolus, and cosmos, adding depth and fragrance to bouquets. Their slender stems and captivating upward-facing flowers make them a favorite for artistic arrangements, ensuring a delightful fragrance graces your indoor spaces while displaying their aesthetic appeal.

Conclusion

Embracing vibrant hues and fragrant blooms, cultivating freesias can enrich outdoor spaces and offer delightful arrangements for indoor displays. These elegant flowers grow gracefully in containers and make stunning cut flowers that captivate with their beauty and charm. Growing, arranging, and savoring freesias can infuse any space with a touch of floral elegance and a citrusy fragrance.

Happy Gardening!