Introduction
Garden enthusiasts continually seek natural and effective solutions to boost plant growth and health. One such age-old remedy that has gained attention is rice water. Often discarded after cooking rice, this nutrient-rich liquid is brimming with benefits that can significantly contribute to your garden’s well-being. Let’s delve into the multifaceted uses of rice water in gardening, alongside its advantages and potential drawbacks.
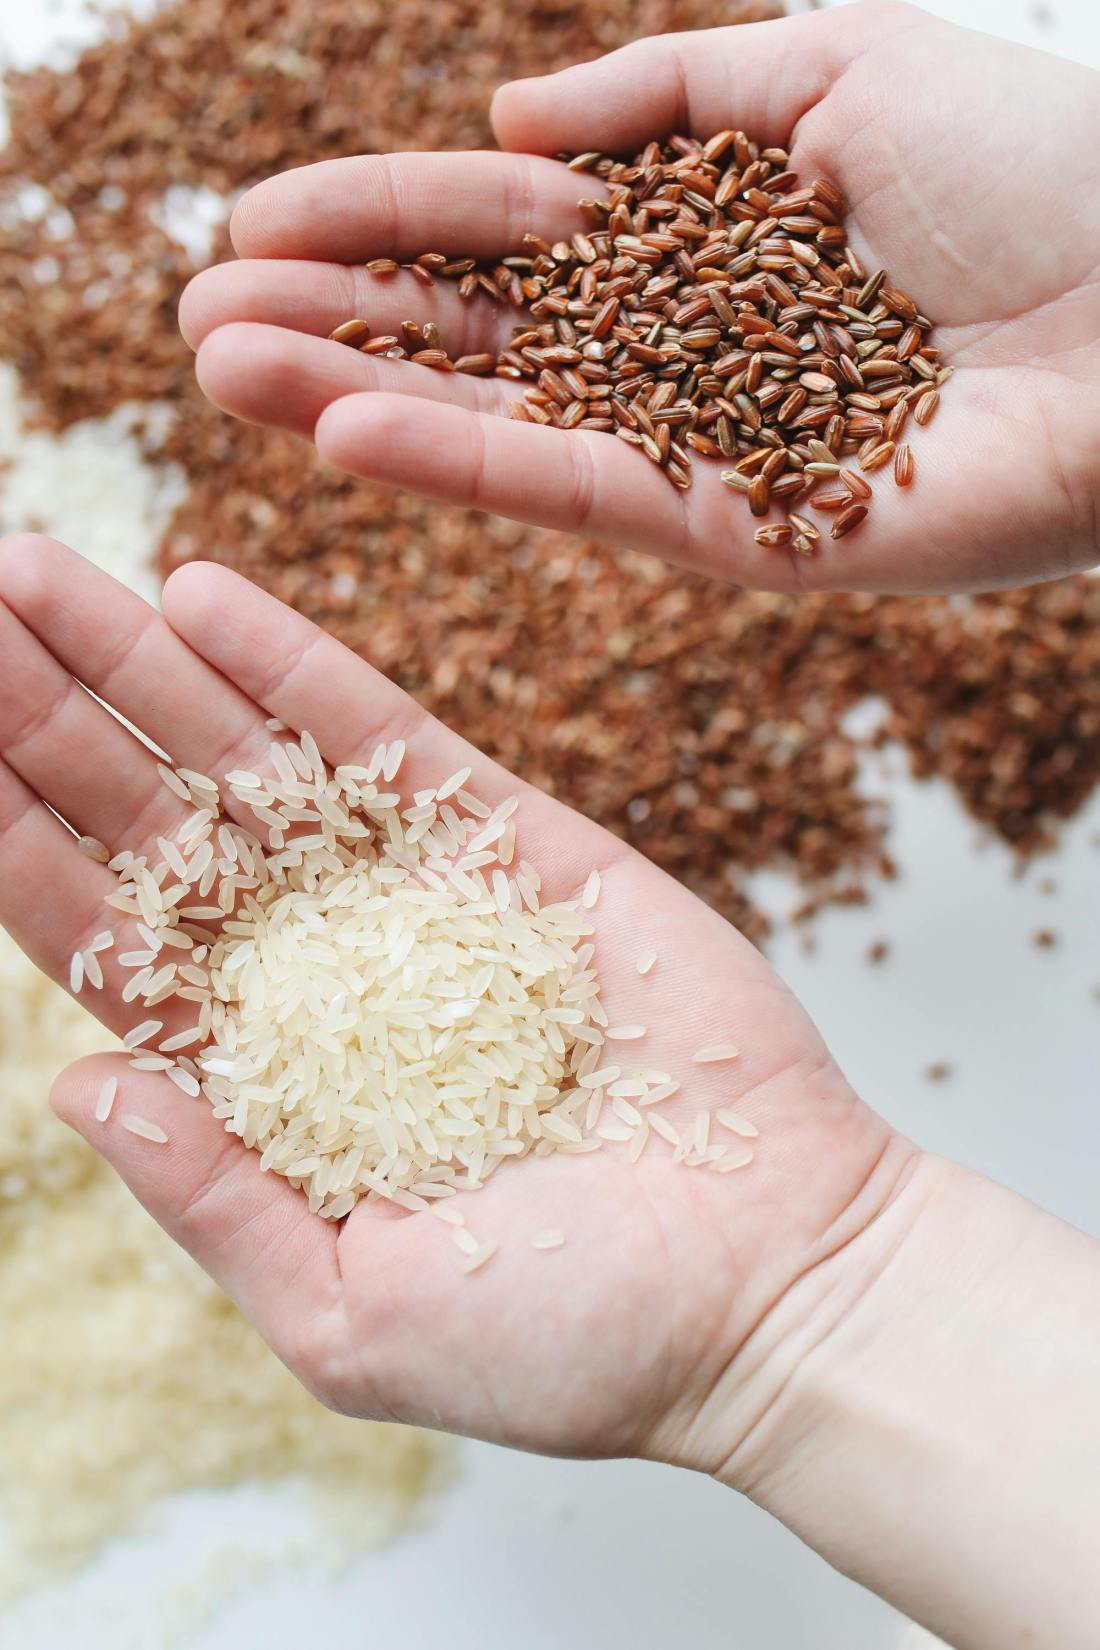
The Nutrient Profile of Rice Water
Rice water, the starchy liquid left behind after rinsing or boiling rice, is packed with essential nutrients that are beneficial for plants. It contains:
- Vitamins such as B1 (thiamine), B2 (riboflavin), B6 (pyridoxine), and vitamin E.
- Amino acids: are crucial for plant growth.
- Minerals like phosphorus and potassium that aid in root development and flowering.
- Carbohydrates: provide an immediate energy source for plants.
Using Rice Water in Gardening
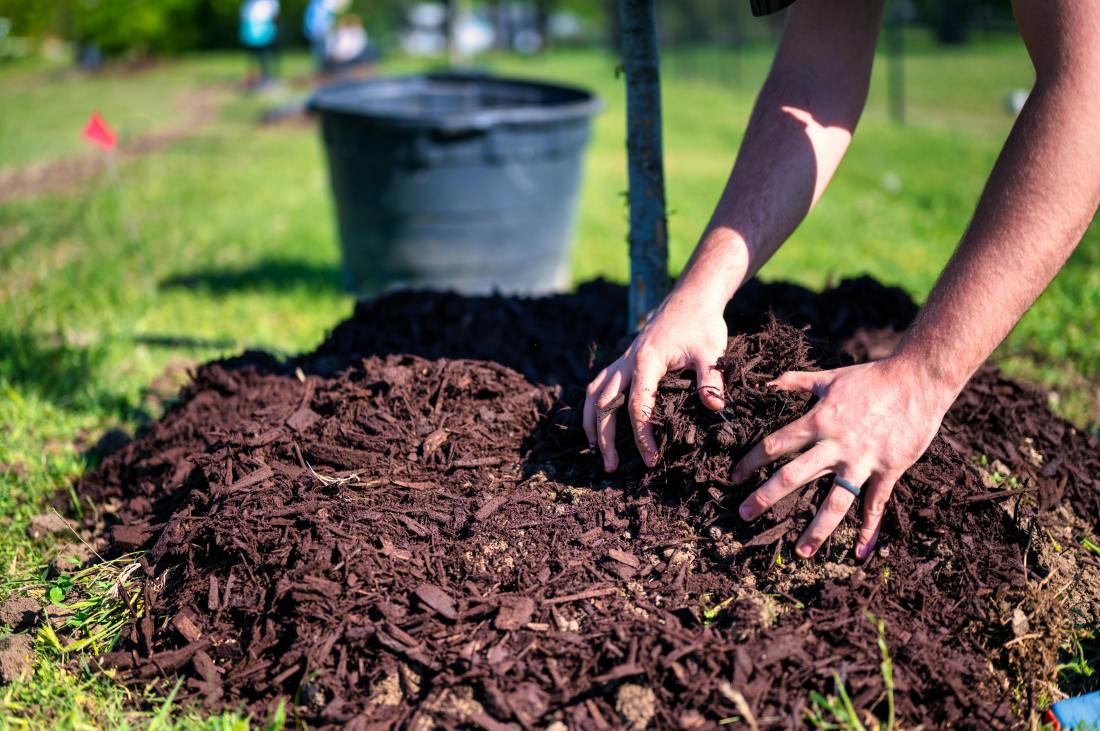
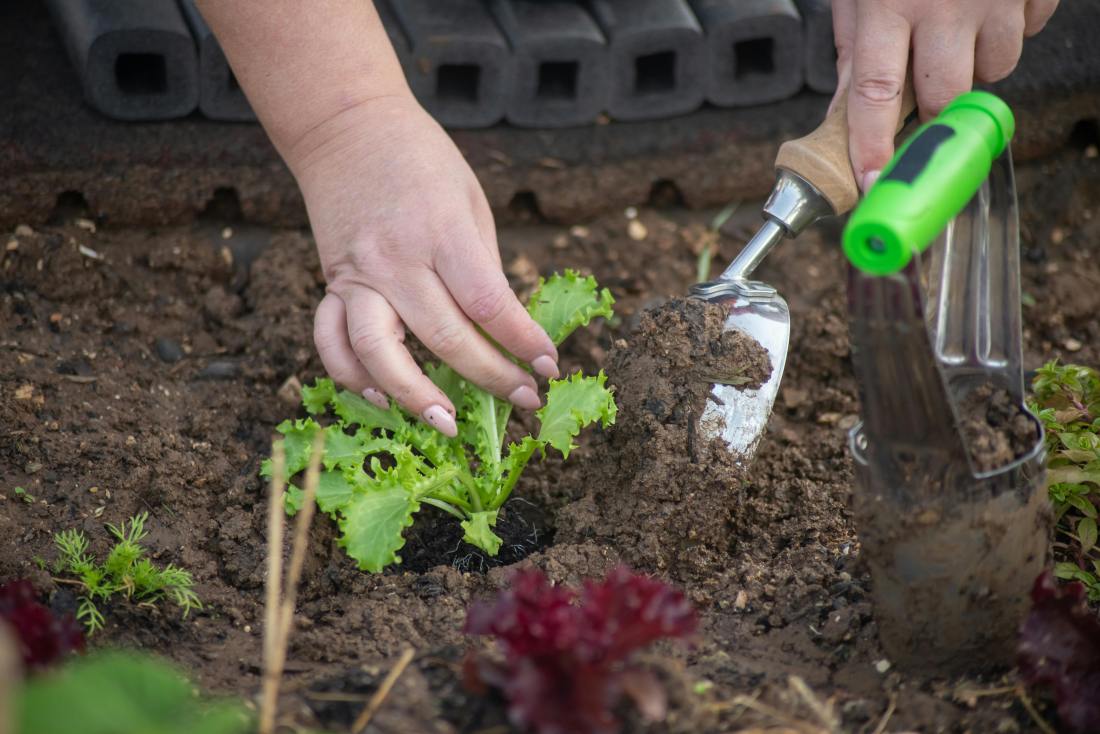
Soil Conditioner
Rice water serves as an excellent soil conditioner. The nutrients present in the water improve soil fertility, promoting the growth of beneficial microorganisms that aid in breaking down organic matter. This, in turn, enhances nutrient availability for plants, leading to healthier and more vigorous growth.
Fertilizer
One of the primary uses of rice water in gardening is as a fertilizer. Its nutrient content helps in the overall development of plants. Regular application can result in lush foliage, robust root systems, and improved flowering and fruiting. To use rice water as a fertilizer, simply dilute it with an equal amount of water and apply it to the base of your plants.
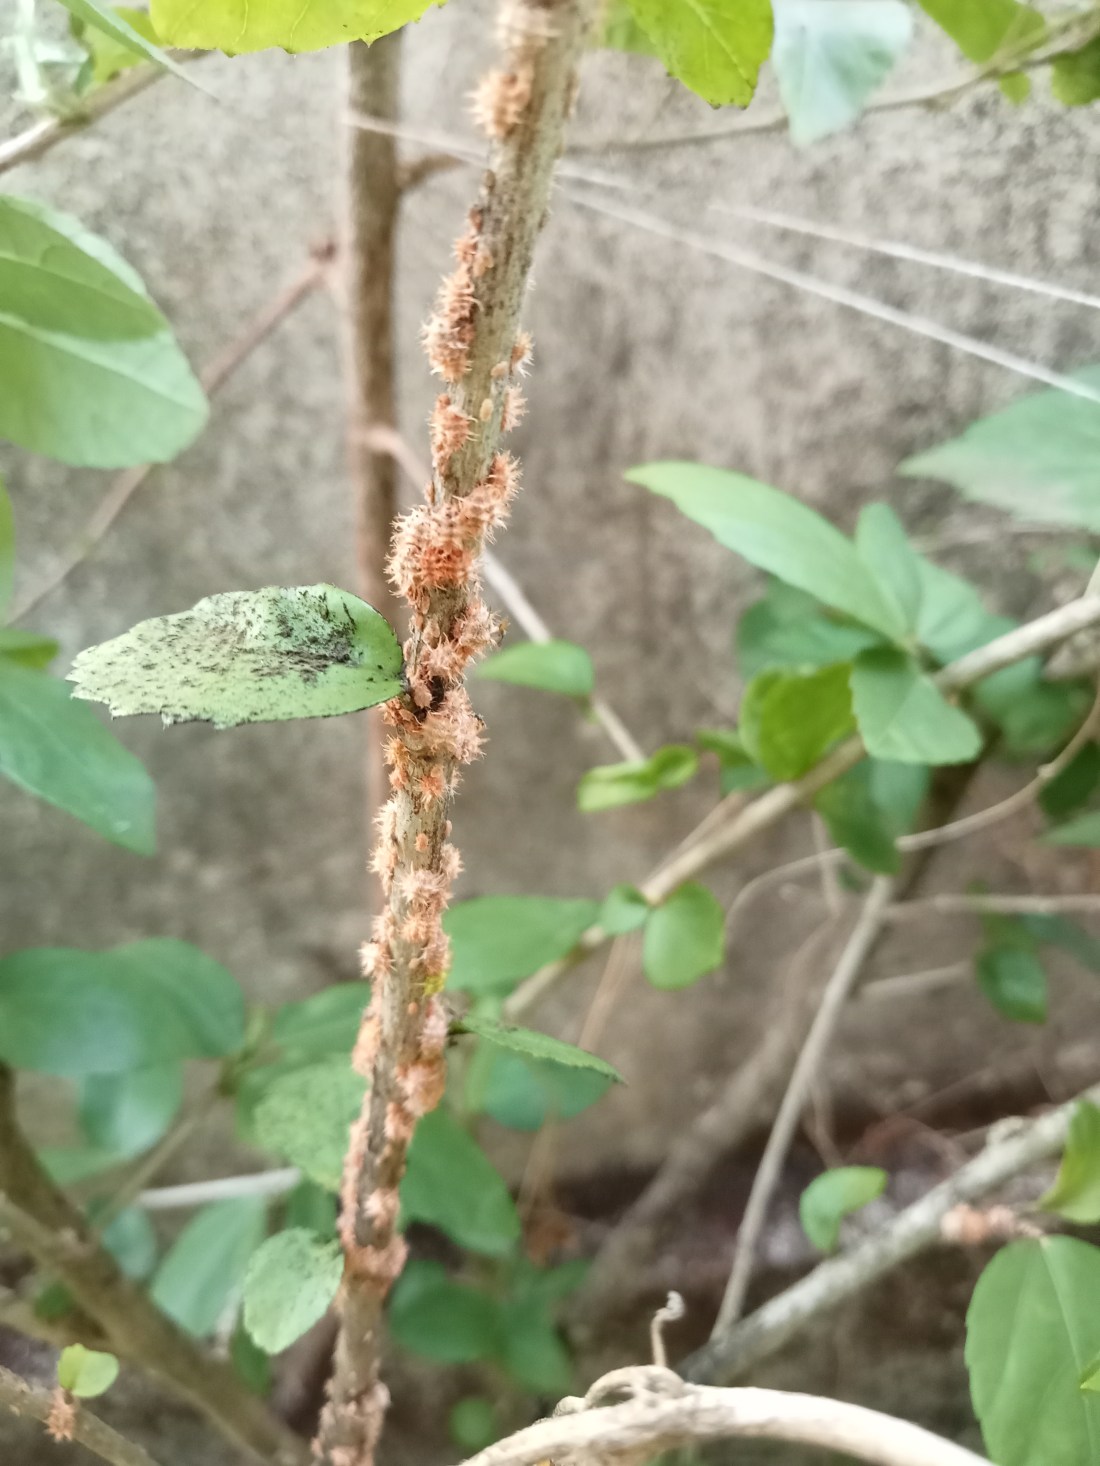
Pest Deterrent
The starch in rice water can create a protective barrier on plant leaves, making them less appealing to pests. While it may not completely eliminate pests, it can reduce their presence and prevent minor infestations from becoming major problems. Spray diluted rice water on the leaves to create this protective coating.
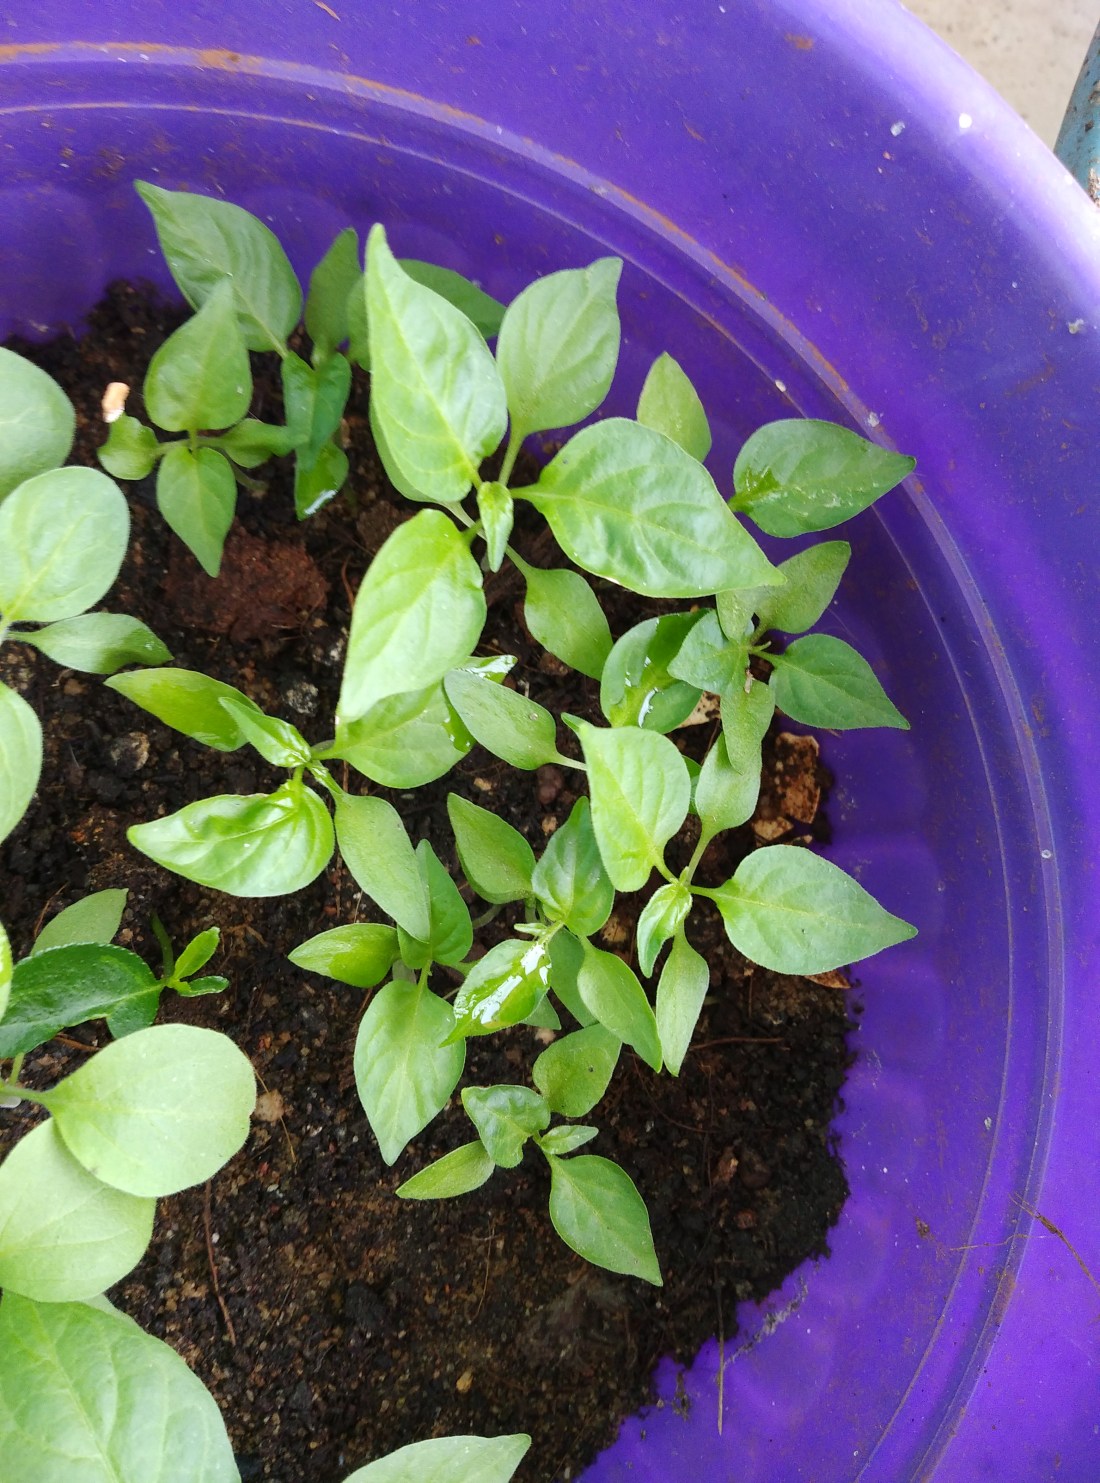
Seed Soaking Solution
Soaking seeds in rice water before planting can enhance germination rates. The nutrients in the water provide the seeds with a nutrient boost, giving them a head start in their growth journey. Simply soak the seeds in rice water for 12-24 hours before planting them in the soil.
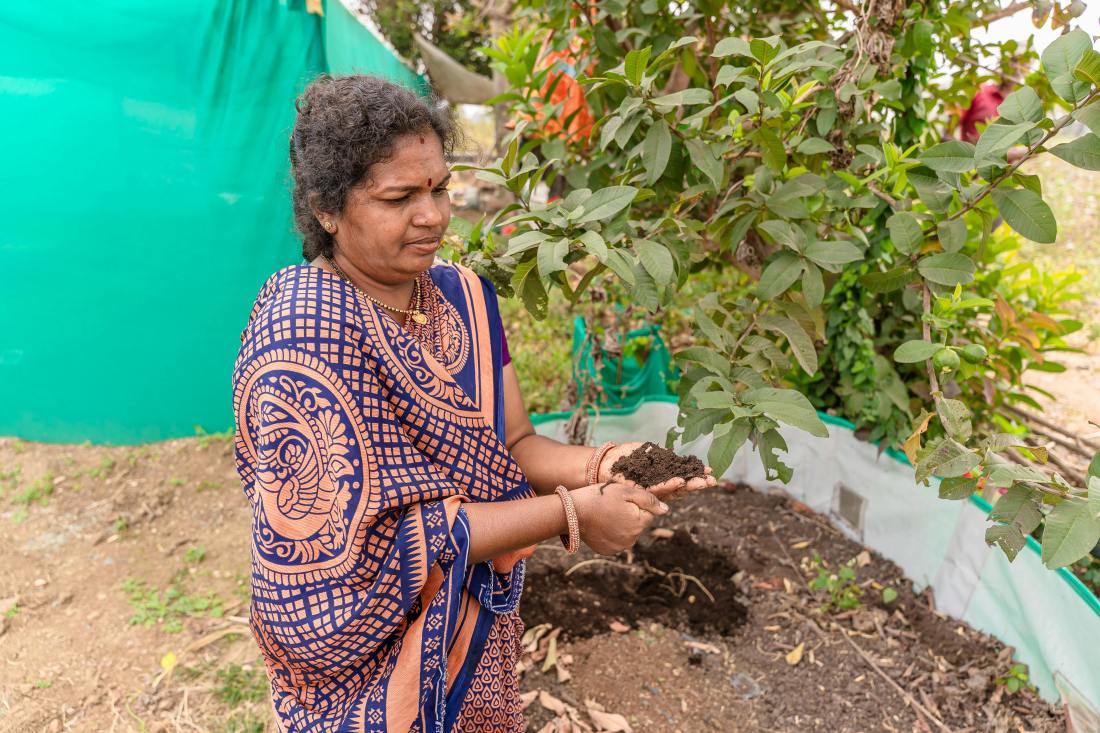
Compost Booster
Adding rice water to your compost pile can speed up the decomposition process. The microorganisms in the compost benefit from the additional nutrients, breaking down organic matter more efficiently. This results in rich, nutrient-dense compost that can be used to nourish your garden.
Similar Posts:
Pros of Using Rice Water in Gardening
Cost-Effective
Using rice water is a cost-effective way to improve your garden’s health. Instead of discarding the water after cooking rice, you can repurpose it, reducing waste and saving money on commercial fertilizers and soil conditioners.
Eco-Friendly
Rice water is an eco-friendly solution that promotes sustainable gardening practices. It reduces the need for chemical fertilizers and pesticides, which can harm the environment and disrupt the balance of your garden ecosystem.
Nutrient-Rich
The nutrient profile of rice water makes it a valuable addition to your gardening routine. It provides essential vitamins, minerals, and amino acids that support plant growth and development.
Enhances Soil Health
Regular application of rice water improves soil health by promoting the growth of beneficial microorganisms. This leads to better nutrient availability and improved soil structure, resulting in healthier plants.
Versatile
Rice water can be used in various ways in the garden, from fertilizing and conditioning the soil to deterring pests and enhancing seed germination. Its versatility makes rice water a valuable asset for a gardener.
Cons of Using Rice Water in Gardening
Potential for Overuse
While rice water is beneficial, overusing it can lead to nutrient imbalances in the soil. Too much starch can create an environment conducive to the growth of harmful microorganisms, which can negatively affect plant health. It’s essential to use rice water in moderation and dilute it before application.
Odor
Rice water can develop an unpleasant odor if left to sit for too long. This can be off-putting for some gardeners and may attract unwanted pests. To avoid this, use fresh rice water or store it in the refrigerator for no more than a week.
Attracts Pests
While rice water can deter some pests, it may attract others, especially if it starts to ferment. Fermented rice water can attract flies and other insects that can become a nuisance in the garden. It’s crucial to monitor its usage and ensure it doesn’t become a pest attractant.
Limited Nutrient Spectrum
Although rice water is nutrient-rich, it doesn’t provide all the essential nutrients that plants need. Relying solely on rice water may result in nutrient deficiencies over time. It’s important to use it as part of a balanced gardening regimen, complementing it with other fertilizers and soil amendments.
Risk of Pathogens
If not properly prepared or stored, rice water can harbor pathogens that can harm plants. It’s vital to ensure that the water is clean and hasn’t been left to sit at room temperature for extended periods. Using boiled rice water can mitigate this risk, as the heat kills potential pathogens.
Conclusion
In conclusion, rice water is a valuable resource for gardeners looking to enhance their plant’s health and promote sustainable gardening practices. Its nutrient-rich profile and versatility make it an excellent addition to your gardening toolkit. However, it’s essential to use it in moderation and be mindful of potential drawbacks to ensure the best results for your garden. By incorporating rice water into a balanced gardening regimen, you can enjoy the benefits of this natural remedy while maintaining the health and vitality of your plants.
Happy Gardening!