A Blooming Guide: Caring for Rose Plants!

Introduction

Roses, often referred to as the “queen of flowers,” are cherished for their beauty, fragrance, and symbolic significance. Caring for rose plants can be a rewarding and enjoyable experience, whether you’re a seasoned gardener or a beginner. In this article, we’ll explore essential tips and techniques to help you nurture your rose plants and ensure they thrive in your garden.

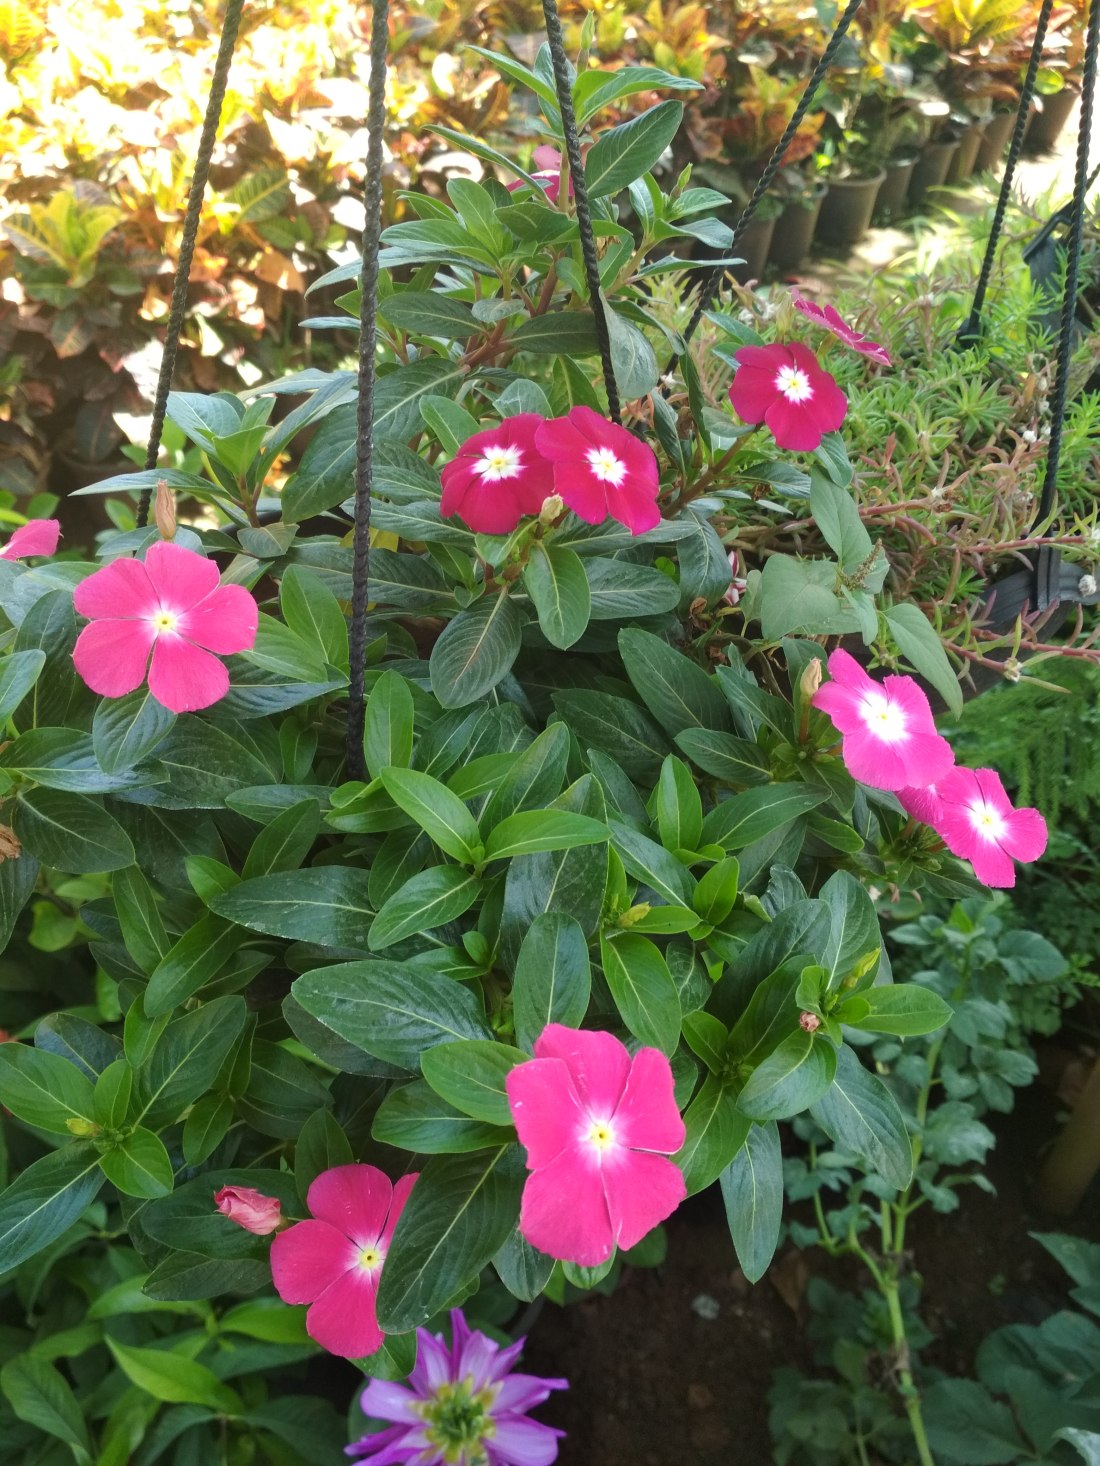
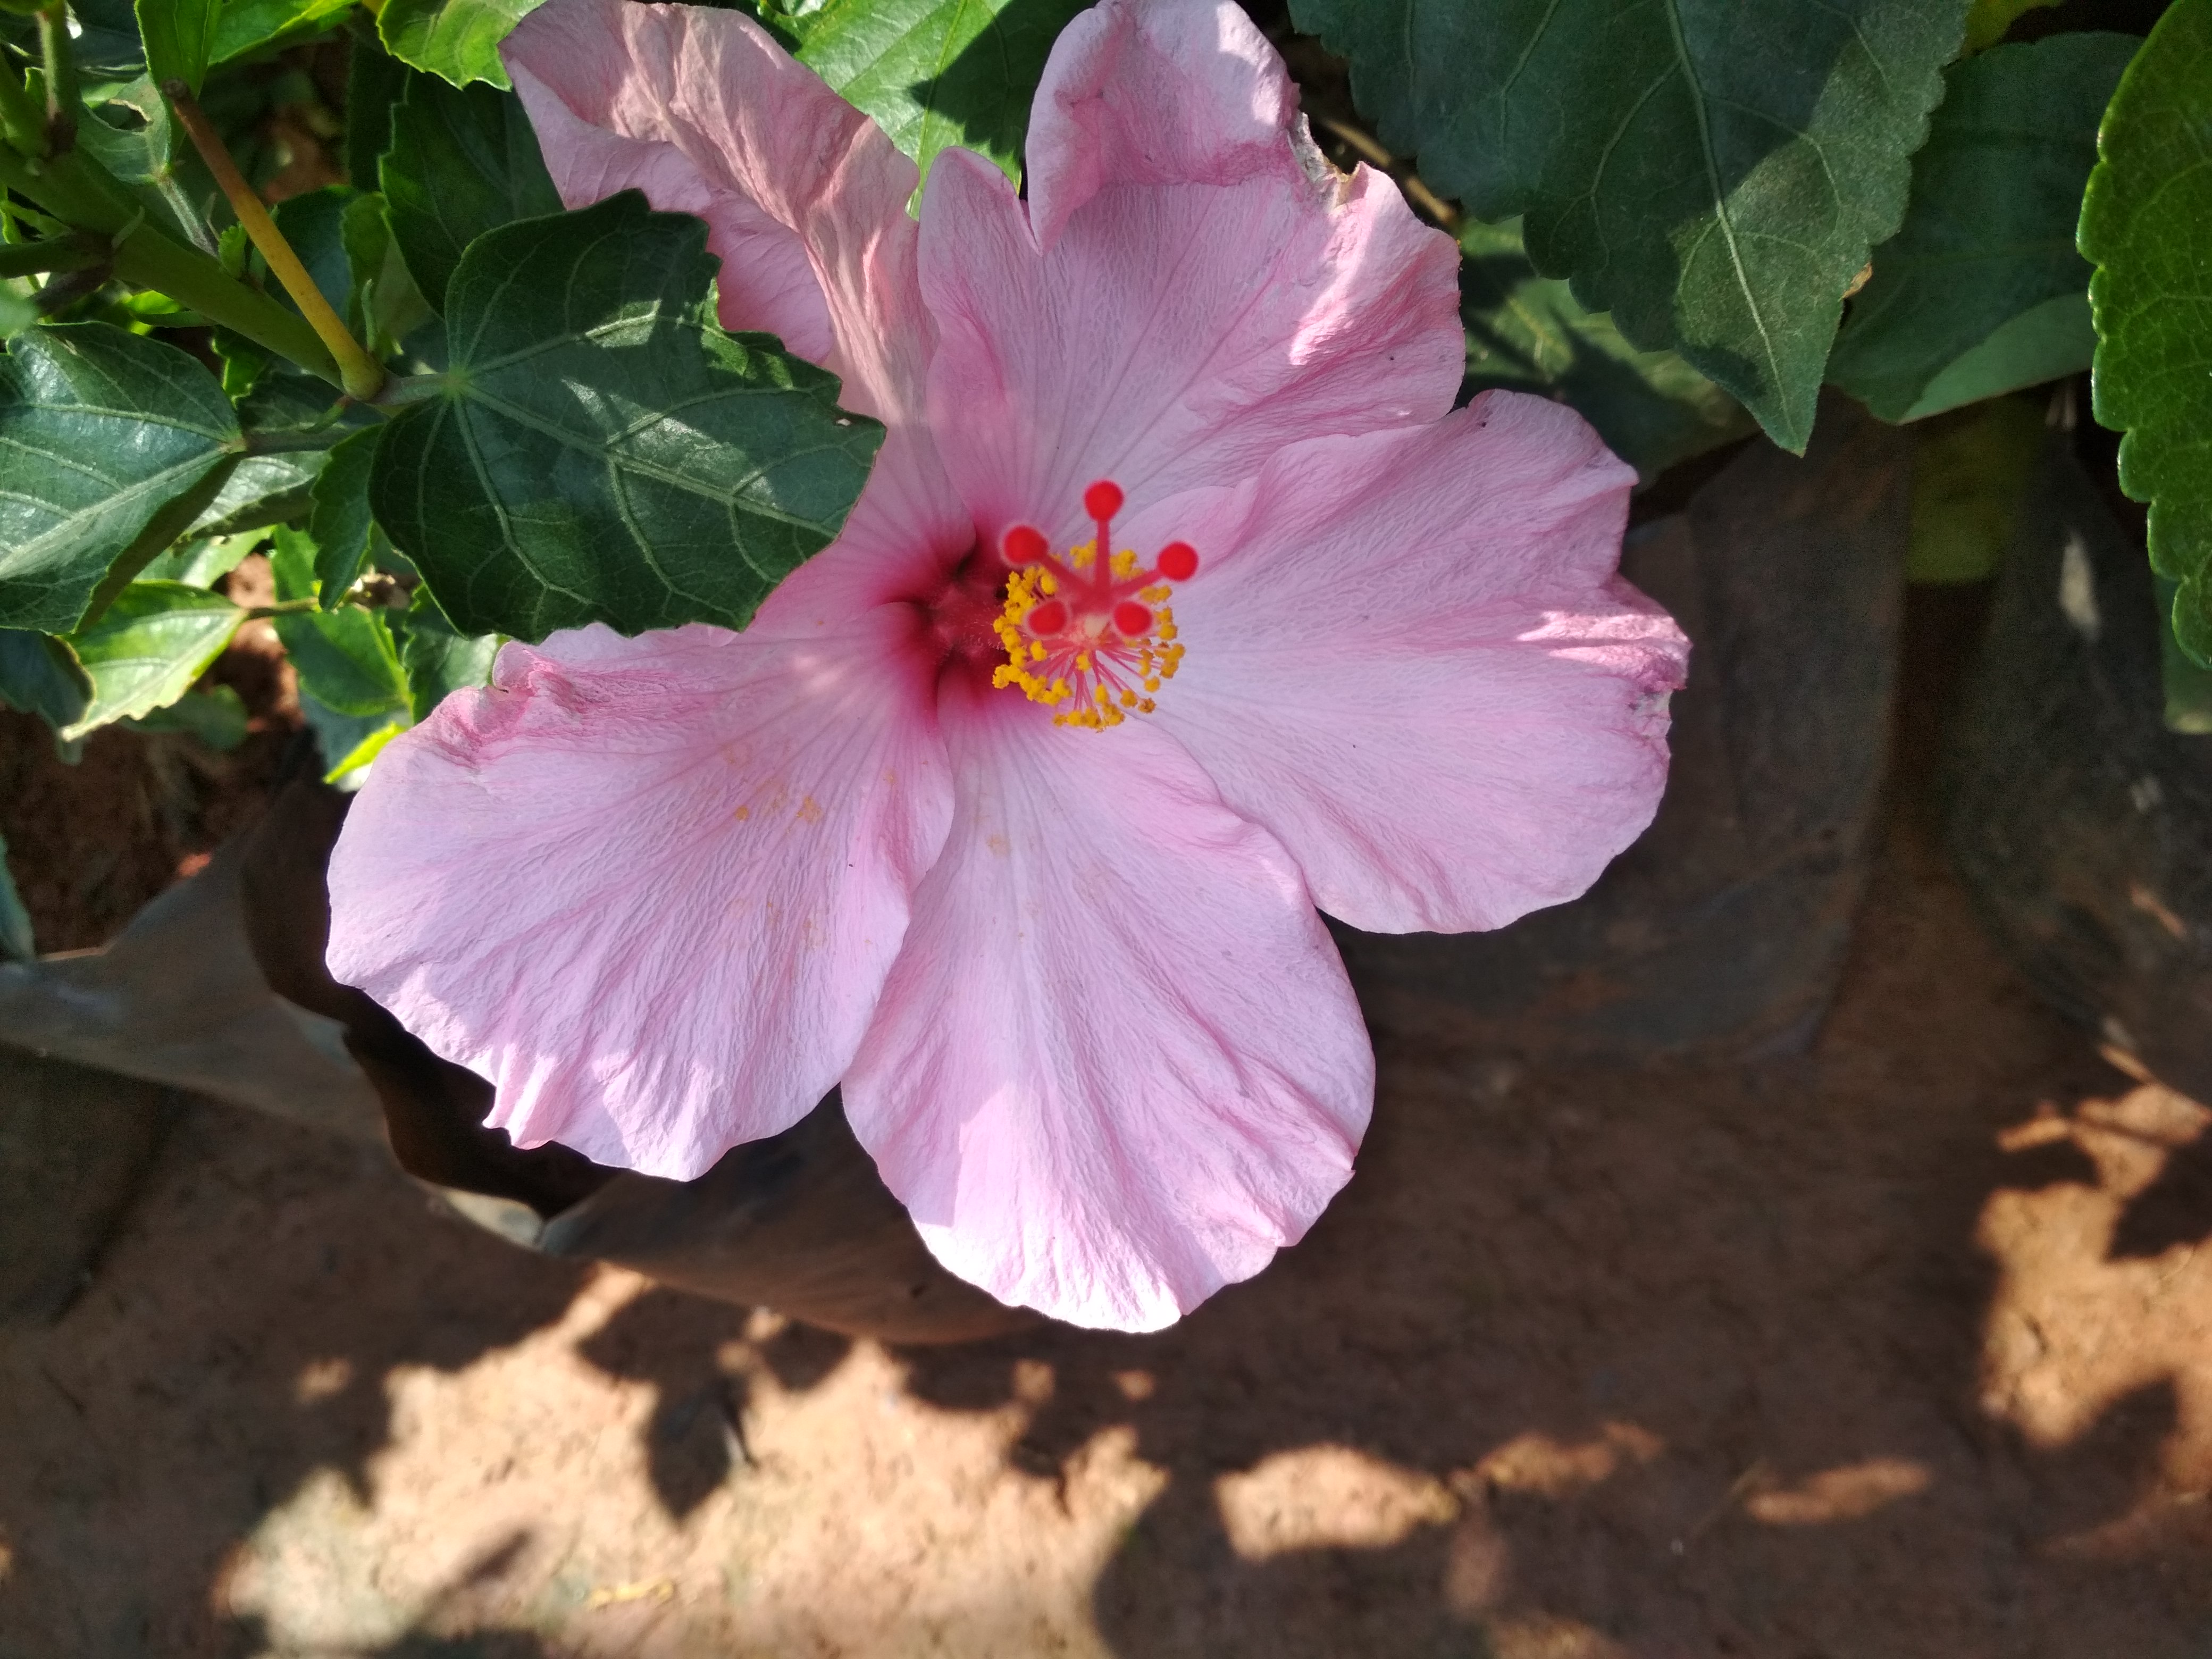
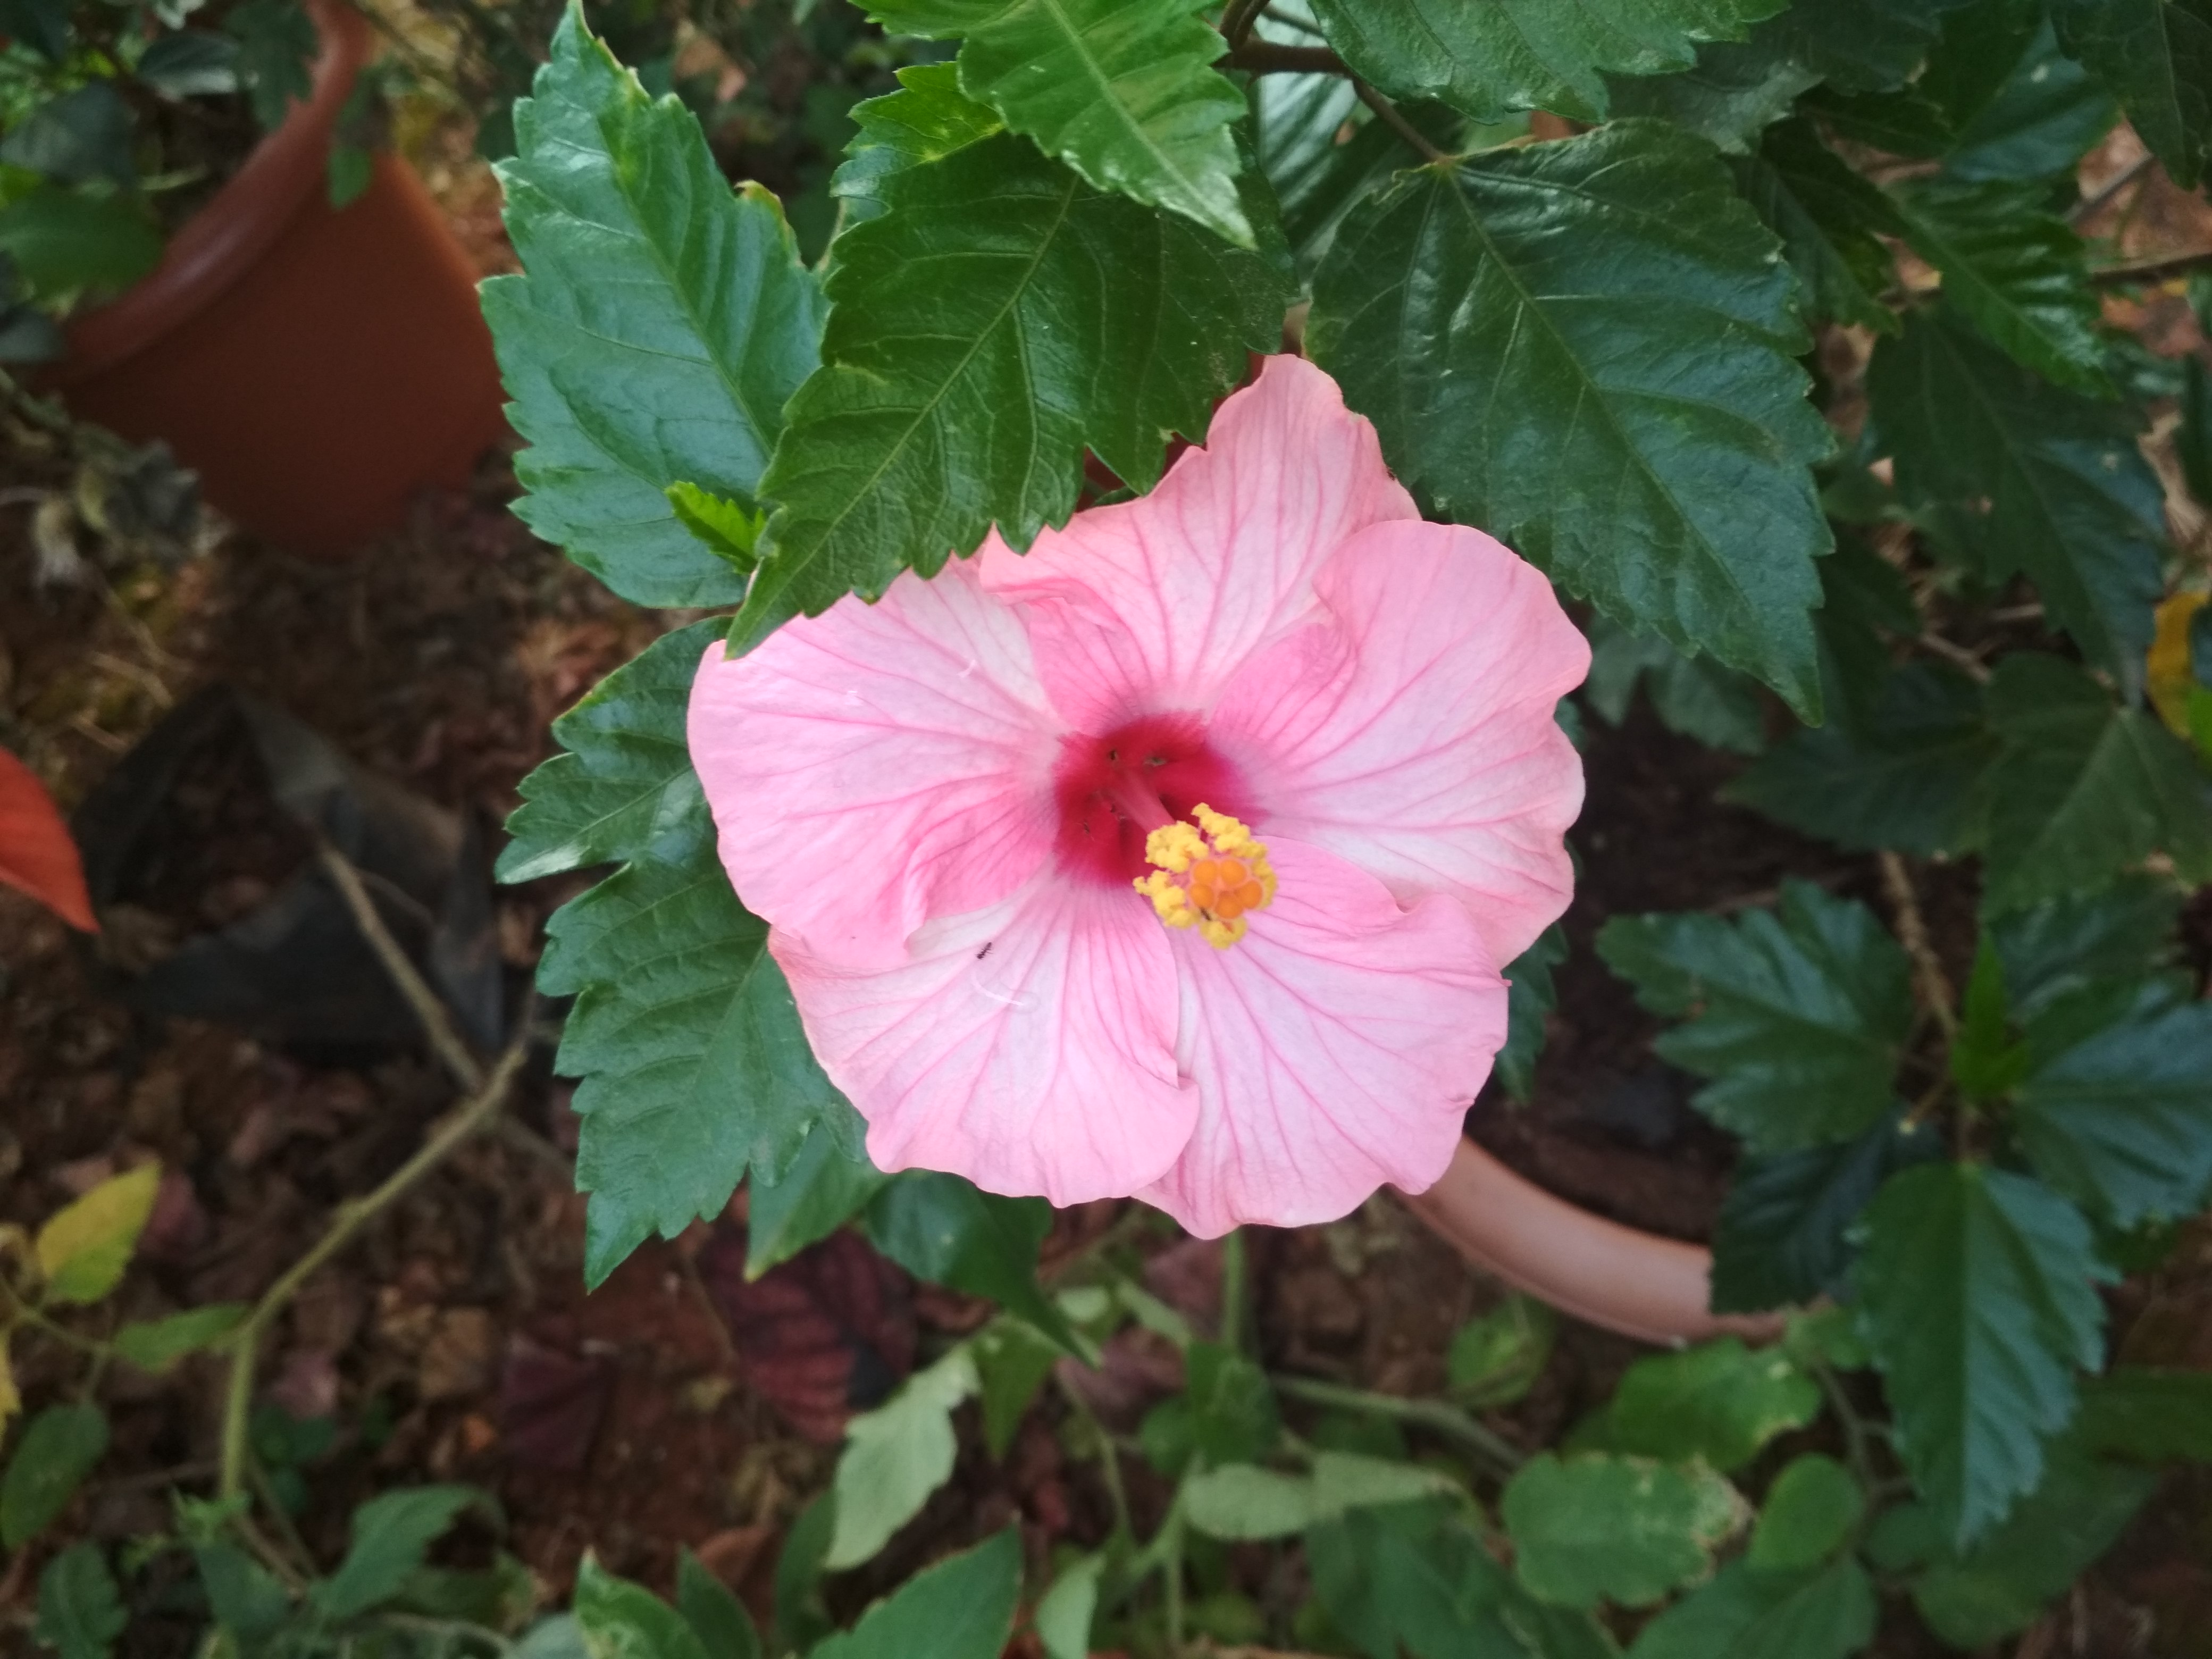
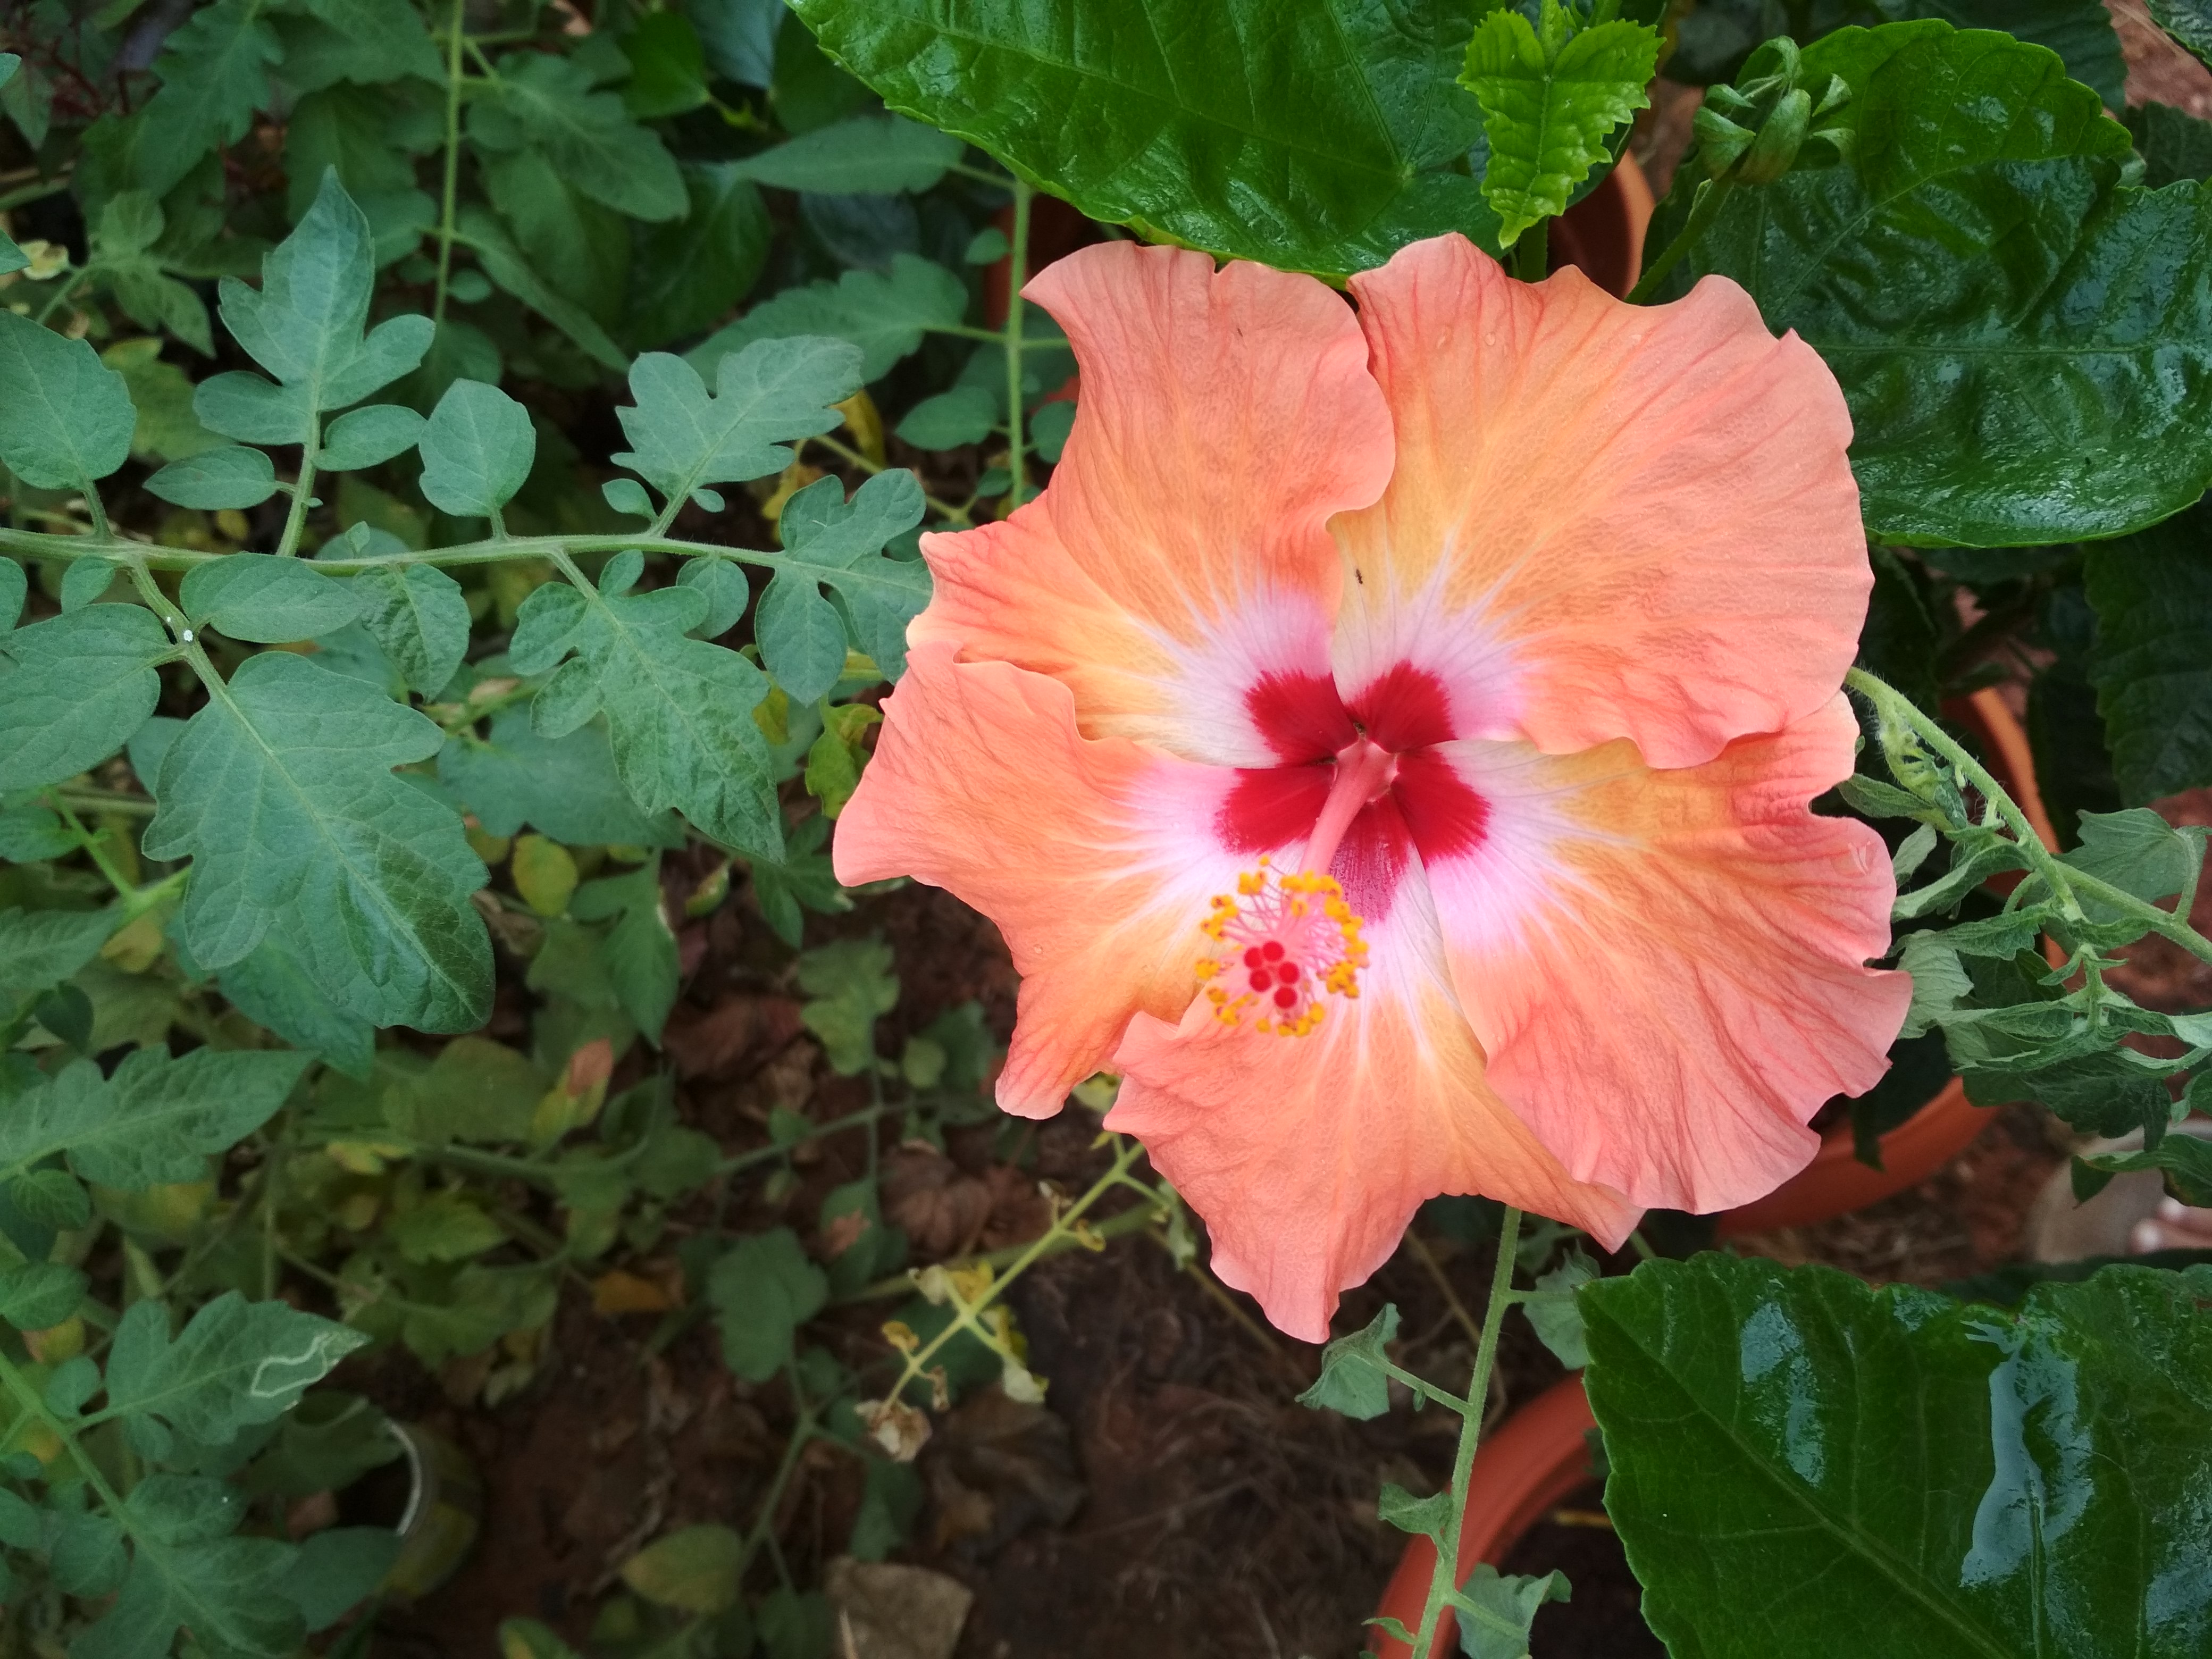
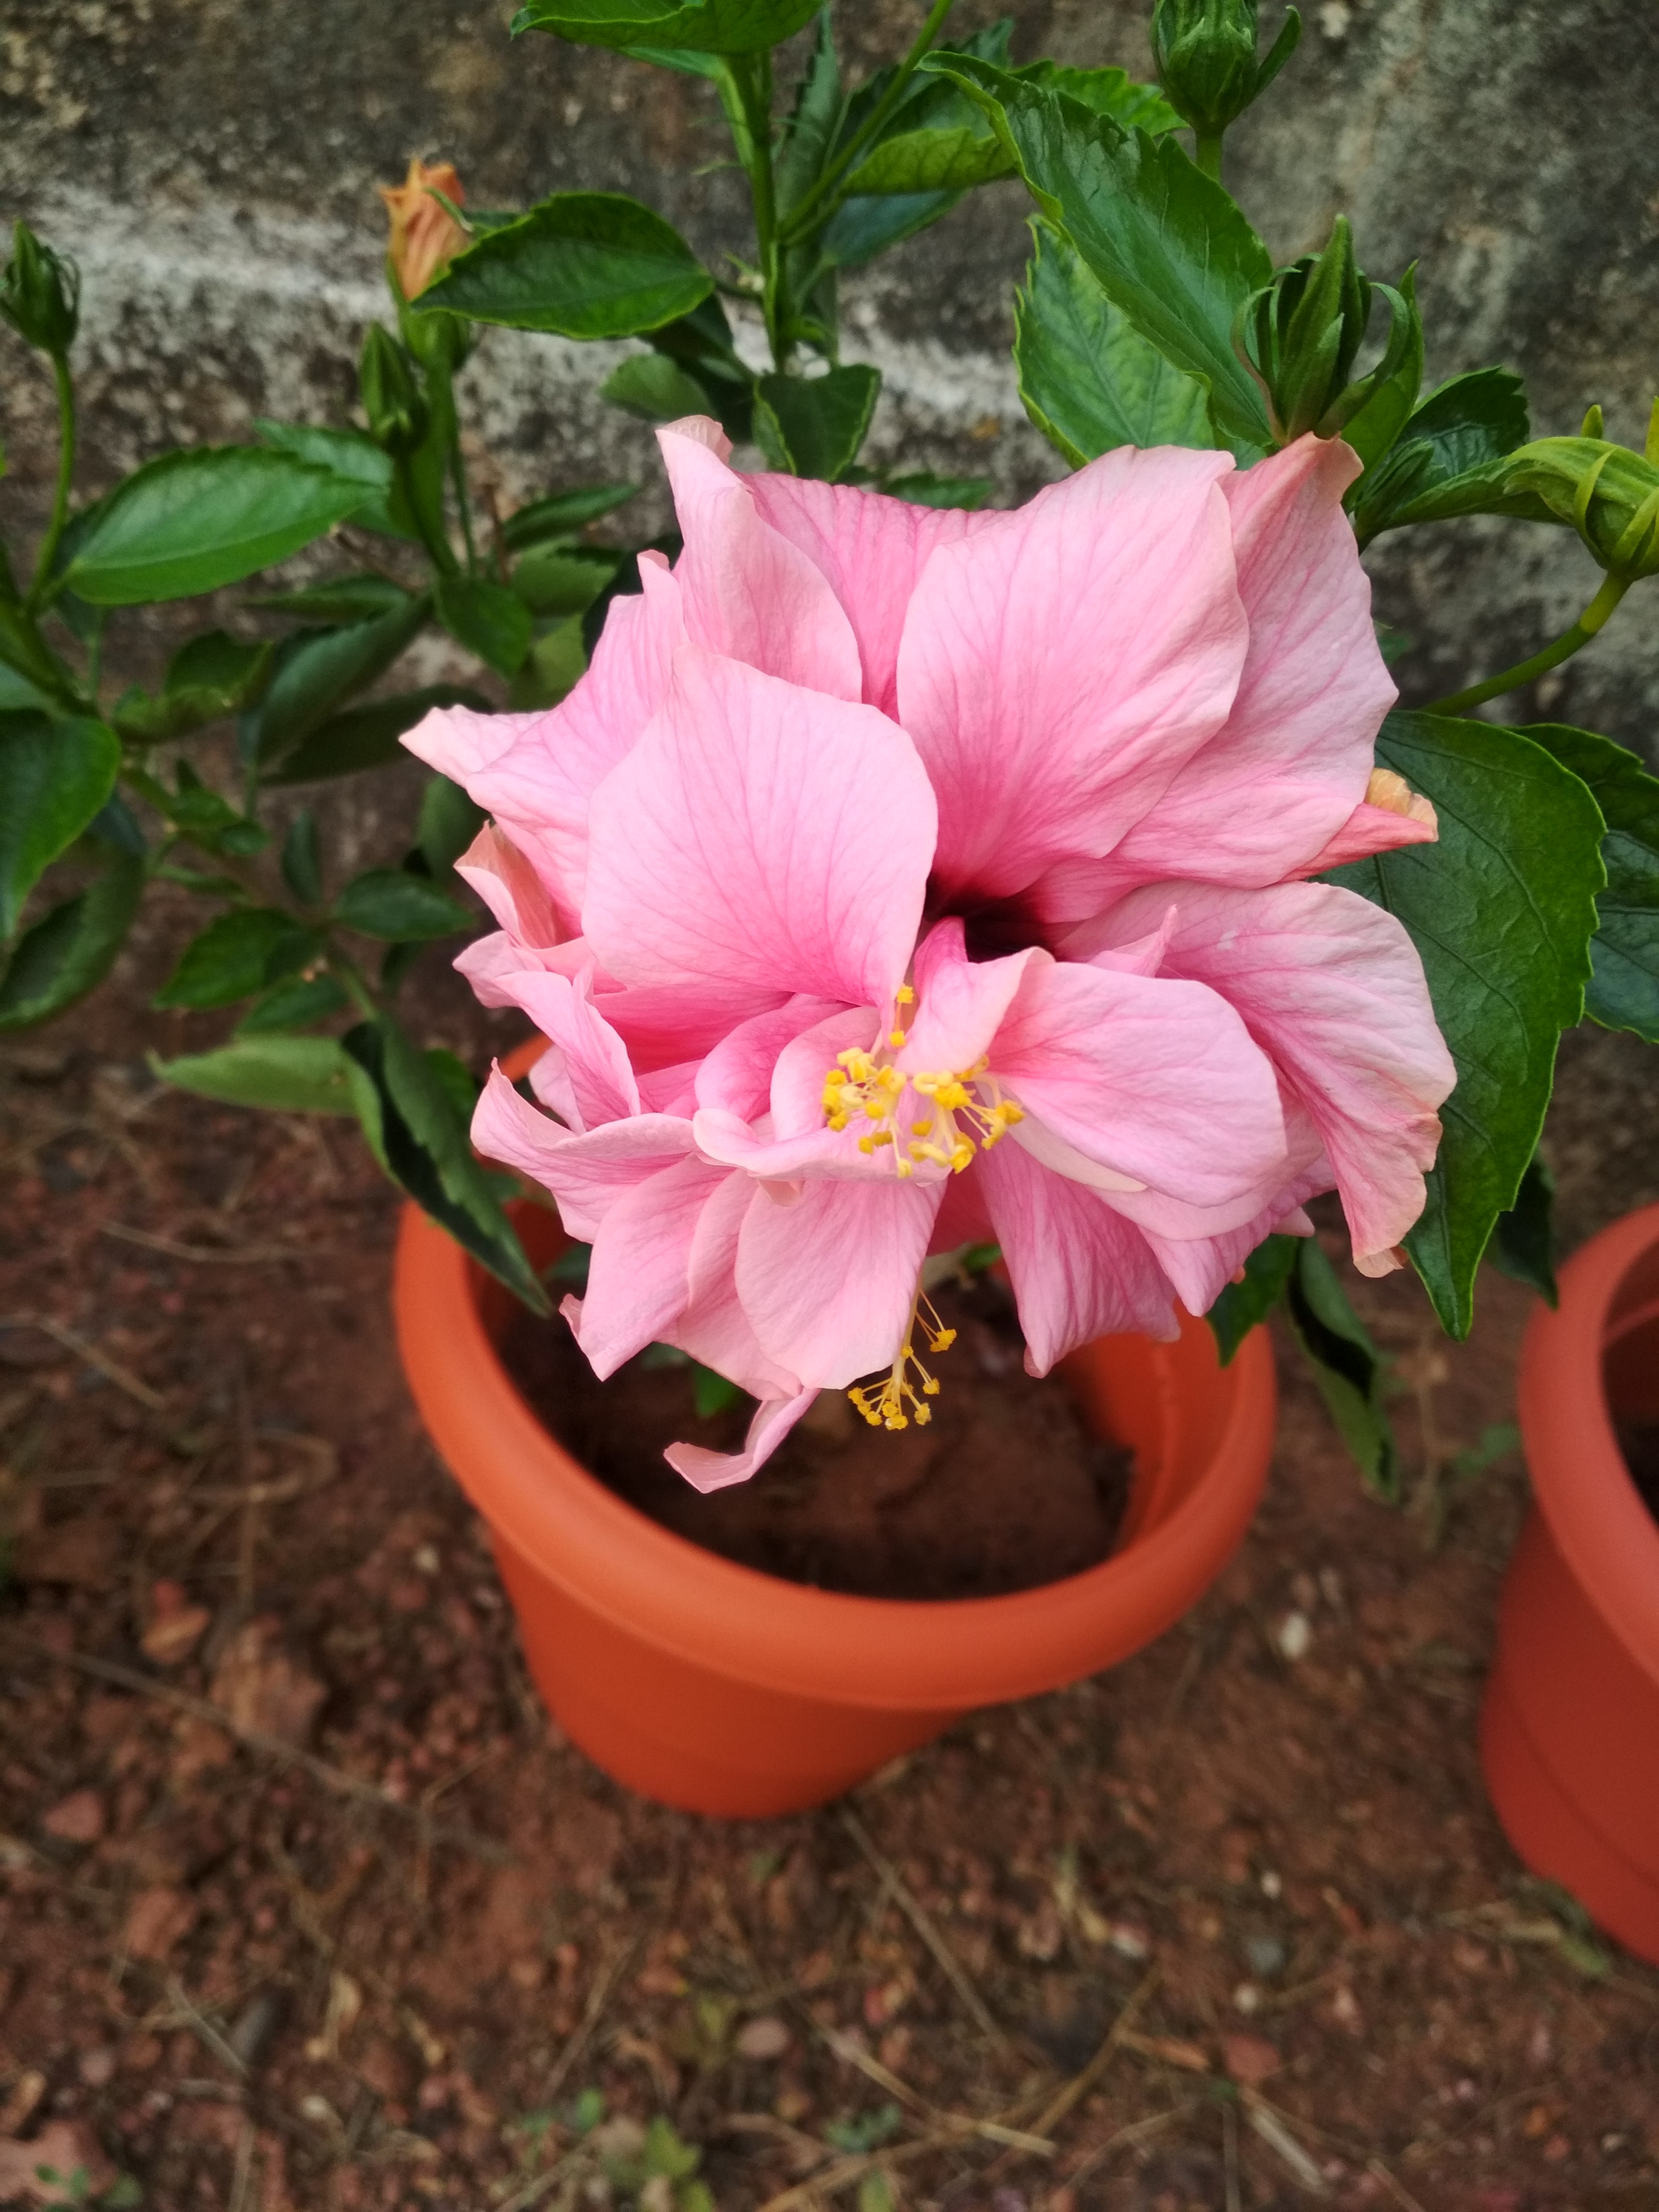
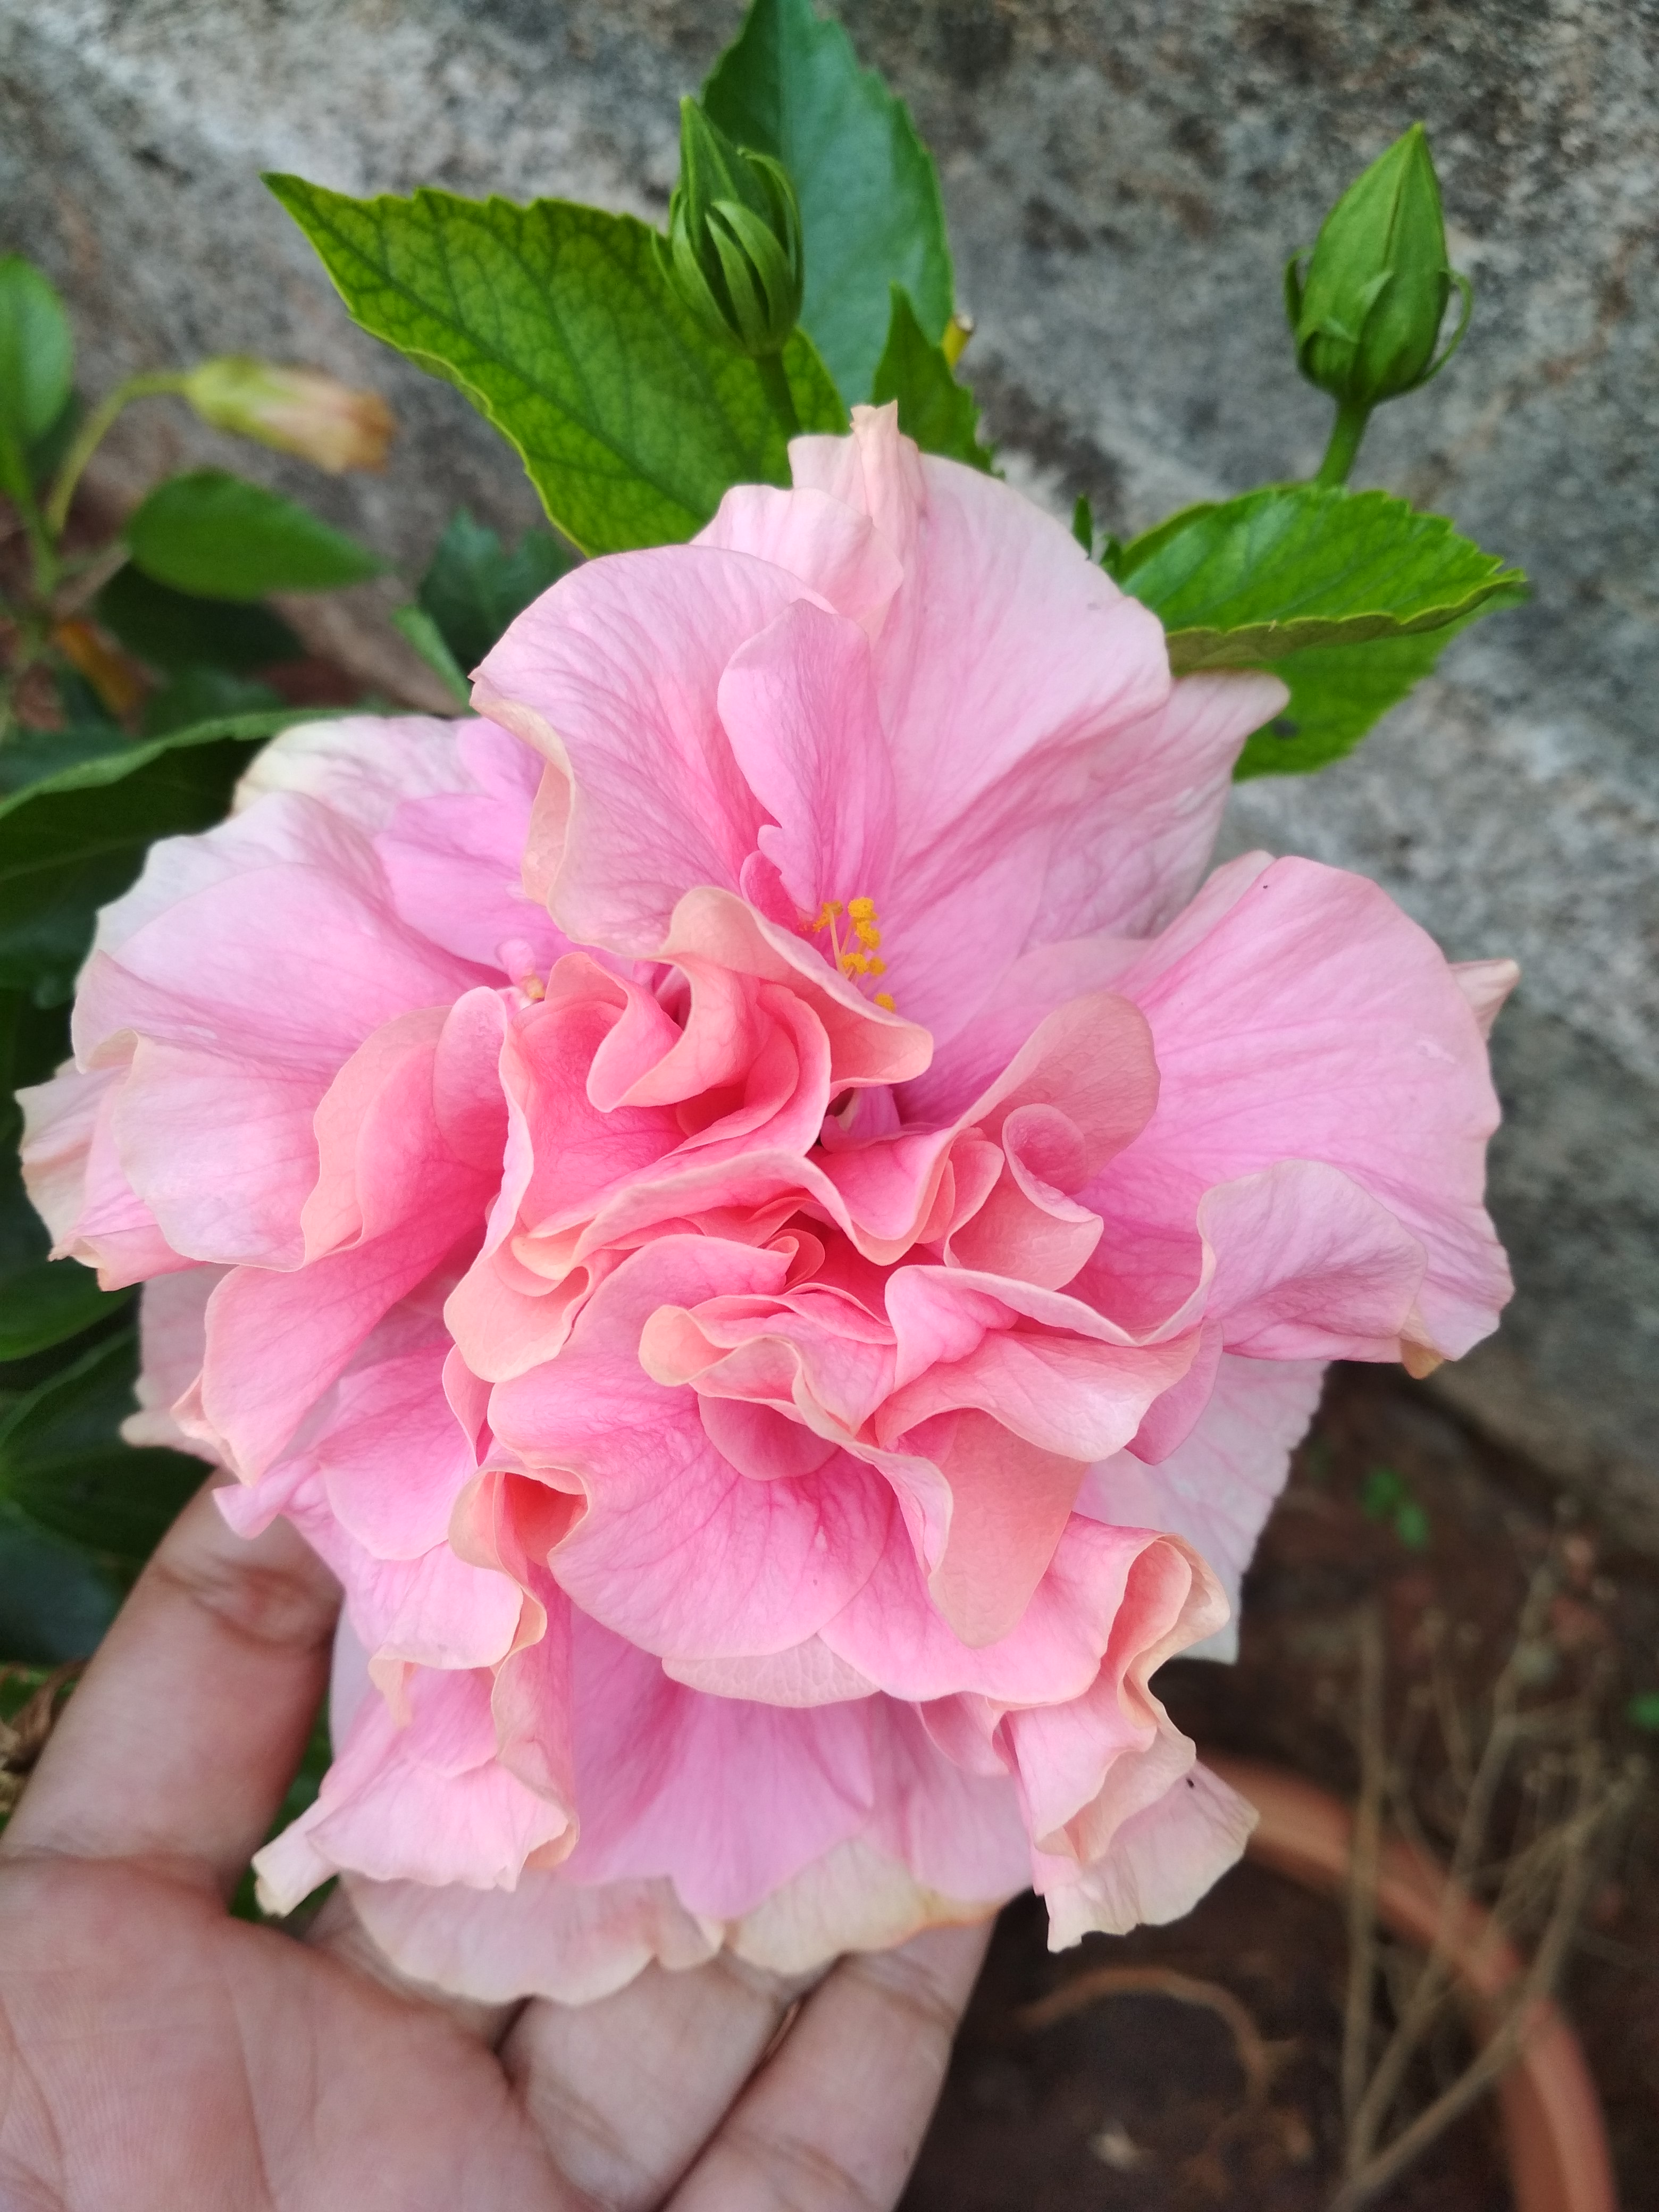
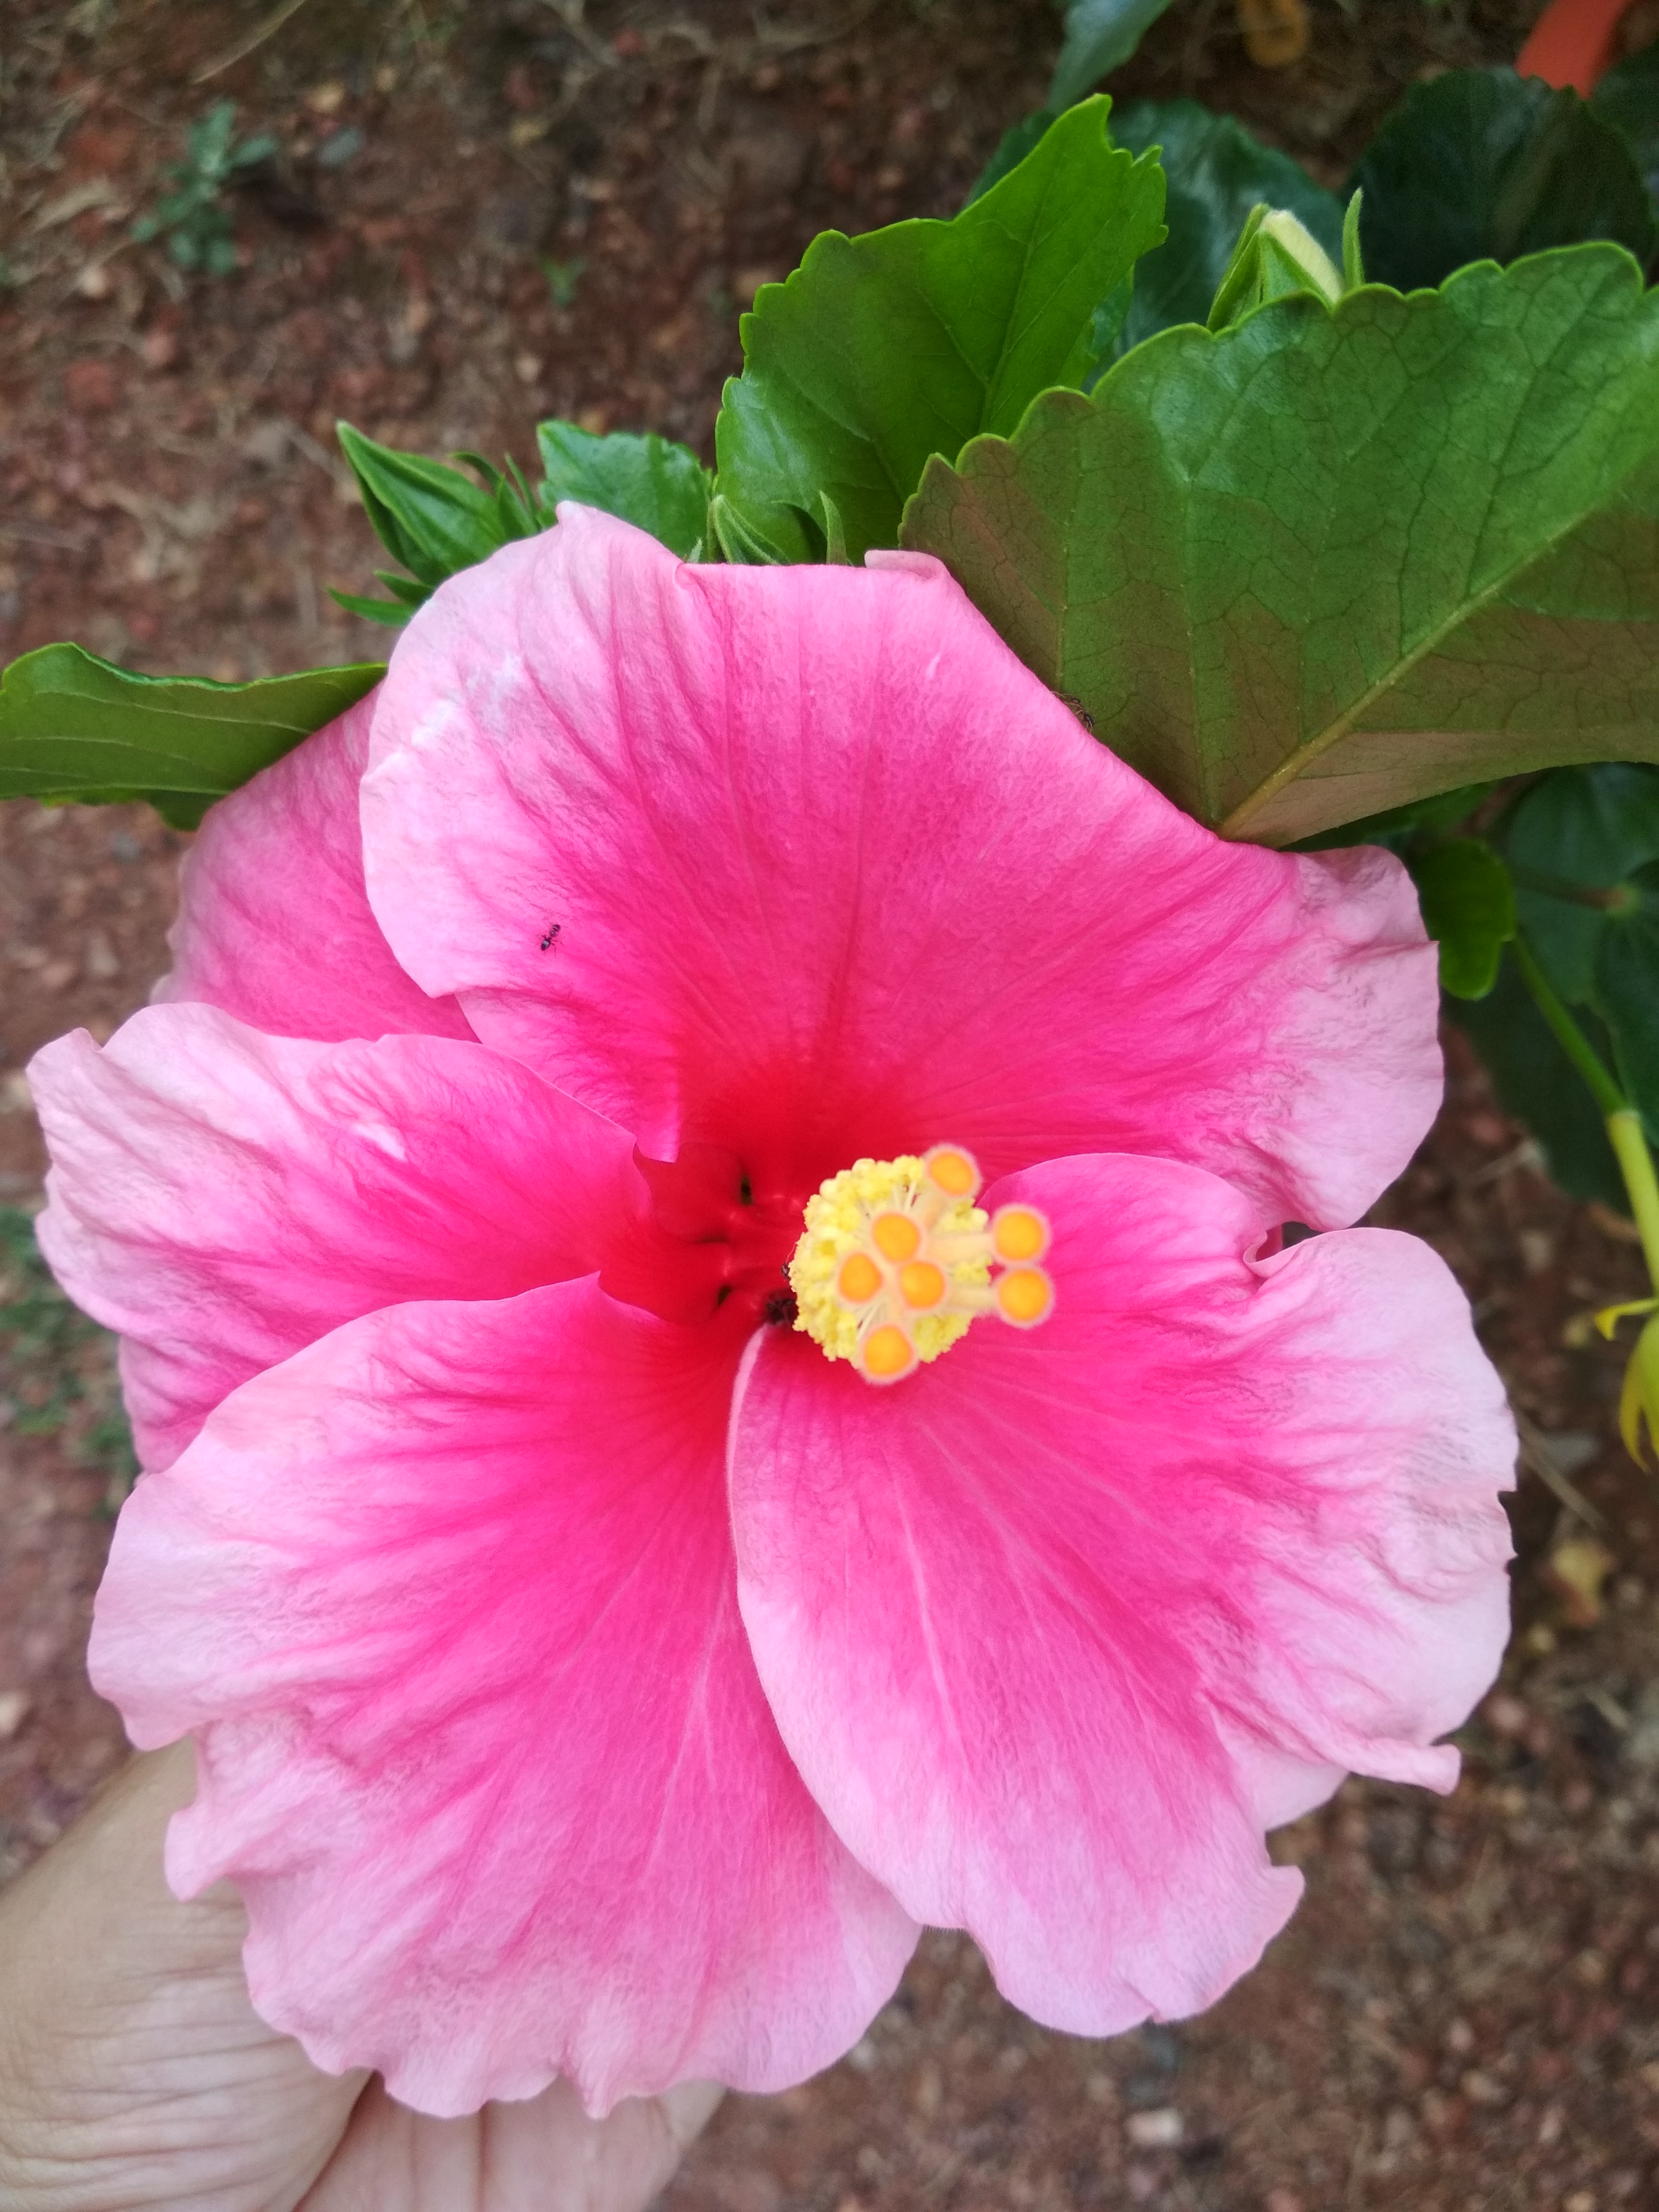
The Best Rose Varieties to Choose

Before diving into care instructions, it’s crucial to choose the right rose varieties for your garden. There are three main types to consider:

  • Hybrid Tea Roses: Known for their large, classic-shaped blooms, hybrid tea roses are perfect for cut flowers and often have a strong fragrance.
  • Floribunda Roses: These roses produce clusters of smaller flowers, making them ideal for colorful garden displays.
  • Shrub Roses: Shrub roses are hardy and versatile, requiring less maintenance and offering a more natural appearance.

Selecting the Right Location

Roses require a sunny spot to thrive. They need at least six hours of direct sunlight daily. Ensure your chosen location has good air circulation to prevent diseases. Well-drained soil with organic matter is essential for healthy rose growth.

Planting Your Roses

  • Timing: Plant bare-root roses in late winter or early spring when they are dormant. Container-grown roses can be planted during the growing season.
  • Spacing: Ensure proper spacing to allow air circulation and prevent overcrowding.
  • Digging the Hole: Make a hole large enough to accommodate the root system, keeping the bud union (the swollen area where the canes meet the roots) an inch or two below the soil surface.
  • Watering: After planting, it is important to water thoroughly to help the soil settle.

Watering

Roses need consistent moisture, but they don’t like to sit in waterlogged soil. Here are some suggestions for watering:

  • Deep Watering: Water deeply at the base of the plant to encourage deep root growth.
  • Morning Watering: Water in the morning to allow the leaves to dry before evening, reducing the risk of fungal diseases.
  • Mulching: Apply a layer of mulch to retain soil moisture and regulate temperature.

Fertilizing

Roses benefit from regular feeding. For optimal results, it is recommended to use a balanced fertilizer with a ratio of either 10-10-10 or 14-14-14. Start fertilizing in early spring and repeat every 4-6 weeks during the growing season. Water your roses before and after applying fertilizer to prevent root burn.

Pruning

Pruning is essential for maintaining the health and shape of your rose plants. Here are some important tips on pruning:

  • Deadheading: To promote consistent blooming, it’s recommended to remove any spent flowers.
  • Annual Pruning: Prune in late winter or early spring to remove dead or diseased wood and shape the plant.
  • Cutting Back: For hybrid tea roses, cut back one-third of the plant’s height to encourage new growth.

Similar Posts


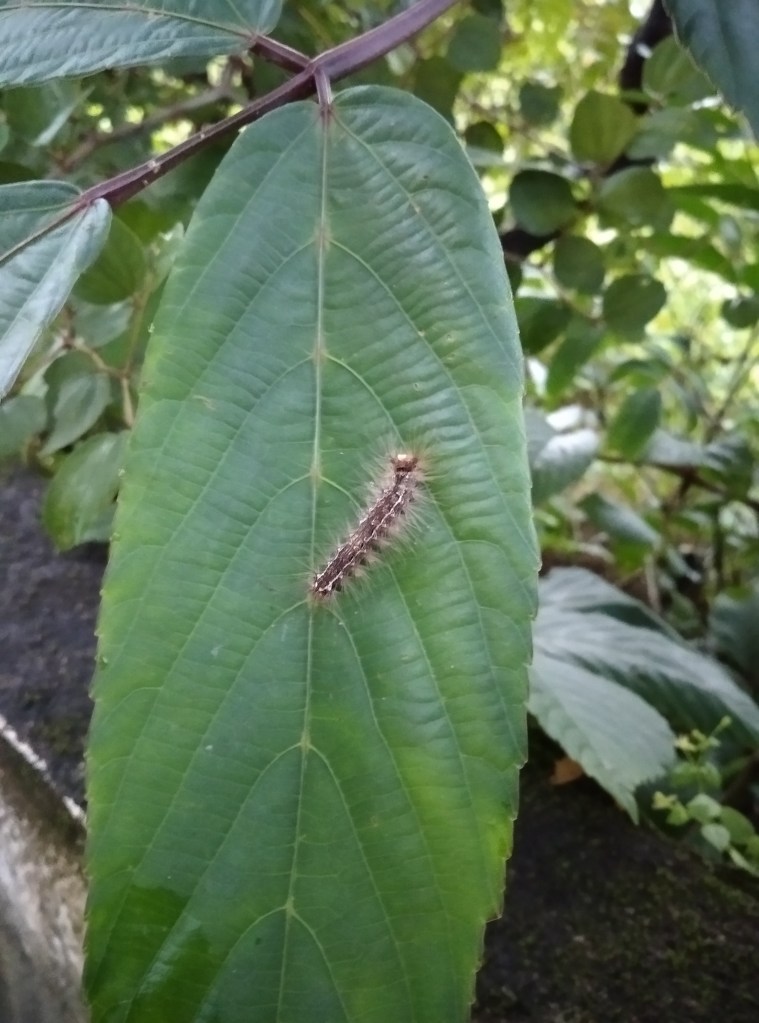
Pest and Disease Management

Roses can be susceptible to pests and diseases, but with proper care, you can minimize these issues:

Inspect Regularly: Check your roses regularly for signs of pests or diseases.

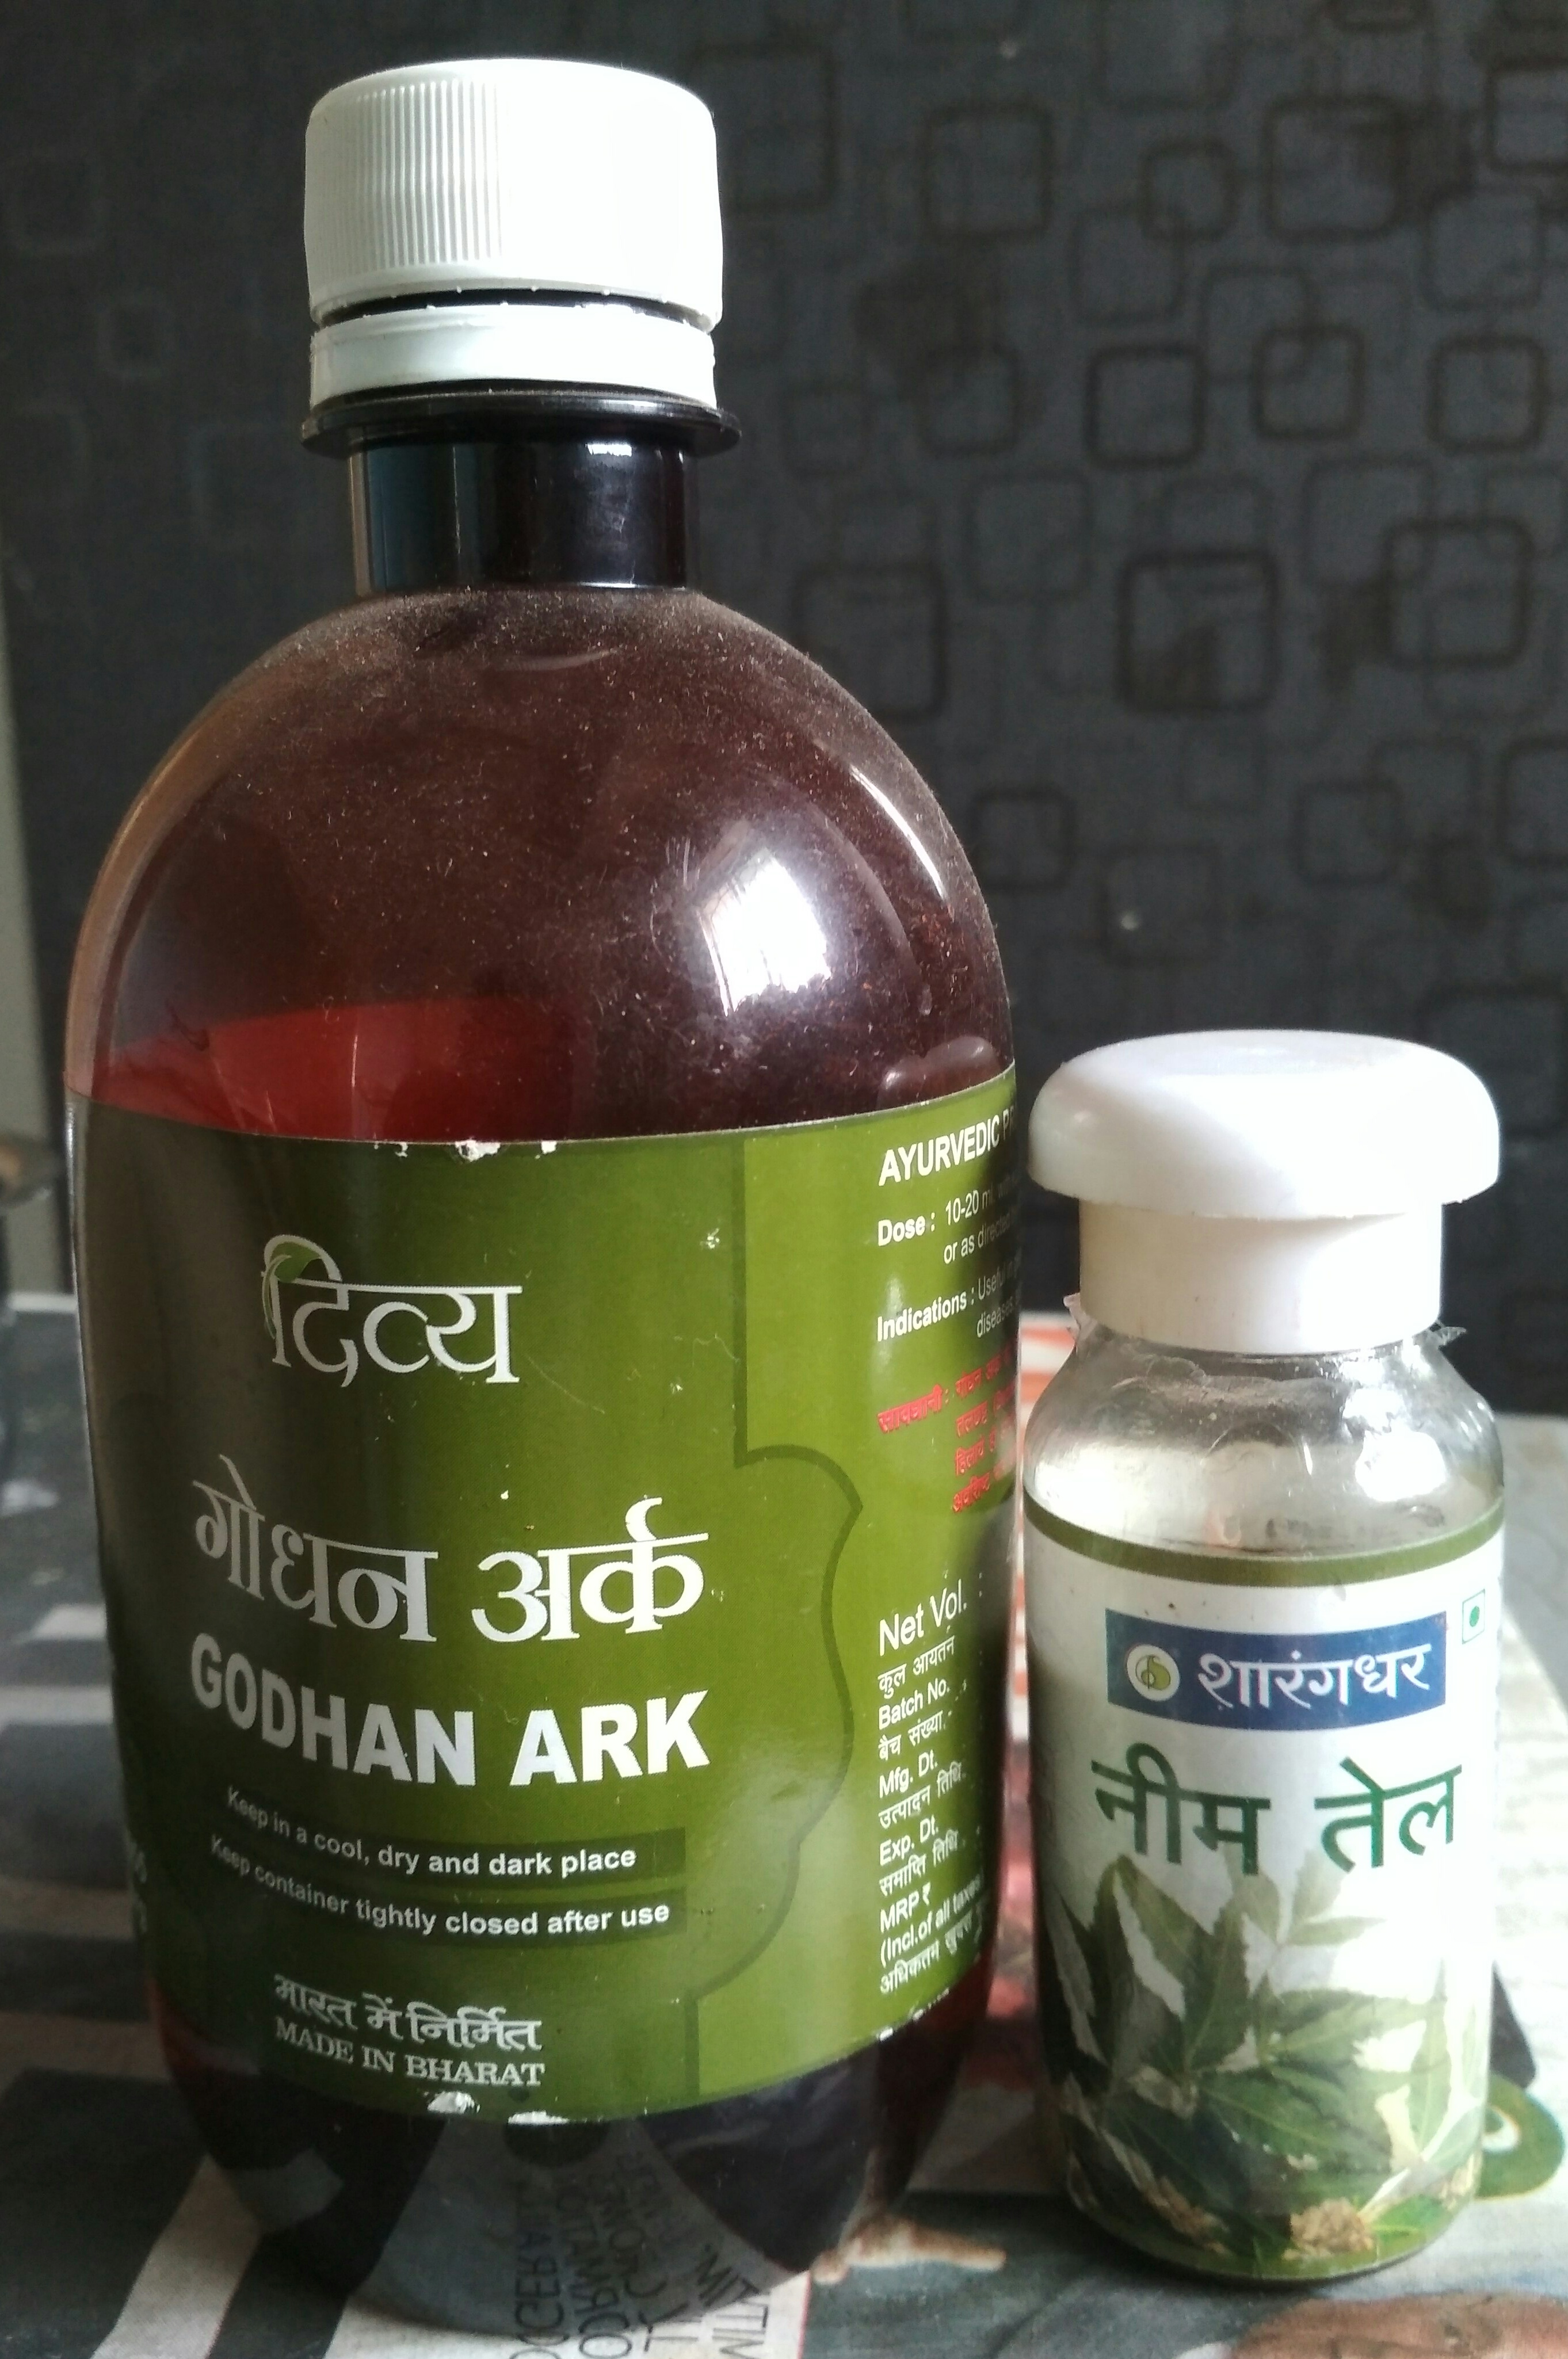
Organic Pest Control: Consider using organic methods like neem oil or insecticidal soap to control pests.

Disease Prevention: Apply fungicides as a preventive measure, especially in humid climates.

Winter Care

Winter care is essential to protect your roses from harsh conditions:

  • Mulching: Apply a layer of mulch around the base of the plant to insulate the roots.
  • Pruning: Prune back long canes to prevent wind damage.
  • Wrap Stems: In colder regions, wrap the lower stems with burlap to protect against freezing.

Support and Training

Some rose varieties may need support or training:

  • Staking: Tall or heavy rose varieties may require stakes to keep them upright.
  • Training: Train climbing roses onto trellises or supports to encourage their growth in the desired direction.

Regular Inspection and Care

Lastly, maintaining healthy roses requires consistent attention. Regularly inspect your plants for any issues, such as yellowing leaves or signs of stress, and take appropriate action promptly.

Conclusion

Caring for rose plants can be a deeply satisfying endeavor, resulting in a garden adorned with beautiful, fragrant blossoms. By choosing the right varieties, providing the correct growing conditions, and following essential care practices such as watering, fertilizing, pruning, and pest management, you can enjoy vibrant, healthy roses in your garden year after year. Remember that each rose variety may have specific care requirements, so always consult the specific care guidelines for the roses you choose to cultivate. With dedication and care, your roses will flourish, bringing joy and beauty to your outdoor space.

Happy Gardening!

Exploring Vertical Gardening: Growing Up for More Space and Beauty

Hey there, green thumbs and plant enthusiasts! If you’re looking to maximize your gardening space without compromising on beauty, it’s time to set your sights skyward with vertical gardening. This innovative technique has been taking root all across the world, offering a fantastic solution for urban dwellers and anyone seeking to transform walls, balconies, and even tiny corners into lush and vibrant green spaces. Let’s delve into the world of vertical gardening and discover how to create your own captivating vertical oasis.

Why Go Vertical?

In a country as diverse as India, where space is often at a premium, vertical gardening is a game-changer. It allows you to utilize both indoor and outdoor vertical surfaces, turning them into living, breathing pieces of art. From apartments to bungalows, vertical gardens offer a creative way to add personality and greenery to your surroundings.

Choosing the Right Plants

Before you dive into vertical gardening, consider the types of plants that thrive in your local climate. As a gardener, you’re spoiled for choice – from vibrant flowers like bougainvillea and morning glories to culinary herbs like basil and mint. Opt for plants with lightweight growth habits that won’t weigh down the structure and enjoy the freedom of experimenting with a variety of species.

Creating the Framework

A successful vertical garden begins with a sturdy framework. You can choose from various options like trellises, grids, hanging planters, and even repurposed materials like pallets. Make sure your chosen framework can support the weight of the plants and the soil they’ll be growing in. As you set up your framework, ensure that it’s securely attached to the wall or surface for stability.

Choosing the Right Soil and Planters

Using the right soil and planters is crucial for your vertical garden’s success. Opt for lightweight potting mixtures that provide proper drainage and aeration. Additionally, consider using planters with built-in reservoirs to ensure consistent moisture levels, especially in India’s varying weather conditions.


Similar Posts


Planting Techniques

Planting in vertical gardens requires a bit of finesse. For potted plants, make sure to pack the soil firmly to prevent it from settling and leaving gaps. Plant smaller plants near the top and larger ones toward the bottom to create a balanced and visually appealing composition. Regularly water your garden, keeping in mind that vertical gardens may dry out more quickly than traditional beds.

Vertical Gardens Indoors

Vertical gardening isn’t limited to outdoor spaces – it can also breathe life into your indoor environment. Choose indoor-friendly plants like pothos, spider plants, and air plants. Hanging planters or wall-mounted pockets can add a touch of nature to your living room, kitchen, or even your office space.

Maintenance and Care

Vertical gardens require consistent care to thrive. Regularly check for signs of pests, disease, and nutrient deficiencies. Prune plants as needed to maintain their shape and encourage healthy growth. Keep in mind that plants may need more frequent watering in warmer months, so be attentive to their moisture needs.

Benefits Beyond Beauty

Vertical gardening isn’t just about aesthetics – it offers various other benefits. It can improve air quality, insulate buildings, and even provide food in the form of fresh herbs and vegetables. Plus, nurturing your vertical garden can be a therapeutic and rewarding experience.

Conclusion

Vertical gardening is a fantastic way to add greenery and charm to your living spaces, whether you’re in a bustling city or a cozy town in India. With careful planning, the right plant choices, and a touch of creativity, you can transform any vertical surface into a captivating garden that’s a testament to the power of nature’s beauty. So, reach for the sky and embark on your vertical gardening journey today – your walls are waiting to be adorned with the splendor of lush foliage!

Happy Gardening!

The Ultimate Guide to Growing Plants from Seeds – Tips for a Bountiful Garden!!

Introduction

Growing plants from seeds is a gratifying and cost-effective way to establish a vibrant garden. It’s a journey that allows you to witness the miracle of life as tiny seeds transform into thriving plants. Whether you’re a novice gardener or a seasoned pro, this comprehensive guide will provide you with valuable insights and tips to ensure successful seed germination and plant growth.

1. Choosing the Right Seeds

Selecting the appropriate seeds is crucial for a successful gardening experience. Consider the climate, soil type, and available sunlight in your area. Opt for seeds that are well-suited to your local conditions. This not only improves the chances of successful germination but also contributes to the long-term health of your plants.

2. Quality Soil Matters

Prepare a nutrient-rich, well-draining soil mix to give your seeds the best start. A mixture of compost, peat moss, and perlite can create an ideal medium for seed germination. Ensure that the soil is loose and fine-textured to promote root growth.

3. Planting Depth and Spacing

Each type of seed has its own ideal planting depth and spacing requirements. Follow the instructions on the seed packet carefully. Planting seeds too deep or too shallow can hinder germination. Proper spacing prevents overcrowding and allows each plant enough space to thrive.

4. Watering Techniques

Consistent and appropriate watering is key to seed germination. Use a fine mist or a gentle spray to avoid displacing seeds. Always keep the soil moist, but not soggy. A spray bottle can be a handy tool to maintain proper moisture levels without overwatering.

5. Temperature and Light Conditions

Temperature and light play significant roles in seed germination. Most seeds require warmth to sprout. Using a seed-starting heat mat can provide the optimal temperature range for germination. Additionally, ensure that your seeds receive sufficient light. Placing them near a south-facing window or using fluorescent grow lights can provide the necessary light spectrum for healthy growth.


Similar Posts


6. Hardening Off

Before transplanting your seedlings outdoors, they need to acclimate to the outdoor conditions. This process, known as “hardening off,” involves gradually exposing the plants to sunlight, wind, and varying temperatures. Start with short periods of outdoor exposure and gradually increase the time over a week or two.

7. Transplanting with Care

When your seedlings have grown sturdy enough, it’s time to transplant them into your garden. Choose an overcast day or transplant in the evening to minimize stress on the plants. Gently remove the seedlings from their containers, being careful not to disturb the roots, and plant them at the appropriate depth.

8. Mulching and Maintenance

Mulching helps retain soil moisture, suppress weed growth, and regulate soil temperature. Apply a layer of organic mulch around your plants once they’re established. Regularly monitor the garden for pests and diseases, and take prompt action if any issues arise.

9. Patience and Observation

Growing plants from seeds requires patience and careful observation. Monitor your plants regularly for any signs of distress or nutrient deficiencies. Adjust your watering and fertilization routines as needed.

10. Enjoy the Fruits of Your Labor

As your plants grow and flourish, take time to revel in the beauty and satisfaction of a thriving garden. The process of growing plants from seeds not only yields beautiful blooms or delicious produce but also teaches valuable lessons about nature and the cycle of life.

Conclusion

Growing plants from seeds is an immensely rewarding endeavor that offers a sense of accomplishment and a deeper connection to nature. By following these tips, you can master the art of seed germination and enjoy the fruits of your labor as your garden flourishes with vibrant colors, lush foliage, and delicious harvests. Remember, each seed you plant is a small investment in the future beauty and vitality of your garden.

Happy gardening!

The Ultimate List Of 15 Drought-Tolerant Plants Perfect for Your Low-Maintenance Garden!

Are you tired of constantly watering your garden and watching your plants wilt under the scorching sun? Well, we’ve got some good news for you! Creating a vibrant and lush garden doesn’t have to be a water-intensive chore. By choosing drought-tolerant plants, you can have a stunning garden that thrives even in the hottest and driest conditions. Let’s explore some fantastic options that will transform your outdoor space into a low-maintenance heaven.

  1. Bougainvillea: Burst of Color Bougainvillea, with its vibrant hues, is a showstopper in any garden. These hardy plants are well-suited for India’s arid climate. Once they are established, they need very little watering. Their paper-like bracts come in various shades, bringing an explosion of color to your garden without demanding constant attention.
  2. Succulents: Beauty in Diversity Succulents are all the rage in gardening and for a good reason. With an array of shapes and sizes, these water-storing plants thrive in summer dry spells. From the iconic aloe vera to the charming echeverias, succulents add texture and intrigue to your garden while needing only occasional watering.
  3. Zinnias: Sun-Kissed Delight Zinnias are a go-to choose for those seeking a burst of color without the fuss. These cheerful flowers come in various warm shades and can handle India’s heat with grace. Zinnias are not picky about soil types and can bloom all season long, making them a perfect low-maintenance addition to your garden.
  4. Curry Leaf Plant: Fragrant and Useful The curry leaf plant not only brings an aromatic touch to your garden but also holds culinary significance. These hardy plants thrive in hot climate and require infrequent watering once established. With proper care, they can flourish for years, providing you with a steady supply of fresh curry leaves.
  5. Portulaca: Beauty in Simplicity If you’re looking for a plant that can withstand neglect and still thrive, portulaca is your answer. These colorful little blooms are drought-resistant and can tolerate poor soil conditions. Their low-growing nature makes them perfect for ground cover, adding a carpet of vibrant hues to your garden.
  6. Agave: Majestic Elegance For a touch of desert beauty, consider planting agaves. These architectural wonders require very little water and can add a dramatic focal point to your garden. Their unique shapes and sizes create an eye-catching display that’s sure to impress.
  7. Cacti: Endearing and Resilient No list of drought-tolerant plants would be complete without cacti. These iconic plants are built to withstand the toughest conditions. From prickly pears to barrel cacti, they come in various forms and sizes, adding a touch of the wild to your garden.
  8. Aloe Vera: Nature’s Healer Aloe vera is not just a skincare gem; it’s a low-maintenance superstar. Its fleshy leaves store water, keeping it fresh even during India’s hottest days.
  9. Vinca: Effortless Enchantment Vinca’s charming blooms thrive in the face of water scarcity. Their adaptability and resilience ensure a colorful garden all season long.
  10. Snake Plant: Stylish and Sturdy Bring some contemporary flair with snake plants. Their striking vertical leaves and minimal water needs make them ideal for modern Indian gardens.
  11. Sedum: Beauty in Simplicity Sedums come in various shades and shapes, adding elegance to your garden. These low-maintenance succulents can handle dry spells with ease.
  12. Gazania: Sunshine on Display Gazanias open their vibrant petals to the sun, thriving in its warmth. These dazzling blooms require minimal care, giving you maximum beauty.
  13. Oleander: Graceful and Stalwart Oleander’s beauty is matched by its ability to withstand dry conditions. This evergreen shrub adds a touch of elegance to your low-maintenance oasis.
  14. Yucca: Drama and Durability Yuccas bring a touch of drama to your garden with their sword-like leaves. Their water-storing capabilities make them a perfect fit for Indian summers.
  15. Dusty Miller: Silver Elegance Dusty Miller’s silver foliage is a standout in any garden. Its tolerance to dry conditions adds a touch of sophistication to your low-maintenance haven.

Incorporating drought-tolerant plants into your garden not only saves water but also reduces the need for constant maintenance. With the right choices, you can enjoy a lush and vibrant outdoor space that flourishes even in the driest spells. So, go ahead and transform your garden into a low-maintenance oasis of beauty and resilience.

Happy Gardening!

Hibiscus: Queen Of My Garden!

This blog is dedicated to all hibiscus lovers. Here I am writing about a brief history of hibiscus and how I went gaga for this lovely blossom. I stay in the western coast of India. Right now, I own 36 varieties of hibiscus and searching for new varieties in the nursery and also online sites. Plz, help me in my endeavor.

I searched many websites for different varieties of hibiscus but unable to find any useful sites. There are some sites which offer common varieties but the price ranges between Rs.250 to Rs.500. I found one useful site which offers many varieties, but the price is over my budget as they are selling it in dollars. If you want to check, then this is the link.

Normally, I buy all of my garden plants from a nearby nursery. Each hibiscus plant costs Rs. 50 each (without pots). These plants are always in a healthy condition and have lots of buds.

These are the photos of hibiscus which I own.

History

Lets know about a brief history of hibiscus. Hibiscus is a perennial plant and belongs to the family Malvaceae. It can grow up to 10meters. There are about 300 species of hibiscus. The exact origin of hibiscus is unknown but they are found throughout the tropic.

Unknown Facts

These lovely flowers in addition to adding beauty to your garden also have many benefits. The leaves and flowers of hibiscus plants are used in many herbal shampoos and conditioners. They also have medicinal properties and are used in many Ayurvedic medicines especially the white flowers. Even we use the leaves and flowers of white hibiscus for our hair. We boil it and then apply that lukewarm water to our scalp and leave it for 20 minutes. It reduces hair fall, makes hair smooth, and also absorbs heat and you will feel very relaxed.


See Also:

American and Taiwan variety hibiscus
My water lily collection

How I Take Care of my Hibiscus

I have planted all my hibiscus in plastic pots as I stay in a rented apartment. While taking care of any plants you have to consider three main points

1)Proper Watering

2)Fertilizer

3)Pest Control

Watering

depends on the season. In the rainy season, the rainwater is enough, so I don’t go for watering. In winter they require very less water i.e. once in a day. Early morning is the best time to water this plant. Since it will be very cold outside, so I prefer evening as it also suits my schedule. In summer, hibiscus require a large amount of water. I water them twice a day early in the morning and late evening.

Fertilizer

I always prefer organic farming as I don’t want to pollute the soil as well as the environment. I use kitchen waste like vegetables, eggshells, used tea, fish water, and coconut shells. Apart from this I also use an organic fertilizer which I buy from the nursery. They sell it for Rs. 20/kg. I use this fertilizer once in a week (on Sunday as I have a holiday). I use about one tablespoon for each plant.

Pest control

This is a major part of any plant care. If you do proper watering and used good fertilizer but not done anything for pest control, then your efforts will be in vain. The main pests which affect your hibiscus plants are aphid, mealybugs, thrips, caterpillar and ants.

Aphid: These pets are usually found in clusters and are black, white or green in color. They suck the juices from foliage. If you do not control these pests, they will kill your entire plant. Four of my hibiscus plants died because of this pest.

Aphid

Mealybugs: These little unwanted guests will destroy your entire garden. Hibiscus foliage is their favorite food. These pests not only kill hibiscus but also affect other plants like rose, tomato and eggplant. Very difficult to control.

Mealybug

Thrips: These pests cause hibiscus buds to drop before flowering as they lay eggs inside the buds. I faced this problem a lot. These pests are difficult to detect as your plant will be in a healthy condition and you cannot see these pests. Only when you open the fallen bud you can see the patches inside it that also with a magnifying glass.

Buds Affected with Thrips

Caterpillar: These will affect your plant during the rainy season. They will eat away all the leaves within few hours. Sometime the leaves will be folded. When you open this fold, you can see tiny green caterpillar.

Caterpillar

Ants: These won’t directly affect your plant, but they help in the propagation of above-mentioned pests.

Ants

For all these pests I am using neem oil and cow urine as pesticides. I mix 1 tablespoon of cow urine or neem oil in 500ml of water and spray it on entire plant once in a week. This works as a precautionary measure but won’t help your plants if it is badly affected by pests.

In such case you have to use soap water or shampoo water. When my plant was affected with mealy bugs, I tried this method and it worked. As I told you that I always do organic farming, so I am using herbal shampoo once in a week. Again, the spray includes 1 tablespoon of herbal shampoo in 500ml of water.

If you still can’t get rid of these pests, then pruning is the only option. Prune the affected leaves and branches and throw it in far places or burry them as there are chances that they may return through wind or ants.

Encourage beneficial insects like lady bugs (only work with temperatures 62-88°F) which eats about 50 aphids a day.  There are other useful insects like green lacewing and pirate bugs which helps in controlling the harmful pests in a natural way.

Lady bug


Thank you so many guys for reading this post. I hope this information is useful to you. If you know any website or nursery which deliver plants to Goa, plz give me information regarding that. Plz, add your suggestions in the comment box. Tell me how many hibiscus plants you have and from where you bought these plants. Plz, share photos of your hibiscus flowers too.

Happy Gardening!!!