Herb Gardening 101: How to Cultivate a Flourishing Herb Garden in Your Home!

Introduction:

Herb gardening offers a delightful way to infuse your culinary endeavors with fresh flavors and elevate the aesthetics of your home. Whether you’re a seasoned gardener or a novice, cultivating a thriving herb garden is an enriching and rewarding experience. This comprehensive guide will walk you through the essentials of starting and maintaining a successful herb garden right in your own home.

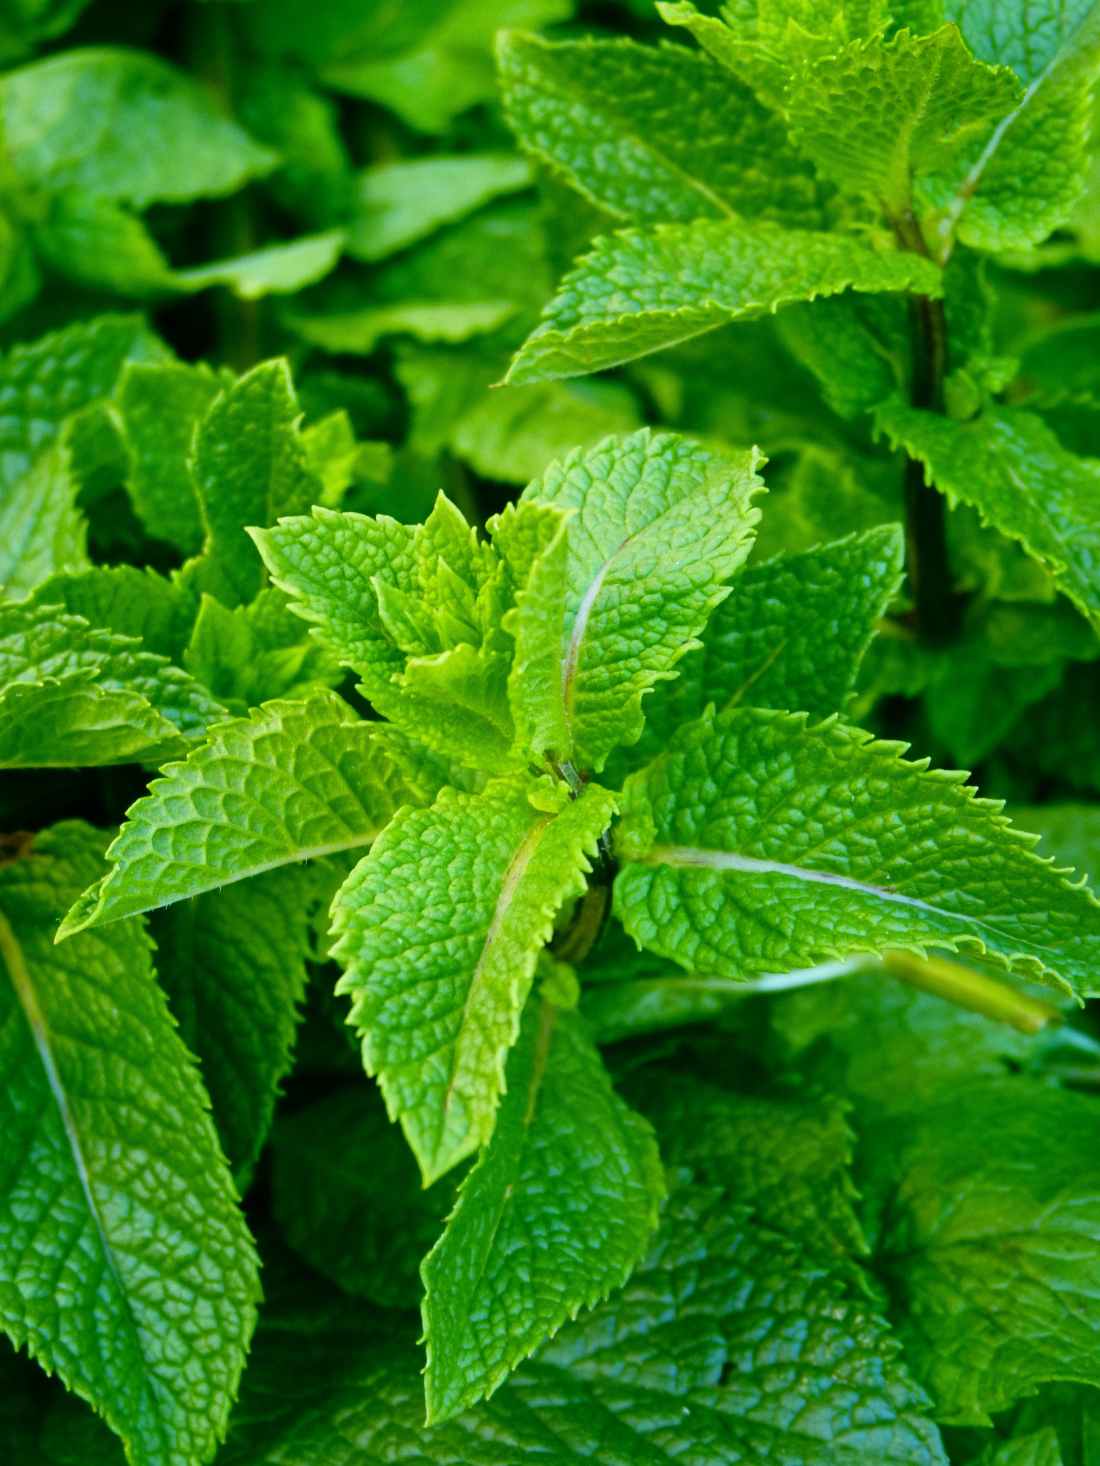
Understanding Your Herbs:

Begin by selecting herbs that align with your culinary preferences and growing conditions. Herbs like basil, rosemary, thyme, mint, and parsley are popular choices due to their versatility and ease of growth. Consider their sunlight requirements, soil preferences, and watering needs to create an optimal environment for each herb.

Choosing the Right Location:

For optimal growth, it’s recommended to choose a spot for your herb garden that receives plenty of sunlight. Most herbs tend to do well in areas that are exposed to full sunlight. Ensure adequate drainage and good air circulation to prevent issues like root rot and fungal diseases. For indoor herb gardens, windowsills or areas receiving ample natural light are ideal.

Preparing the Soil:

Well-draining soil is crucial for herb cultivation. Incorporate organic matter like compost or peat moss to enhance soil fertility and drainage. Aim for a slightly acidic to neutral pH level, typically between 6.0 and 7.0, to create an optimal growing environment for your herbs.

Planting Your Herbs:

When planting your herbs, maintain appropriate spacing between each plant to allow for proper airflow and growth. Consider using containers or raised beds for better control over soil quality and moisture levels. Follow planting guidelines specific to each herb to ensure optimal growth.


Similar Posts


Caring for Your Herb Garden:

Regular watering is essential, but be mindful not to overwater your herbs. To prevent waterlogged conditions, it’s best to let the soil dry out slightly between waterings. Pruning and harvesting your herbs regularly promote healthy growth and stimulate new foliage.

Combatting Pests and Diseases:

Keep a vigilant eye for common pests like aphids, mites, and fungal infections that can affect herb plants. Consider natural pest control methods like neem oil or companion planting to deter pests without harsh chemicals.

Harvesting and Enjoying Your Herbs:

To get the most intense flavors out of herbs, it’s best to harvest them in the morning. Use sharp scissors or shears to trim the plants, leaving sufficient foliage for regrowth. Enjoy the freshest flavors by incorporating your homegrown herbs into culinary delights or drying them for future use.

Conclusion:

Embarking on an herb gardening journey is a fulfilling endeavor that brings the joys of fresh flavors and fragrances right to your doorstep. By following these fundamental steps, you can cultivate a thriving herb garden, adding a touch of greenery and zest to your home-cooked meals.

Start your herb garden today and savor the delights of homegrown herbs in your culinary creations!

Happy Gardening!

A Complete Guide to Crafting and Using Seed Balls for Gardening Success!

Introduction

In the realm of gardening, the ingenious concept of seed balls has gained remarkable popularity for its simplicity and effectiveness. These small, compact spheres encapsulate seeds within a mixture of clay, compost, and other natural materials. They offer a convenient and efficient way to sow seeds while aiding in plant germination and growth. Here’s a comprehensive guide on how to prepare and utilize seed balls to foster lush gardens.

Understanding Seed Balls

Seed balls, also known as seed bombs, serve as protective casings for seeds, shielding them from harsh environmental conditions like wind, birds, and excessive sunlight. This technique was inspired by ancient agricultural practices and has evolved into a modern-day technique for conservation and gardening.

Ingredients for Seed Balls

Creating seed balls requires a simple blend of clay, compost, and seeds. Clay acts as a protective casing, compost provides nutrients for initial growth, and seeds are, of course, the potential plants. Additional ingredients like water and soil amendments may be added for specific seed requirements.

Step-by-Step Guide to Crafting Seed Balls

Gather Materials: Acquire clay powder or finely ground natural clay, quality compost, desired seeds, and optional amendments like organic fertilizers.

Mix Ingredients: Combine clay and compost in a ratio of 3:1 or 4:1, adjusting to ensure a manageable consistency. Gradually add water while mixing until the mixture reaches a moldable, dough-like texture.

Incorporate Seeds: Integrate the seeds evenly into the clay-compost mixture, ensuring they’re well distributed throughout.

Form Balls: Pinch off small portions of the mixture and roll them into small balls, roughly 1-2 centimeters in diameter. Allow the balls to dry for 24-48 hours in a dry, cool place.


Similar Posts


Utilizing Seed Balls in Gardening

Seed balls offer a versatile approach to gardening:

Enhanced Germination: The protective coating of the seed balls provides an ideal environment for seeds to germinate.

Biodiversity Promotion: Seed balls aid in dispersing seeds and encouraging biodiversity in gardens, especially in challenging terrains or barren areas.

Easy Planting: Simply scatter the seed balls in desired locations, whether in garden beds, wildflower patches, or urban landscapes.

Tips for Successful Seed Ball Gardening

Choose Appropriate Seeds: Opt for native or adaptive seeds suited to your local climate and soil conditions. Seeds that work well for making seed balls typically include wildflowers, herbs like basil or parsley, vegetables like tomato, chilli and certain grass seeds. These seeds are great for seed balls due to their hardy nature, adaptability to various environments, and ability to grow with minimal maintenance. Wildflower seeds offer diversity and attract pollinators, while herbs like basil or parsley provide edible and aromatic benefits. Grass seeds help in stabilizing soil and preventing erosion, making them suitable for seed balls in areas needing vegetation cover.

Timing Matters: Sow seed balls during seasons conducive to seed germination, typically spring or fall.

Proper Placement: Ensure good soil contact for optimal germination by lightly pressing seed balls into the soil or scattering them in areas likely to receive rainfall or irrigation.

Conclusion

In conclusion, the art of creating and using seed balls presents an eco-friendly and efficient method for gardening enthusiasts. Whether aiming for a vibrant wildflower meadow or enhancing garden biodiversity, seed balls offer a simple yet impactful solution. Experiment, explore, and witness the transformative power of these small spheres in nurturing a flourishing garden ecosystem.

Happy Gardening!