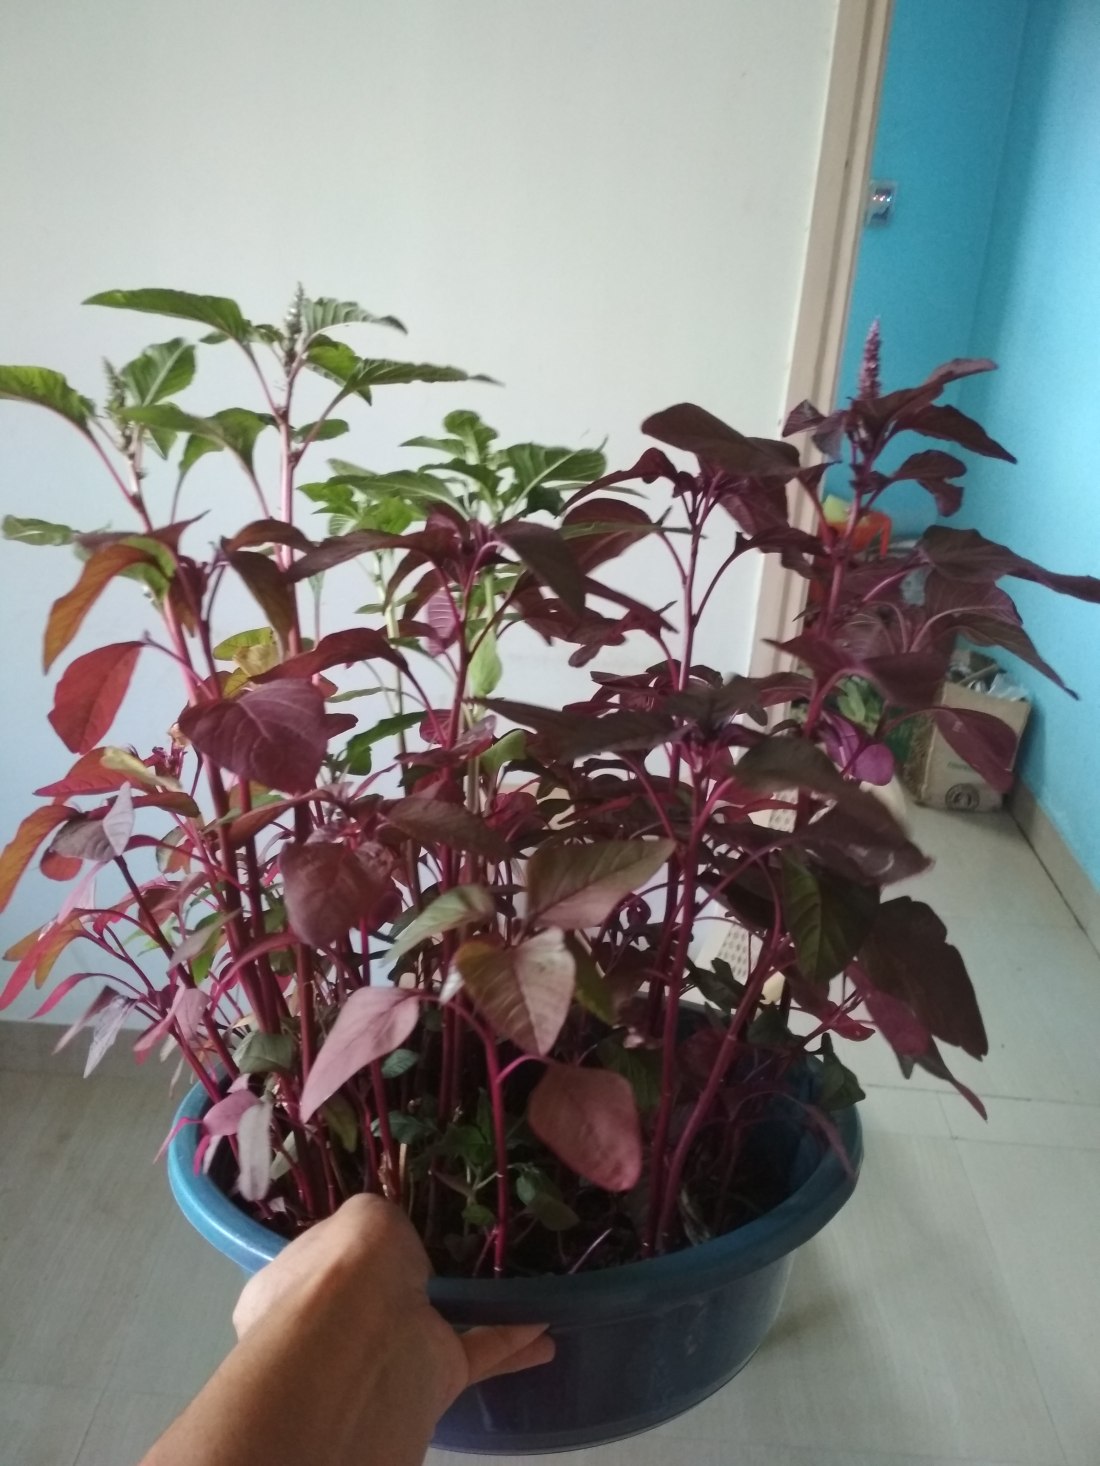
The Use of Coco Peat in Gardening: A Comprehensive Guide!

Introduction

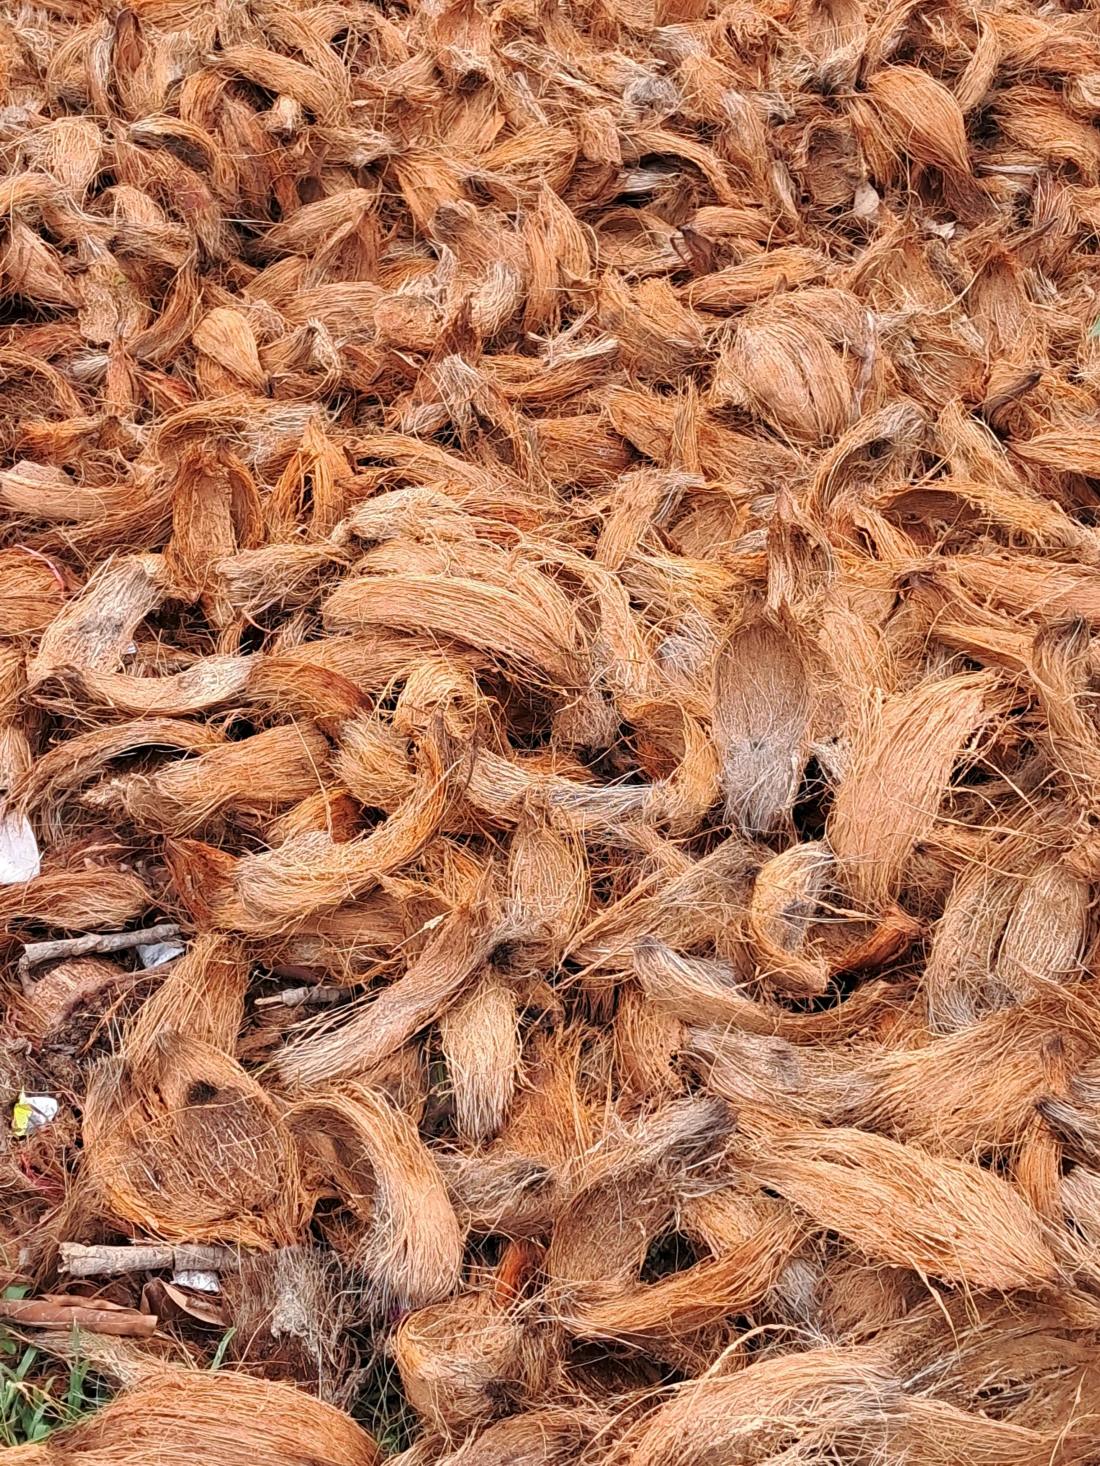
Coco peat, also known as coir pith or coir dust, is a natural byproduct of coconut husk processing. It is gaining immense popularity among gardeners and horticulturists due to its sustainability, versatility, and effectiveness as a growing medium. In this article, we will explore the benefits of using coco peat in gardening, how it enhances plant growth, and why it is an excellent choice for both home gardeners and commercial growers.

What Is Coco Peat?

Coco peat is derived from the fibrous husk of coconuts. After the long fibers are extracted for products like ropes and mats, the remaining material is processed to produce coco peat. It is a spongy, brown substance that has excellent water-retention properties, making it ideal for gardening. Available in various forms, such as bricks, blocks, and loose bags, coco peat is easy to use and store.

Why Use Coco Peat?

Coco peat has several advantages over traditional soil and other growing mediums. Its natural, eco-friendly properties make it an attractive option for gardeners looking to improve soil quality, enhance plant growth, and reduce their environmental footprint.

Benefits of Coco Peat in Gardening

Water Retention and Moisture Control

Coco peat can absorb up to 10 times its weight in water, making it an excellent medium for water retention. This characteristic helps maintain consistent moisture levels in the soil, preventing plants from drying out too quickly. It is especially useful for plants that require a steady water supply or in regions with dry climates.

Aeration and Root Development

Coco peat provides superior aeration to the roots of plants. Its porous structure allows for good airflow, which prevents soil compaction and promotes healthy root development. Proper aeration is essential for plants to absorb oxygen and nutrients, leading to stronger growth and higher yields.

Sustainable and Eco-Friendly

One of the biggest benefits of coco peat is its sustainability. It is a renewable resource, as coconuts are harvested multiple times a year. Unlike peat moss, which is harvested from non-renewable peat bogs, coco peat is an eco-friendly alternative that doesn’t deplete natural habitats. Using coco peat supports sustainable gardening practices and reduces your environmental impact.

Neutral pH Level

Coco peat has a near-neutral pH level, typically ranging between 5.5 and 6.5. This makes it suitable for a wide range of plants, as it doesn’t alter the pH of the soil significantly. It helps create an optimal growing environment without the need for chemical soil amendments.

Nutrient-Rich Amendments

While coco peat itself is low in nutrients, it acts as an excellent medium for mixing with fertilizers and organic matter. It enhances the nutrient-holding capacity of the soil, allowing plants to receive a steady supply of nutrients over time. This slow-release nature reduces the need for frequent fertilization, making it an efficient and cost-effective solution.

Improves Soil Structure

Coco peat is a natural soil conditioner. When mixed with garden soil, it improves the texture and structure, making the soil more friable and easier to work with. It loosens heavy clay soils and helps sandy soils retain water and nutrients, providing an ideal balance for plant growth.

Eco-Friendly Pest Control

Coco peat has natural antifungal properties, which can help protect plants from root diseases and fungal infections. Additionally, it doesn’t attract pests like some organic materials, reducing the need for chemical pest control in your garden.

Reusable and Long-Lasting

Coco peat can be reused multiple times before it begins to break down. After a growing season, it can be rehydrated and mixed with fresh materials for continued use. This longevity makes it a cost-effective option for gardeners who want to maximize the lifespan of their growing medium.


Similar Posts:


How to Use Coco Peat in Gardening

1. Hydrate the Coco Peat

Coco peat is typically sold in a compressed form, such as bricks or blocks. Before using it, you’ll need to hydrate it by soaking the block in water. A small brick of coco peat can expand up to several times its original size when soaked, creating a light and fluffy medium that’s easy to work with.

2. Mix with Soil or Compost

Coco peat can be used on its own or mixed with garden soil, compost, or other organic materials. For potting mixes, a common ratio is 50% coco peat and 50% compost or garden soil. This mixture provides the perfect balance of water retention, aeration, and nutrients for healthy plant growth.

3. Use as Mulch

Coco peat also works well as mulch. Spread a layer of coco peat on top of the soil around your plants to help retain moisture, regulate soil temperature, and suppress weeds. Unlike some other mulches, coco peat breaks down slowly and adds organic matter to the soil over time.

4. Seed Starting

Coco peat is an ideal medium for starting seeds. Its fine texture allows seeds to germinate easily, while its water-retaining properties ensure that seedlings receive adequate moisture during their early stages of growth. Once the seeds have sprouted, the coco peat can be transplanted directly into the soil without disrupting the delicate roots.

5. Hydroponics

Coco peat is widely used in hydroponic systems due to its excellent water-retention capacity and aeration properties. It can be combined with perlite or other inert materials to create a balanced growing medium for hydroponic plants. Since it doesn’t decompose quickly, coco peat provides a stable environment for plants in hydroponic systems.

Tips for Using Coco Peat Effectively

Monitor Watering Needs

While coco peat retains water exceptionally well, it’s important to monitor the moisture levels in your garden or pots. Overwatering can still lead to root rot, especially in plants that prefer drier conditions. Ensure that the soil is draining properly, and adjust your watering schedule accordingly.

Add Fertilizer

Since coco peat itself is low in nutrients, be sure to supplement it with organic fertilizers or compost. Regularly feed your plants with a balanced fertilizer to ensure they receive the nutrients they need for optimal growth.

Reuse Wisely

Coco peat can be reused, but after each growing season, it’s a good idea to refresh the medium by mixing it with new compost or organic matter. This will ensure that your plants continue to receive adequate nutrition and support.

Conclusion

Coco peat is an incredibly versatile and sustainable growing medium that offers numerous benefits to gardeners. From its excellent water-retention properties to its eco-friendly nature, coco peat can enhance the health and productivity of your garden. Whether you’re starting seeds, growing vegetables, or improving your garden soil, coco peat is a reliable and effective choice that helps create a thriving, low-maintenance garden. By incorporating coco peat into your gardening routine, you’ll not only promote plant growth but also contribute to a more sustainable and eco-conscious approach to gardening.

Happy Gardening!

Aeroponics Unveiled: Cultivating a Sustainable Future Without Soil!

Introduction

Aeroponics, a revolutionary approach to gardening, redefines how plants thrive without soil. This innovative method involves suspending plant roots in a nutrient-rich mist, fostering rapid growth and robust yields. Let’s delve into the world of aeroponics gardening, exploring its principles, benefits, setup, and its promising role in shaping the future of agriculture.

Understanding Aeroponics Gardening

Aeroponics stands out as a soilless cultivation technique, where plant roots receive a continuous, oxygenated mist rich in nutrients and water. Unlike traditional hydroponics, which submerges roots in water, aeroponics suspends them in the air, allowing maximum exposure to oxygen and nutrients. This method offers an optimal growing environment, promoting faster growth rates, increased nutrient absorption, and minimal resource consumption.

Advantages and Benefits

The benefits of aeroponics gardening are manifold. Firstly, it maximizes space utilization, allowing vertical stacking of plants, making it an ideal choice for urban or indoor gardening setups. Secondly, it significantly conserves water, using up to 90% less water than traditional soil farming methods. Furthermore, this approach minimizes the risk of diseases caused by soil-borne pathogens, ensuring healthier plants. Lastly, aeroponics facilitates year-round cultivation, enabling consistent harvests regardless of seasonal changes.

Setting Up an Aeroponics System

Creating an aeroponics system involves a few key components. A reservoir holds the nutrient solution, which is then pumped through fine misting nozzles or sprayers. These nozzles disperse the nutrient solution directly onto the exposed roots of the suspended plants. An enclosed space or a specialized aeroponics chamber provides a controlled environment for optimal growth. While commercial systems are available, DIY setups using readily available materials are also popular among enthusiasts.

Key Considerations for Success

Maintaining an aeroponics system requires attention to key factors. Ensuring a balanced nutrient solution is crucial, as it directly influences plant health and growth. Regular monitoring of pH levels, nutrient concentrations, and water quality is essential for optimal plant development. Additionally, proper ventilation and lighting play pivotal roles in providing an ideal environment for plant growth, facilitating photosynthesis and overall health.

Plant Selection and Growth

A wide array of plants thrives in aeroponic systems, ranging from leafy greens and herbs to flowering plants and vegetables. Leafy greens like lettuce, spinach, and kale, alongside herbs such as basil and cilantro, exhibit remarkable growth in aeroponic setups. Additionally, tomatoes, cucumbers, peppers, and strawberries also flourish, showcasing the versatility of this cultivation method across various plant types.


Similar Posts


Setting up an aeroponics system

Setting up an aeroponics system involves a few key steps:

Selecting a System: Choose between DIY setups or commercial kits. DIY options might involve creating a reservoir, a spray manifold, and a support structure for the plants. Commercial kits often come pre-designed and are easier to set up.

Choose a Location: Find a suitable location with access to power, water, and enough space for your system. It’s important to take into account various factors such as temperature, humidity, and lighting.

Assemble Components: Gather the necessary components like a reservoir, pump, tubing, spray nozzles, growing chambers (where plants will be suspended), and a timer (for the pump).

Install the Reservoir: Set up the reservoir at a height to allow for gravity-fed watering. Connect the pump to the reservoir.

Setup Growing Chambers: Mount the plants or plant holders in the growing chamber. Ensure that the roots will be suspended and exposed to the mist generated by the system.

Connect Tubing and Nozzles: Connect the tubing to the pump and position the spray nozzles within the growing chamber. Ensure they’re evenly spaced and angled to cover the root area.

Test the System: Fill the reservoir with water and nutrient solution. Turn on the pump and verify that the misting system is working correctly.

Observation and Maintenance: It is important to regularly monitor and maintain the water level, pH, and nutrient concentration in the reservoir. Clean the nozzles periodically to prevent clogging. Additionally, monitor plant health and adjust the system as needed.

Harvest and Enjoy: Once your plants start growing, monitor their progress and harvest when ready!

Remember, aeroponics systems can vary based on scale and complexity. Always follow manufacturer instructions and consider seeking advice from experienced aeroponics growers for specific guidance.

The Future of Agriculture

Aeroponics gardening represents a glimpse into the future of agriculture, offering sustainable solutions to food production challenges. Its ability to maximize resources, reduce water usage, and cultivate plants in diverse environments positions it as a viable option for addressing global food security concerns. With ongoing advancements in technology and increased adoption, aeroponics has the potential to revolutionize farming practices worldwide.

Conclusion: Embracing a Sustainable Future

In conclusion, aeroponics gardening represents a transformative shift in how we cultivate plants, promising efficient resource utilization and sustainable yields. Its ability to overcome space limitations, conserve water, and foster healthier plant growth signifies a promising future for agriculture. As technology evolves and awareness grows, aeroponics stands as a beacon of hope, offering a path towards a greener, more resilient agricultural landscape.

From urban gardening enthusiasts to commercial growers, embracing aeroponics signifies a step towards sustainable, innovative farming practices that redefine our relationship with food production and the environment.

Happy Gardening!

Exploring the Depths of Hydroponics Revolutionizing Agriculture!

Introduction

In the ever-evolving world of agriculture, innovative techniques and technologies are constantly emerging to meet the growing demand for sustainable and efficient food production. Hydroponics, a cutting-edge method of soilless cultivation, is gaining momentum as a game-changer in modern farming practices. In this article, we will delve into the world of hydroponics, its benefits, and its potential to reshape the future of agriculture.

Understanding Hydroponics

Hydroponics, often confused with hydroponics, is a soilless farming technique that uses water to cultivate plants. Unlike hydroponics, which relies on nutrient-rich water solutions, hydroponics utilizes sound waves to foster plant growth. These sound waves stimulate plant cell expansion and division, resulting in healthier and faster-growing crops.

The Advantages of Hydroponics

Water Efficiency

The water efficiency of hydroponics is one of its most important benefits. With traditional soil-based agriculture, a substantial amount of water is wasted through evaporation and runoff. In contrast, hydroponics recirculates water, reducing water consumption by up to 90%. This not only conserves a precious resource but also makes farming in arid regions more sustainable.

Space Optimization

Hydroponics allows for vertical farming and compact growth systems, making it ideal for urban and limited-space environments. By stacking layers of hydroponic systems, farmers can maximize the use of available space and produce more food per square meter.

Reduced Pesticide Usage

Hydroponic systems are typically closed environments, which means fewer pests and diseases can infiltrate the crops. This reduces the need for chemical pesticides, making hydroponic farming more eco-friendly and producing healthier, pesticide-free produce.

Year-round Cultivation

Hydroponics provides precise control over environmental conditions such as temperature, humidity, and light. This enables year-round cultivation, eliminating seasonal restrictions and ensuring a constant supply of fresh produce.

Key Elements of Hydroponic Systems

To understand how hydroponics works, let’s look at its key components

Transducers

These devices generate sound waves that promote plant growth by stimulating nutrient uptake and photosynthesis.

Water Reservoir

 The water in a hydroponic system acts as both a growing medium and a carrier for essential nutrients.

Nutrient Solution

 Hydroponics systems deliver a carefully balanced nutrient solution directly to the plant roots, ensuring optimal growth.

Control Systems

These systems monitor and adjust environmental conditions such as light, temperature, and humidity to create the ideal growing environment.

How To Start a Hydroponics System?

Starting a hydroponics system requires careful planning, knowledge, and the right materials. Here is a step-by-step instruction sheet to get you started:

1. Research and Education:

Before diving into hydroponics, it’s crucial to understand the principles and techniques involved. Read books, watch tutorials, take online courses, and join hydroponics forums or communities to gain knowledge.

2. Choose the Type of Hydroponics System:

There are various hydroponics systems to choose from, such as Nutrient Film Technique (NFT), Deep Water Culture (DWC), and media-based systems. Select the one that suits your space, budget, and crop choices. Beginners often find media-based systems like the drip system or flood and drain system easier to start with.

3. Select a Suitable Location:

Find an appropriate location for your hydroponics setup. It should have access to electricity, water, and adequate ventilation. Consider using a dedicated indoor space, a greenhouse, or even a controlled outdoor area depending on your climate.

4. Gather Necessary Equipment:

The equipment you need will vary depending on the type of hydroponics system you choose, but here’s a general list of essentials:

  • Grow trays or containers
  • Growing media (e.g., hydroton, perlite, coconut coir)
  • Reservoir tank
  • Submersible pump
  • Air pump and air stones (for oxygenation)
  • pH and EC (electrical conductivity) meters
  • Nutrient solution
  • pH adjusters (pH up and pH down)
  • Grow lights (if growing indoors)
  • Timer or controller for lighting and nutrient delivery
  • Support structures for plants (trellis, netting, etc.)

Similar Posts


5. Set Up the Hydrophonics System:

Follow these general steps to set up your hydrophonics system:

  1. Place your grow trays or containers in the designated area.
  2. Fill the trays with your chosen growing media.
  3. Install the submersible pump in the reservoir tank and connect it to the irrigation system.
  4. Set up the air pump and air stones to provide oxygen to the nutrient solution.
  5. Mix the nutrient solution according to the manufacturer’s instructions and fill the reservoir tank.
  6. Adjust the pH of the nutrient solution to the desired range (usually around 5.5 to 6.5).
  7. Install grow lights if you’re growing indoors and set up a timer for the light cycle.
  8. Start your hydroponics system and monitor it closely to ensure everything is functioning correctly.

6. Planting and Maintenance:

  1. Plant your chosen crops in the growing media. Ensure proper spacing and support for the plants.
  2. Regularly check and maintain the nutrient solution levels, pH, and EC.
  3. Keep an eye on plant health, watch for signs of nutrient deficiencies, pests, or diseases, and take appropriate action.
  4. Prune and train your plants as they grow to optimize space and yield.
  5. Harvest your crops when they reach maturity.

7. Continual Learning and Improvement:

Hydroponics is a dynamic field, and there’s always room for improvement. Continually educate yourself, experiment with different techniques, and adapt your system based on your experiences and the specific needs of your plants.

Conclusion

Hydroponics, with its remarkable advantages and innovative approach to plant cultivation, is poised to revolutionize agriculture as we know it. By promoting water efficiency, space optimization, reduced pesticide usage, and year-round cultivation, hydroponics addresses some of the most pressing challenges facing modern agriculture.

Starting a hydroponics system may seem daunting at first, but with dedication, research, and hands-on experience, you can develop a thriving soilless garden that produces healthy, nutrient-rich crops year-round.

As the world’s population continues to grow, sustainable and efficient farming methods like hydroponics will play an increasingly crucial role in ensuring food security and environmental conservation. Farmers, researchers, and entrepreneurs are harnessing the power of sound waves to propel us into a future where abundant, healthy, and locally-grown produce is within reach for everyone.

Happy gardening!