The Science of Pruning: Techniques for Healthy and Beautiful Plants Explained

Greetings, fellow gardeners! Have you ever wondered how professional landscapers achieve those perfectly shaped and vibrant plants? The answer lies in the art and science of pruning. Whether you’re tending to your backyard or nurturing indoor plants, mastering pruning techniques can work wonders for the health and beauty of your green companions. Let’s delve into the science behind pruning and uncover techniques that will elevate your gardening game.

  • Understanding the Basics of Pruning

Pruning is more than just snipping away excess growth. It involves strategic removal of branches and leaves to encourage healthy growth, enhance plant shape, and improve overall aesthetics. By understanding a plant’s growth patterns and needs, you can tailor your pruning approach for maximum benefit.

  • Timing is Key

In the diverse climate of India, timing is crucial when it comes to pruning. Generally, the best time is during the dormant season, which is usually just before the onset of spring. This ensures that plants can recover quickly and put forth new growth as the weather warms up.
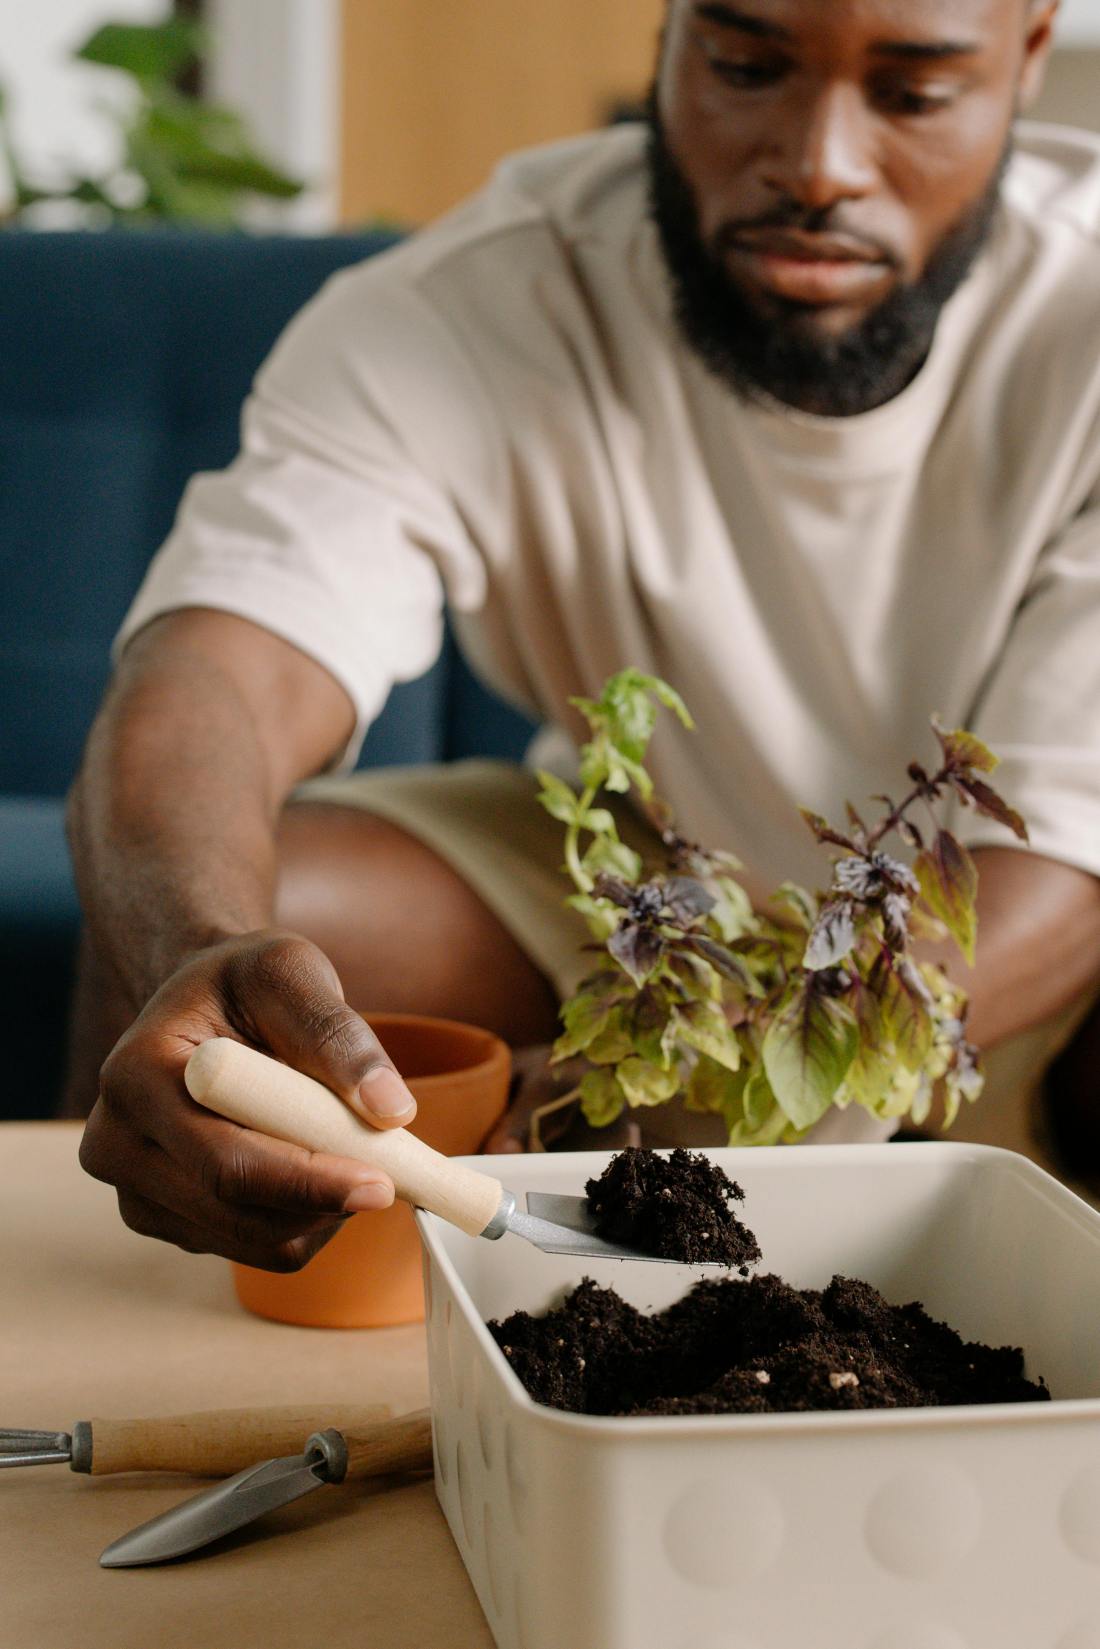
  • Tools of the Trade

Equipping yourself with the right tools is a prerequisite for effective pruning. For small branches and delicate plants, opt for pruning shears. For thicker branches, invest in loppers or pruning saws. Keep your tools sharp and clean to prevent damaging the plants.

  • Shape Up with Thinning

Thinning involves removing entire branches at their point of origin. This technique improves air circulation, reduces disease risk, and encourages new growth. It’s particularly beneficial for fruit-bearing trees like mangoes and guavas, promoting larger and healthier yields.

  • Pinching for Precision

Pinching is a technique primarily used for promoting bushier growth in plants with multiple stems. Simply pinch off the tip of new growth between your thumb and forefinger. This encourages branching and leads to denser foliage, perfect for ornamental plants like roses, and chrysanthemums.


Similar Posts


  • Heading Back for Growth Control

Heading back entails cutting back the tip of a stem to a bud or side branch. This technique controls the size of the plant and stimulates fresh growth. It’s handy for shaping hedges, keeping shrubs in check, and maintaining compactness.

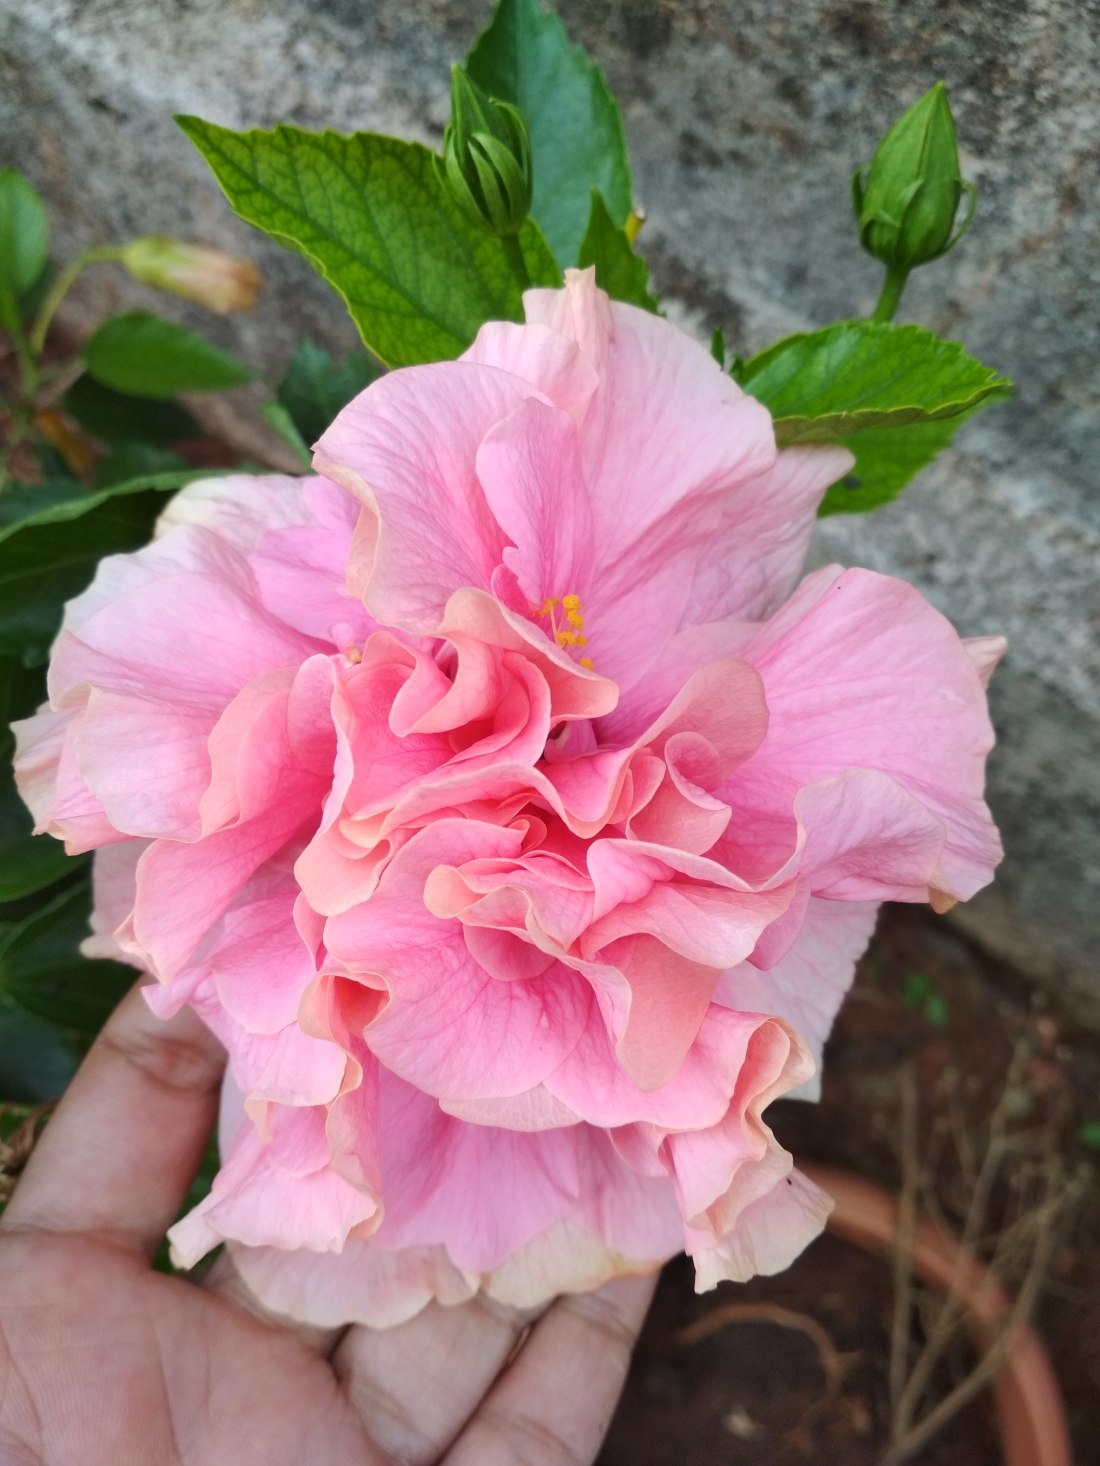
  • Deadheading for Continued Blooms

Deadheading involves removing spent flowers to encourage continuous blooming. This prevents plants from expending energy on seed production, redirecting their resources toward more blooms. Ideal for flowering plants like zinnia, marigolds and petunias, deadheading keeps your garden vibrant and colorful.

  • Training Vines and Climbers

For climbers and vines, pruning helps control their growth and shape. Regularly remove old or dead growth to allow sunlight to reach the inner foliage. This maintains a healthy structure and ensures optimal flowering.

  • Watch for Disease and Decay

During pruning, keep an eye out for signs of disease, infestation, or decay. Promptly remove affected parts to prevent the problem from spreading to healthy areas. This proactive approach safeguards the overall well-being of your plants.

  • Embrace Patience and Practice

Remember, pruning is both a science and an art. It takes practice to become adept at understanding each plant’s unique requirements. Over time, you’ll develop an intuitive sense of how to best nurture your garden through well-timed and skillful pruning.

Conclusion

By incorporating these pruning techniques into your gardening routine in India, you’re not just nurturing healthier plants, but also crafting a visually appealing landscape. With a little knowledge and a lot of love, you can master the science of pruning and transform your garden into a flourishing haven of beauty. Happy pruning!

Happy Gardening!

A Comprehensive Guide to Growing Plants with Cuttings: Tips for Success!!

Introduction

Growing plants from cuttings is a rewarding and cost-effective way to expand your garden and enjoy a bountiful harvest. This propagation method allows you to reproduce your favorite plants, maintain their characteristics, and save money on purchasing new plants. In this guide, we’ll delve into the world of plant propagation through cuttings and provide you with valuable insights and tips for a successful journey.

Understanding Plant Cuttings

Plant cuttings are small sections of a parent plant that are removed and cultivated to develop into new, independent plants. This method is widely used for a variety of plants, including flowers, herbs, shrubs, and even some trees. There are different types of cuttings, each with its own benefits:

  1. Softwood Cuttings:

Taken from the new, flexible growth at the tips of branches. These cuttings root quickly and are commonly used for plants like herbs and ornamental plants.

  1. Hardwood Cuttings:

Collected from mature, woody stems during the dormant season. These cuttings take longer to root but are often used for deciduous shrubs and trees.

  1. Semi-Hardwood Cuttings:

 Collected from partially mature stems. This type of cutting strikes a balance between softwood and hardwood cuttings and is suitable for a variety of plants.

  1. Leaf Cuttings:

 In this method, individual leaves or leaf sections are used to propagate new plants. It is commonly used for succulents and some tropical plants.

  1. Root Cuttings:

Sections of roots are used to create new plants. This method is commonly used for perennial plants.

Step-by-Step Propagation Process

  1. Preparation:

Select healthy parent plants that are free from pests and diseases. Prepare clean, sharp tools for taking cuttings.

  1. Selection of Cuttings:

Choose young, healthy shoots that are free from flower buds. Cut just below a node, which is the point where leaves emerge from the stem.

  1. Preparation of Cuttings:

 Trim the cutting, removing any excess leaves or flowers. Dip the cut end into rooting hormone to promote root growth.

  1. Planting Medium:

Choose a well-draining planting medium such as a mix of peat, perlite, and vermiculite. Insert the cuttings into the medium, ensuring that at least one node is below the surface.

  1. Rooting Environment:

Place the cuttings in a warm, humid environment with indirect light. You can cover them with a plastic dome or place them in a clear plastic bag to create a mini greenhouse.

  1. Watering:

Keep the medium consistently moist but not waterlogged. Mist the cuttings regularly to maintain humidity.

  1. Root Development:

After a few weeks to months, you’ll notice roots developing. Gently tug on the cuttings to check for resistance, indicating root growth.

  1. Transplanting:

Once roots are well-developed, transplant the cuttings into individual pots filled with a suitable potting mix.


Similar Posts


Tips for Success

  • Timing:

Take cuttings during the plant’s active growth period for the best chance of success.

  • Equipment:

Use clean, sharp tools to avoid damaging the plant tissue.

  • Rooting Hormone:

While not always necessary, rooting hormone can significantly increase your success rate.

  • Humidity:

Maintain high humidity around the cuttings to prevent moisture loss.

  • Light:

Provide indirect light to promote root growth while preventing excessive transpiration.

  • Patience:

 Rooting and growth can take time, so be patient and monitor your cuttings regularly.

Season

The best season for growing plants from cuttings can vary depending on the type of plant you’re propagating. However, in general, the monsoon and early spring seasons tend to be the most favorable for propagating plants from cuttings.

However, it’s important to note that the best season for propagating plants can also depend on the specific plant species. Some plants may have different preferences or may be more forgiving in terms of when they can be propagated. Always research the specific needs of the plant you’re trying to propagate to ensure the best chance of success.

Conclusion

Growing plants from cuttings is a fulfilling way to expand your garden and enjoy the beauty of nature. By understanding the different types of cuttings, following the step-by-step process, and implementing the tips provided, you’ll increase your chances of successfully propagating a wide range of plants. Embrace this technique and watch your garden flourish with new life and vibrancy.

Happy Gardening

Crafting Bonsai Masterpieces: A Step-by-Step Guide to Making Breathtaking Bonsai Trees!

Introduction:

Bonsai, an ancient art form from Japan, is a fascinating way to cultivate miniature trees that has been captivating gardening enthusiasts for centuries. The term “bonsai” comes from the combination of two Japanese words, “Bon” (meaning shallow pan) and “Sai” (meaning plant). By growing trees in shallow containers, their growth is controlled or stunted without starving the plant. A delicate balance between nature and human intervention creates awe-inspiring masterpieces that exude elegance and tranquility. If you’re interested in exploring the world of bonsai, this comprehensive guide will take you through every step of the process, from selecting the right tree to nurturing its growth and shaping it into a living work of art.

1. Start by learning about bonsai.

Research different tree species suitable for bonsai, their care requirements, and the techniques involved in shaping and maintaining them. There are many books, online resources, and local bonsai clubs that can provide valuable information and guidance.

2. Gather Materials:

Collect the necessary materials, including a suitable bonsai pot, bonsai soil mix (usually a mixture of Akadama, pumice, and lava rock), bonsai wire for shaping, pruning tools (sharp scissors, concave cutters, branch cutters), and potentially root rake and tweezers.

3. Choosing the Perfect Bonsai Tree:

Selecting the right tree is the key to successful bonsai making. The most crucial factor to consider when choosing a plant for bonsai is its hardiness. It should be able to withstand the challenges of shallow container growing, harsh training, and root and branch cutting without losing its vitality. A good bonsai specimen should have a natural-looking trunk that complements the container it is grown in. The branches should also have an artistic rhythm that enhances its aesthetic value. Trees with sturdy, thick trunks at ground level are particularly pleasing. Plants that display seasonal changes in growth pattern and flowering are highly prized in bonsai culture.

For instance, trees that produce fruit in one season or alter the color of their leaves in another season all contribute color to the collection.

Some examples include Ficus religiosa, Bombax malabaricum, Callistemon lanceolatus, Kigellia pinnata, Milletia ovalifolia, Punica granatum, Jacaranda mimodsifolia, and F. benghalensis.

4. Starting with Seedlings or Nursery Plants:

For beginners, starting with pre-grown seedlings or nursery plants is recommended. These plants have already undergone some initial growth, making them easier to manage and shape. As you gain experience, you can experiment with growing bonsai from seeds or cuttings.

5. Soil and Pot Selection:

Choosing the right soil mixture is crucial for the health and development of your bonsai. A well-draining soil mix with good water retention capabilities is essential. Additionally, select a pot that complements the size and style of your tree. Bonsai pots are often shallow and have drainage holes to prevent overwatering.

6. Pruning and Shaping:

Pruning is one of the most important techniques in bonsai making. Regularly trim the branches and roots to maintain the desired shape and size. Use bonsai-specific tools like concave cutters and branch cutters for precise cuts. Shaping wires can be gently wrapped around branches to guide their growth and create the desired aesthetics.


Similar Posts


7. Wiring and Styling:

Wiring is a skill that requires practice and finesse. Use aluminum or copper wires to gently bend and position branches. Be cautious not to leave wires on for too long, as they can cut into the bark. As you wire and style your bonsai, strive for natural, balanced proportions that mimic the appearance of mature trees.

8. Watering and Fertilizing:

Proper watering and fertilization are essential for the health of your bonsai. Water your tree when the top layer of soil becomes slightly dry. Fertilize during the growing season to provide the necessary nutrients for growth. Use a balanced liquid fertilizer or specialized bonsai fertilizer according to the manufacturer’s instructions.

9. Repotting:

Bonsai trees require periodic repotting to refresh the soil, trim roots, and encourage new growth. Repot every 1 to 3 years, typically during the spring. Gently remove the tree from its pot, trim the roots, and replant it in fresh soil. Repotting allows your bonsai to thrive and prevents it from becoming root-bound.

10. Patience and Dedication:

Bonsai making is an art that requires patience and dedication. Trees evolve slowly, and achieving the desired results may take years. Regularly observe your bonsai’s growth and make adjustments as necessary. Over time, you’ll develop a deeper understanding of your tree’s unique characteristics and needs.

11. Learn and Adapt:

Bonsai making is an ongoing learning process. Pay attention to how your tree responds to different techniques, environments, and care routines. Adapt your approach based on the tree’s needs and your observations.

12. Join Bonsai Communities:

Engage with local bonsai clubs or online communities. Connecting with fellow enthusiasts can provide you with valuable advice, tips, and a supportive network to share your progress and learn from others’ experiences.

Conclusion:

Crafting a bonsai is a rewarding journey that combines horticulture, artistry, and mindfulness. Through careful cultivation, shaping, and nurturing, you can transform an ordinary tree into a breathtaking work of art that captures the essence of nature’s beauty. As you embark on your bonsai-making adventure, remember that every cut, wire, and bend contributes to the creation of a living masterpiece that will inspire awe for generations to come.

Happy Gardening!

The Ultimate Guide to Container Gardening: Cultivating Greenery in Limited Spaces

Introduction

Container gardening has emerged as a popular and practical gardening solution for urban dwellers and anyone with limited outdoor space. This horticultural trend allows people to cultivate a wide array of plants and vegetables without the need for a large garden plot. Whether you have a tiny balcony, a small patio, or just a windowsill, container gardening offers a green oasis where you can experience the joys of nurturing and enjoying plants first-hand. This thorough manual will delve into the realm of container gardening, offering tips, techniques, and inspiration for creating a thriving mini garden in a confined space.

1.Choose the Right Containers

The foundation of successful container gardening lies in selecting the appropriate containers. Consider the following factors when choosing your pots or planters:

a. Size: Larger containers generally provide better growing conditions since they hold more soil and water, allowing plants to develop robust root systems.

b. Material: Containers come in various materials, including terracotta, plastic, metal, and ceramic. Each material has its pros and cons in terms of water retention, weight, and durability.

c. Drainage: Ensure that your containers have drainage holes to prevent waterlogging, which can lead to root rot.

2.Selecting the Ideal Plants

The key to a flourishing container garden is choosing plants that thrive in confined spaces. Consider the following plant categories:

a. Dwarf Varieties: Look for compact varieties of vegetables, fruits, and ornamental plants, which are bred specifically for container gardening.

b. Herbs: Culinary herbs like basil, mint, rosemary, and thyme are well-suited for containers and can add delightful flavours to your cooking.

c. Flowers: Opt for colorful blooms like pansies, petunias, marigolds, and geraniums, which add a vibrant touch to your outdoor space.

3.Potting Mix and Fertilizers

Choosing the right potting mix is crucial for container gardening success. Regular garden soil is not suitable since it may compact and impede root growth. Instead, use a high-quality potting mix that provides proper aeration and drainage.

Furthermore, container plants require a consistent supply of nutrients since they quickly deplete the soil. Supplement your garden with organic fertilizers or slow-release granules to ensure steady growth and blooming.

4.Sunlight and Watering

Understanding the sunlight and watering requirements of your plants is essential. Pay close attention to the following factors:

a. Sun Exposure: Position your containers strategically to receive the optimal amount of sunlight, which varies for different plant species.

b. Watering: Container plants typically need more frequent watering than those grown in the ground. Check the soil regularly and water when the top inch becomes dry, ensuring you don’t overwater, which can lead to root issues.

5.Container Garden Design and Layout

Create an attractive and harmonious container garden by considering the layout and design:

a. Vertical Gardening: Utilize wall-mounted planters or hanging baskets to maximize space and add a vertical dimension to your garden.

b. Color Combinations: Choose plants with complementary colours to create eye-catching displays. c. Thrillers, Fillers, and Spillers: Arrange your containers with a focal point plant (thriller), surrounding filler plants, and trailing plants (spillers) to add visual interest.

6.Pest and Disease Management

Container gardens are not immune to pests and diseases. Implement preventive measures like regular inspection, cleaning, and removing debris to reduce the risk of infestations. Consider using natural pest repellents and organic fungicides to protect your plants without harmful chemicals.

7.Maintenance and Pruning

Pruning is essential for maintaining the health and shape of your container plants. Regularly remove dead flowers and leaves to encourage new growth and prolong blooming periods. Additionally, trim back overgrown plants to keep them in check.

Conclusion

Container gardening offers a delightful and rewarding way to connect with nature, regardless of your living situation. By choosing the right containers, plants, and potting mix, and understanding the basics of sunlight, watering, and maintenance, you can create a flourishing and beautiful mini-garden in even the tiniest spaces. Embrace the joy of container gardening and unlock the full potential of your limited outdoor areas, as you experience the wonders of nature first-hand, right at your doorstep. Happy gardening!